Ever wondered why a handful of cabbage can turn into tangy sauerkraut that lasts months, while a bottle of kombucha suddenly turns fizzy and sour after a few days? The magic lies in fermentation, and with the right guidance, you can master it without a science lab. Below you’ll find a complete, step‑by‑step roadmap for the best fermentation recipes for beginners, plus the tools, pitfalls, and pro tips that will keep your jars bubbling happily for weeks.
In This Article
What You Will Need (Before You Start)
Getting started is cheaper than you think. Here’s a practical checklist that balances cost, durability, and ease of cleaning.
- Containers: I swear by Ball Mason jars – 12‑oz jars cost about $12 for a 12‑pack, and the two‑piece lid (band + sealing lid) creates a reliable anaerobic seal.
- Fermentation weight: A 2‑lb glass fermentation weight (e.g., Fermentology brand, $9.99) keeps veggies submerged.
- Airlock lids or “burp” caps: If you prefer a no‑mess option, the Fermcap airlock system ($14.95 for a set of 6) lets CO₂ escape while preventing oxygen entry.
- Salt: Use non‑iodized, free‑flowing sea salt such as Maldon (price $4.50 per 250 g). Iodine can inhibit the beneficial bacteria.
- Starter cultures (optional but helpful): For kombucha, grab a SCOBY from a friend or buy a starter kit ($15). For kimchi, a pinch of fermented shrimp paste or fish sauce adds depth.
- Basic tools: A kitchen scale (accurate to 1 g, e.g., Ozeri Digital Scale, $9.99), a large mixing bowl, a sharp mandoline or chef’s knife, and clean cloths for covering jars.
- Cleanliness gear: A bottle brush for jar cleaning, and a food‑grade sanitizer like Star‑San (optional, $7 per 1‑L bottle).
Having these items on hand means you won’t have to pause mid‑process to hunt for a missing piece. And the good news? Most of them are reusable for years, so the upfront cost quickly pays off.
Step 1: Choose a Simple Recipe
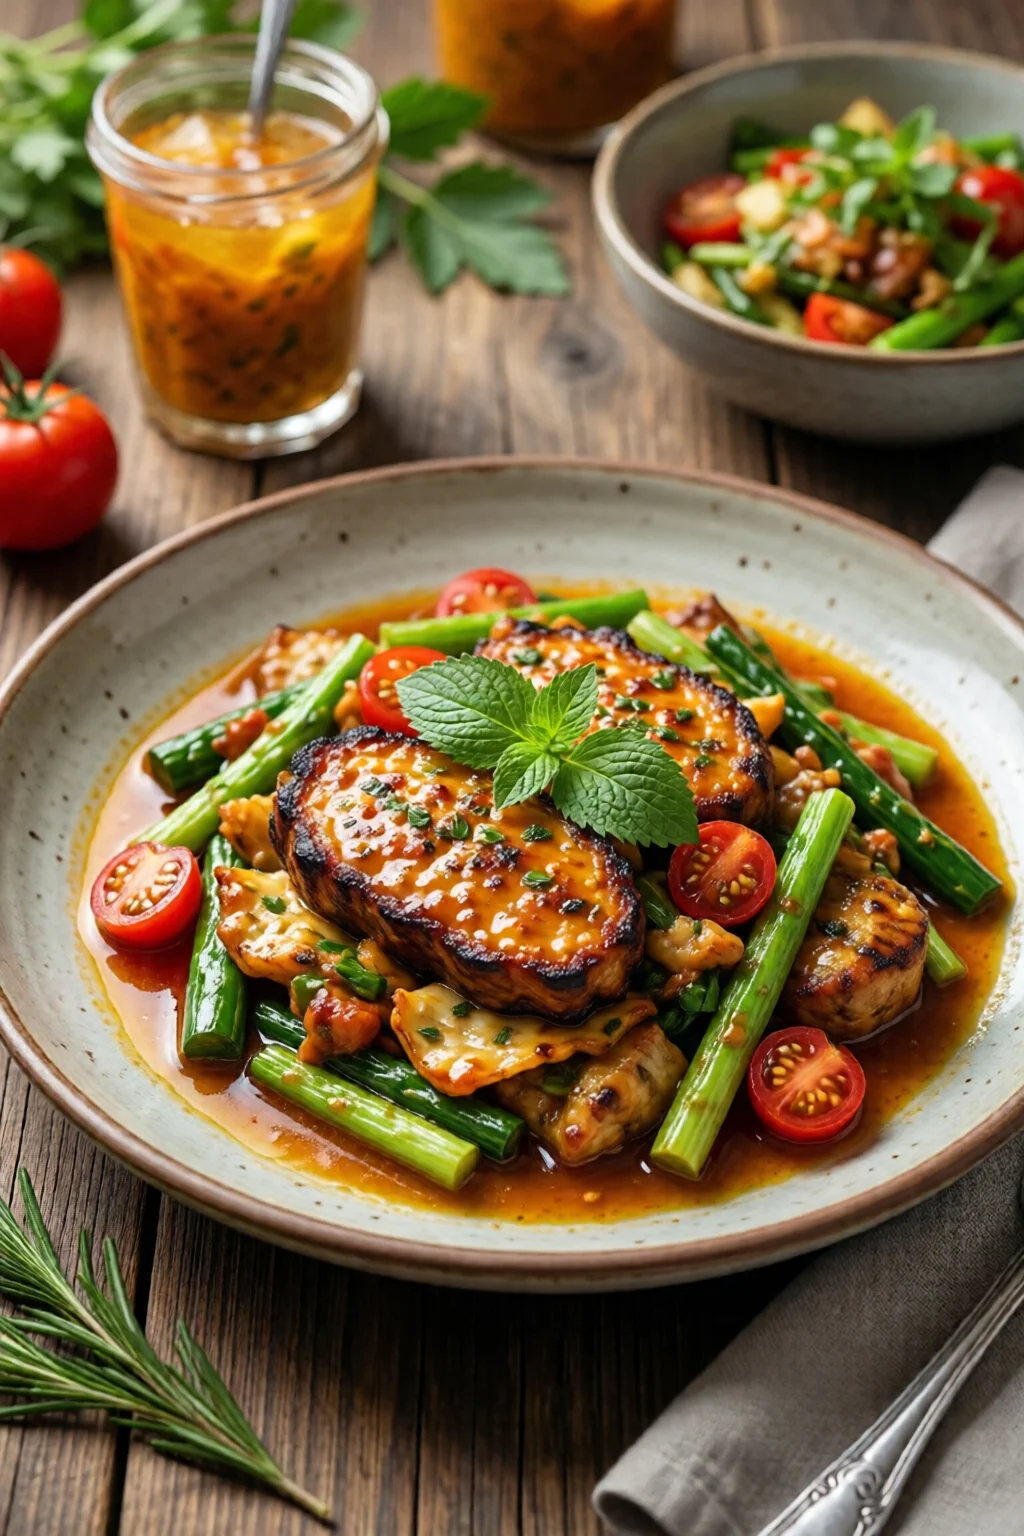
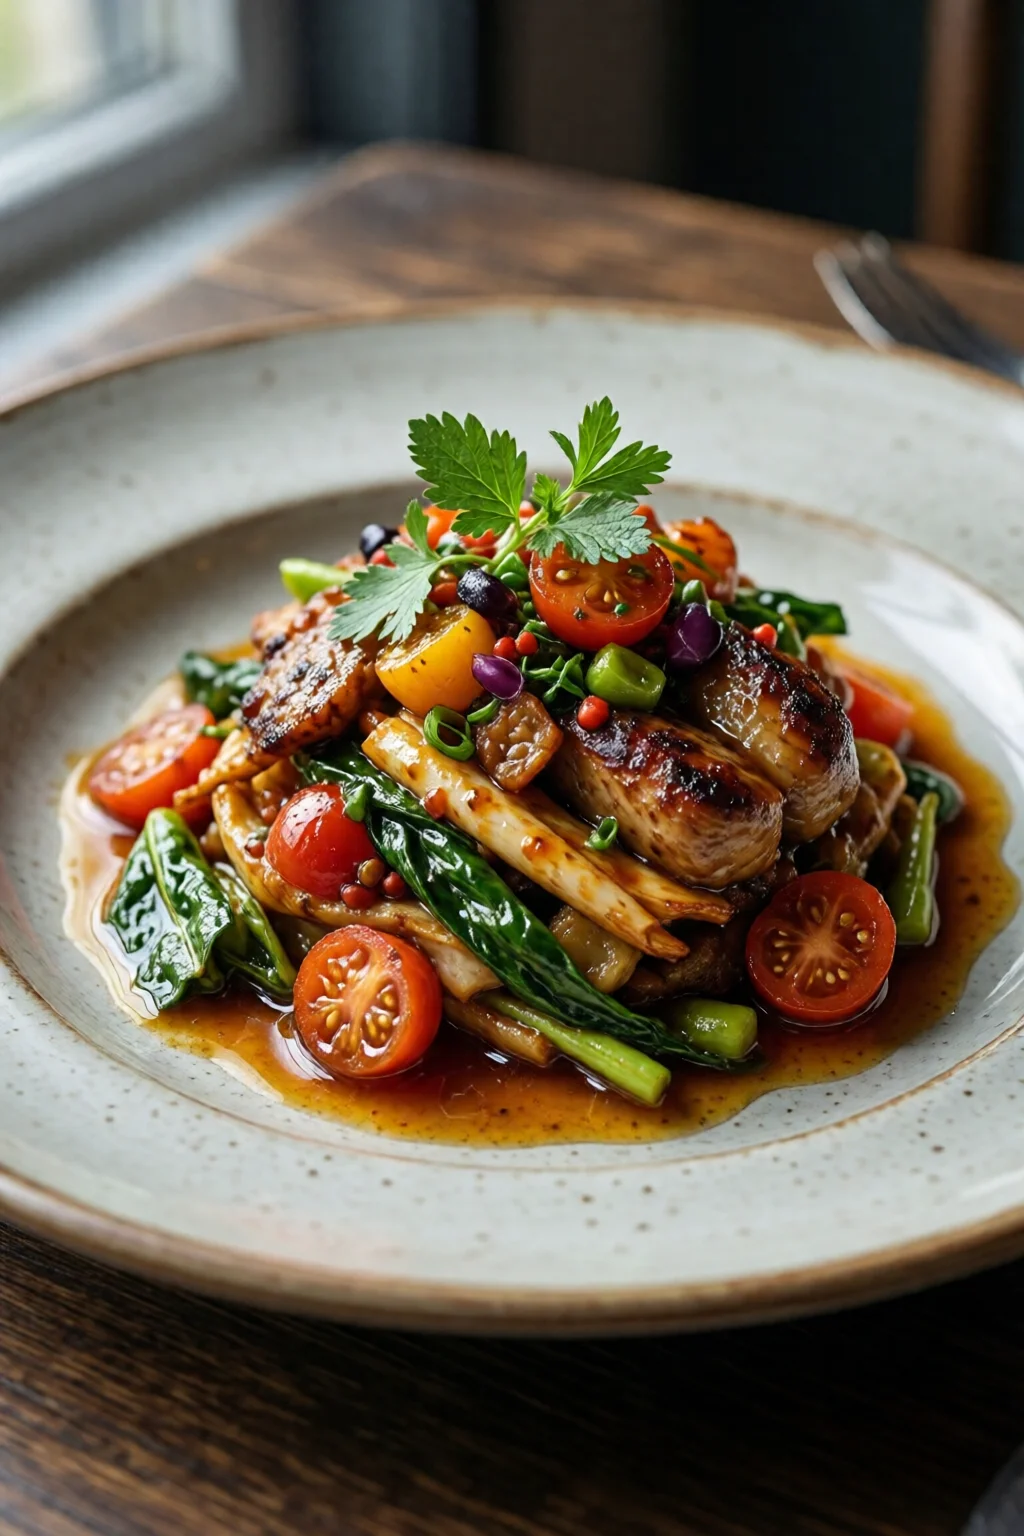
When you’re just dipping your toes into the world of fermentation, start with low‑risk, high‑reward recipes. Below are three classics that require only salt, water, and fresh produce:
- Sauerkraut (Cabbage) – 2 kg green cabbage, 30 g sea salt (1.5% of weight).
- Basic Kimchi (Napa cabbage) – 1.5 kg cabbage, 25 g salt (1.7%), 1 tbsp Korean chili flakes (gochugaru), 2 tbsp fish sauce, 1 tbsp grated ginger.
- Kombucha (Tea) – 1 L brewed black tea, 80 g sugar, 100 mL starter kombucha, 1 SCOBY.
Pick one based on the ingredients you already have. If you have a head of cabbage in the fridge, go for sauerkraut; if you love spicy tang, kimchi is your ticket.
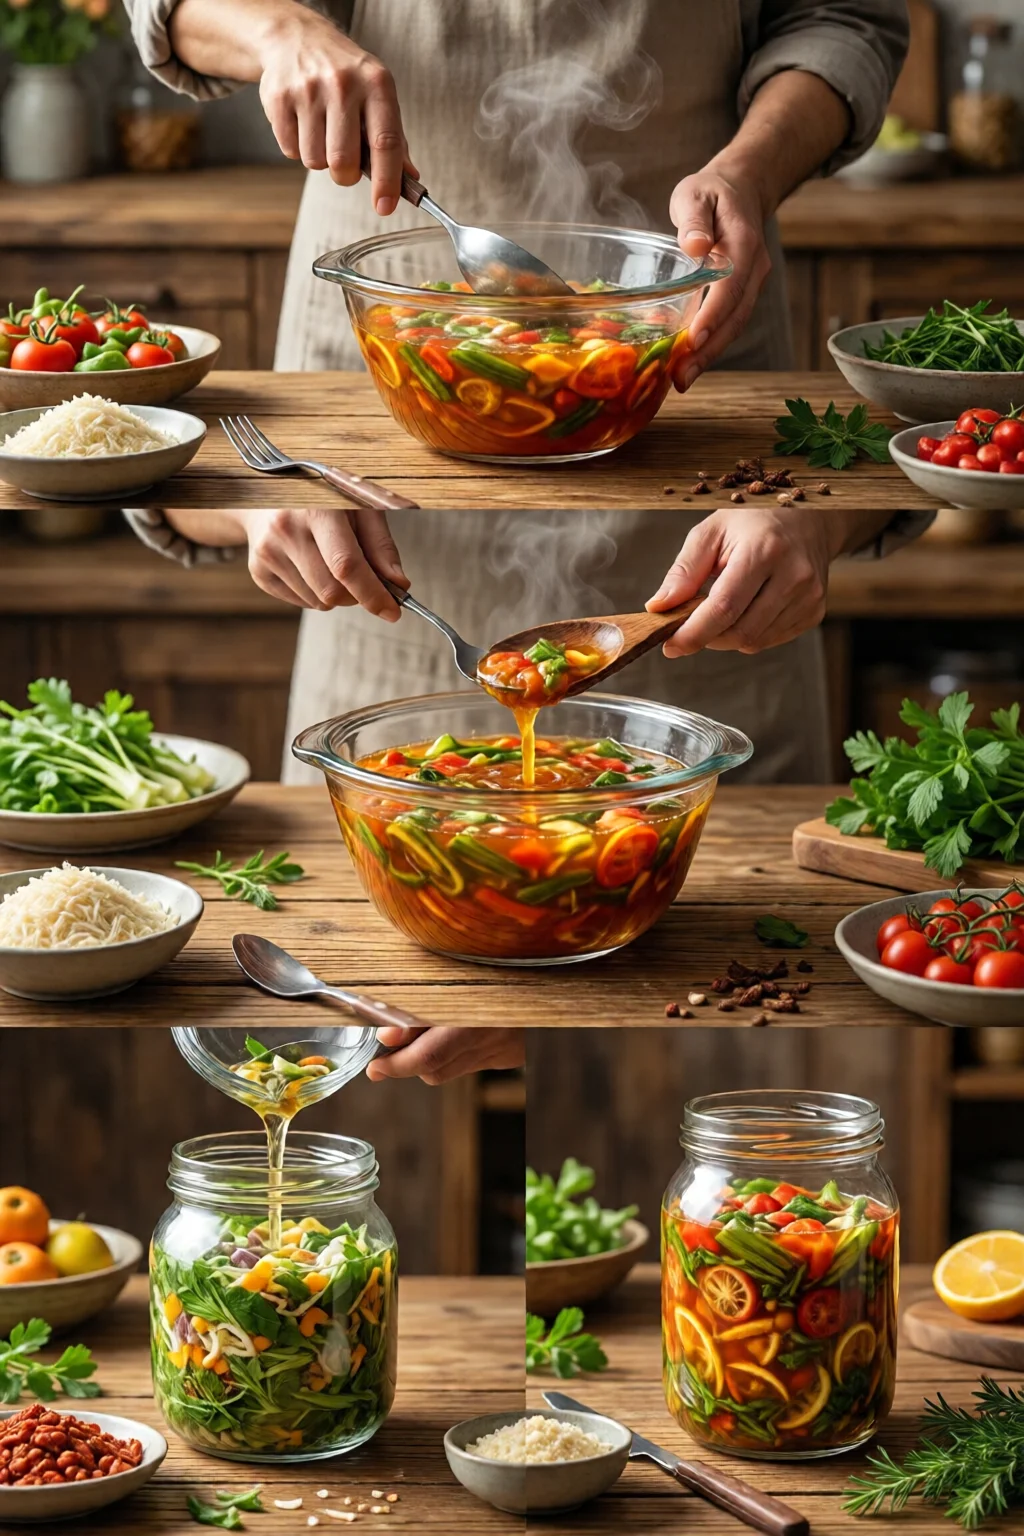
Step 2: Prepare Your Ingredients
Precision matters. Weigh your vegetables and salt before you start – this eliminates guesswork and ensures the right osmotic pressure for the microbes.
- Remove any wilted outer leaves from the cabbage. Keep one clean leaf intact; you’ll use it later to cover the surface.
- Slice the cabbage thinly (about 2 mm) using a mandoline. Thin shreds release water faster, creating a brine without extra salt.
- Place the sliced cabbage in a large bowl, sprinkle the measured sea salt evenly, and massage for 5‑7 minutes. You’ll see the cabbage turn glossy and release its own juice – that’s the brine forming.
- For kimchi, add the gochugaru, fish sauce, grated ginger, and a minced garlic clove. Mix thoroughly until every strand is coated.
- If you’re making kombucha, brew 1 L of black tea, dissolve 80 g of white granulated sugar while the tea is still hot, let it cool to room temperature, then add the 100 mL starter kombucha and gently place the SCOBY on top.
My kitchen timer is set for exactly 6 minutes when I massage cabbage – any longer and the texture becomes mushy, any shorter and the brine is weak.

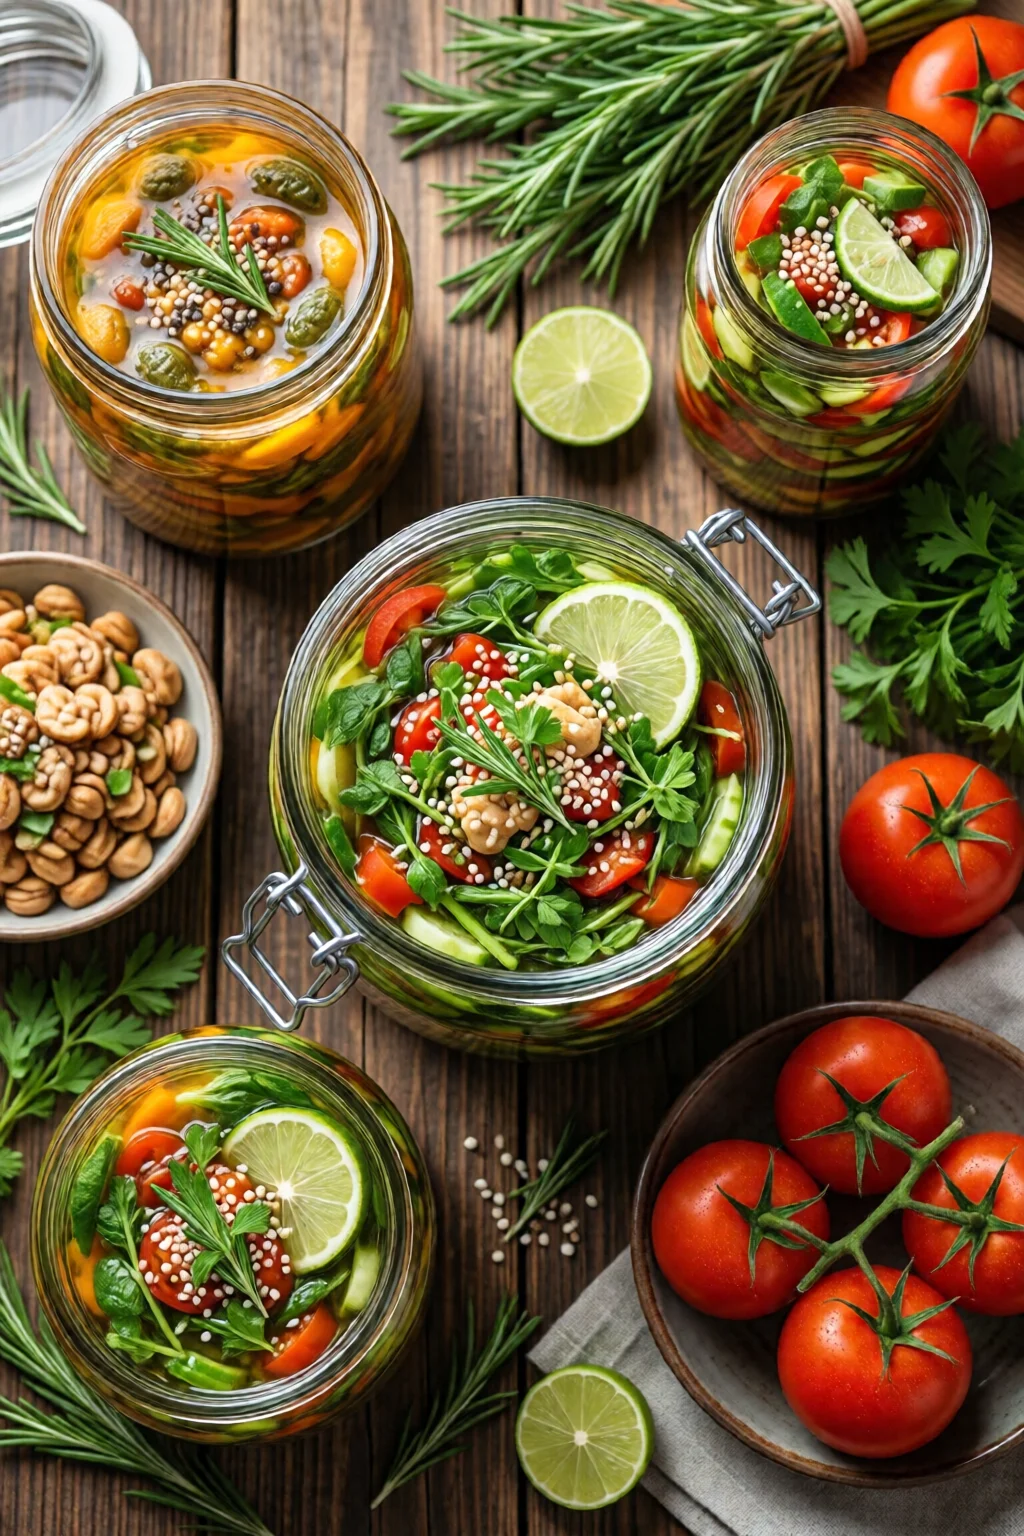
Step 3: Pack the Jar and Seal
Now comes the “jar‑down” technique that keeps oxygen out and microbes happy.
- Transfer the salted cabbage (or kimchi mixture) into a sterilized Ball Mason jar, pressing down firmly with a wooden tamper. Aim for a headspace of about 1 inch (2.5 cm) at the top.
- Pour any remaining liquid (brine) over the vegetables until they’re fully submerged. If the brine isn’t enough, dissolve an extra 5 g of salt in 50 mL water and add it.
- Place the reserved clean cabbage leaf on top, then set the fermentation weight to keep everything below the liquid line.
- Secure the lid. If you use a regular two‑piece lid, remember to “burp” the jar once daily (unscrew the band just enough to let gas escape, then reseal). If you have a Fermcap airlock, simply pop it on – no burping needed.
For kombucha, the SCOBY should float on the surface; the jar’s mouth stays uncovered by a cloth secured with a rubber band to keep out insects while allowing airflow.
Step 4: Ferment and Monitor
Patience is a virtue, but you don’t have to guess. Here’s a timeline based on temperature (measured with a kitchen thermometer):
- 65 °F (18 °C): Sauerkraut ferments 2‑3 weeks; kimchi 1‑2 weeks; kombucha 7‑10 days.
- 75 °F (24 °C): Sauerkraut 1‑2 weeks; kimchi 5‑7 days; kombucha 4‑6 days.
- 85 °F (29 °C): Expect faster activity – check daily for off‑flavors, and reduce ferment time by about 30%.
Every day, give the jar a quick visual check: bubbles rising, brine covering the veggies, and no mold (white, fuzzy growth is normal, but black, green, or pink spots mean discard).
When the flavor hits your preferred balance – tangy but not overly sour – transfer the jar to the refrigerator. Cold storage slows fermentation dramatically; a 4‑week fridge period is enough for most beginners to enjoy the product without it turning mushy.
Common Mistakes to Avoid
Even seasoned fermenters stumble. Here are the blunders I see most often and how to sidestep them:
- Using iodized salt: Iodine kills the lactic‑acid bacteria. Stick to sea salt or kosher salt without additives.
- Insufficient submersion: Exposed veggies develop surface mold. Always keep the produce below the brine; a weight or a leaf barrier helps.
- Skipping daily burps (for regular lids): Pressure buildup can burst the jar or cause an unpleasant “yeasty” taste. Set a reminder on your phone for 5‑minute burp sessions.
- Fermenting at too high a temperature: Above 85 °F, unwanted bacteria can outcompete the good ones, leading to off‑flavors. Keep jars on a countertop away from direct sunlight, or use a simple insulated box.
- Adding too many extra ingredients: Beginners often toss in carrots, apples, or herbs in the first batch. While delicious, they increase the risk of contamination. Add extras only after you’ve mastered a plain batch.
Troubleshooting & Tips for Best Results
Even with perfect preparation, you might encounter hiccups. Here’s a quick diagnostic guide:
| Issue | Possible Cause | Solution |
|---|---|---|
| White film on surface | Normal Kahm yeast (good) | Skim off; does not affect flavor. |
| Black or pink mold | Contamination from airborne spores | Discard batch; sterilize jars again, improve covering method. |
| No bubbles, flat taste | Too cold (<60 °F) or insufficient salt | Move jar to a warmer spot; verify 1.5‑2% salt ratio. |
| Too sour too fast | High temperature or over‑fermentation | Transfer to fridge earlier; lower ambient temperature. |
| Veggies stay crunchy | Insufficient fermentation time | Allow an extra 3‑5 days; taste daily. |
Pro tip: For a crisp‑ier texture in sauerkraut, add 0.5 % (by weight) of grated apple. The pectin helps retain crunch while still delivering tang.
If you’re interested in expanding beyond vegetables, try pairing your fermented veggies with a homemade stock and broth for a probiotic‑rich soup, or use them as toppings for Turkish kebab and meze plates.
Summary & Next Steps
With the right tools, a simple recipe, and a bit of patience, you can create delicious, probiotic‑rich foods that last months and boost gut health. The core of successful fermentation recipes for beginners lies in three principles:
- Control salt and temperature – they dictate which microbes dominate.
- Maintain an anaerobic environment – keep everything submerged and sealed.
- Taste and adjust – fermentation is a living process; your palate is the best gauge.
Now that you’ve mastered cabbage, why not experiment with other vegetables like carrots, radishes, or even fruit? Your next batch could be a spicy kimchi‑style carrot pickle or a sweet‑tart fermented strawberry jam. The possibilities are endless, and each jar is a small laboratory of flavor waiting to be discovered.
How long can I keep sauerkraut in the fridge?
Properly fermented and refrigerated sauerkraut can last 4‑6 months. The flavor may deepen over time, but if you notice a slimy texture or off‑smell, discard it.
Do I need a starter culture for kimchi?
No, the natural lactic‑acid bacteria on the cabbage are sufficient if you use the correct salt ratio (1.5‑2%). Adding a small amount of fish sauce or fermented shrimp paste simply boosts flavor.
Can I use a regular lid instead of an airlock?
Yes, just “burp” the jar once or twice daily to release CO₂. Airlocks are convenient but not essential for beginners.
What temperature is ideal for kombucha fermentation?
Between 70‑80 °F (21‑27 °C). Below 65 °F the SCOBY works very slowly; above 85 °F you risk mold growth.
Where can I find gluten‑free fermentation recipes?
Check out our gluten free recipes for beginners guide, which includes fermented veggie bowls, kimchi‑style slaws, and more.