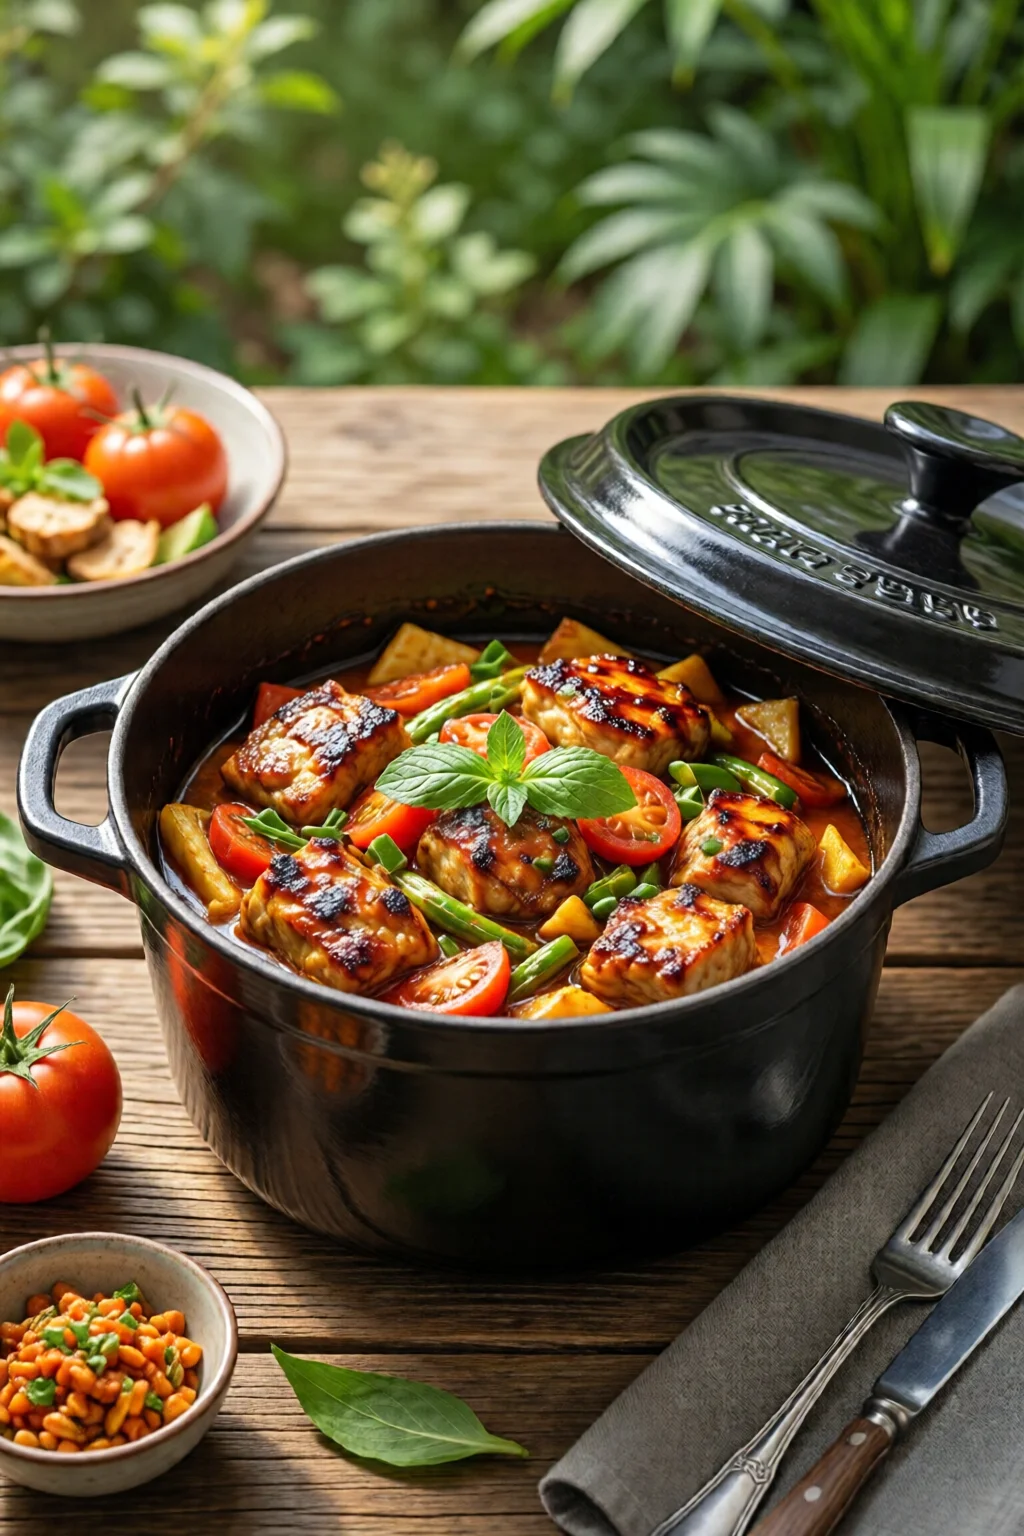
Picture this: you’re on a breezy campsite at sunset, the fire crackles, and you pull a hearty, aromatic stew from a well‑seasoned cast‑iron Dutch oven. A few weeks later, you’re in a city kitchen, the oven pre‑heated, and the same pot becomes the star of a slow‑roasted pork shoulder that melts off the bone. Those two scenes share a secret – the versatility of Dutch oven recipes outdoor and indoor. In this guide I’ll walk you through everything you need to master that versatility, from gear selection to step‑by‑step cooking techniques, and even the pitfalls that can ruin an otherwise perfect dish.
In This Article
- What You Will Need (or Before You Start)
- Step 1 – Choose the Right Recipe for Your Setting
- Step 2 – Prep Your Ingredients
- Step 3 – Master the Sear
- Step 4 – Deglaze and Add Liquid
- Step 5 – Cook Low and Slow (or Adjust for the Fire)
- Step 6 – Finish and Rest
- Common Mistakes to Avoid
- Troubleshooting or Tips for Best Results
- FAQ
- Summary
What You Will Need (or Before You Start)
- Cast‑iron Dutch oven – I swear by the Le Creuset Signature Enameled Cast Iron 5.5‑qt. Dutch Oven (about $199). If you’re on a tighter budget, the Lodge 6‑qt. Cast Iron Dutch Oven retails for $119 and holds up beautifully.
- Heat source – outdoor: campfire, propane grill, or portable butane burner; indoor: electric or gas oven, stovetop, or induction cooktop.
- Thermometer – a quick‑read digital model (e.g., ThermoWorks Thermapen ONE, $79) to monitor internal meat temperatures.
- Basic pantry staples – oil (extra‑virgin olive oil, $8/L), aromatics (onion, garlic, carrots), broth (low‑sodium chicken, $3 per 32‑oz carton), and seasonings (sea salt, black pepper, smoked paprika).
- Tools – sturdy tongs, a heat‑proof silicone spatula, a heavy‑duty trivet (e.g., Camp Chef Heavy‑Duty Cast Iron Trivet, $24), and a sturdy oven mitt (e.g., Ove Glove 2.0, $34).
- Optional accessories – a cast‑iron lid lifter, a Dutch‑oven specific insert for steaming, and a portable windscreen if you’re battling gusty conditions.
Before you light a fire or pre‑heat the oven, double‑check that your Dutch oven’s lid fits snugly; a gap of even a quarter‑inch lets steam escape and can dry out a braise. Also, if you’re cooking outdoors, clear a safe area at least 10 feet from any flammable material and have a bucket of water or sand nearby.
Step 1 – Choose the Right Recipe for Your Setting
Indoor cooking lets you control temperature precisely (±5 °F). Outdoor cooking, however, demands a bit of flexibility. For indoor dishes, I often use recipes that benefit from steady, low heat – think classic beef bourguignon or a chicken and dumpling casserole. Outdoors, I gravitate toward high‑heat, quick‑sear dishes that finish with a gentle simmer, like a campfire chili or a Dutch‑oven pizza.
Here are two starter recipes that illustrate the dual nature of Dutch oven cooking:
- Indoor: Slow‑Cooked Braised Short Ribs – 3 lb short ribs, 2 cups beef broth, 1 cup red wine, 2 tbsp tomato paste, aromatics, and herbs. Cook at 300 °F for 3 hours.
- Outdoor: Campfire Pulled Pork – 4 lb pork shoulder, 1 cup apple cider vinegar, ½ cup brown sugar, 2 tbsp smoked paprika, and a handful of wood chips for smoke.
Step 2 – Prep Your Ingredients
Uniform chopping ensures even cooking. For the short ribs, cut carrots and onions into ½‑inch dice; for the pork shoulder, trim excess fat to about 10 % of the weight – this prevents flare‑ups on the fire. In my experience, patting meat dry with paper towels before searing boosts the Maillard reaction, giving you that deep, caramelized crust.
Season generously. A rule of thumb: 1 % of the meat’s weight in salt. For a 4‑lb pork shoulder, that’s roughly 1.8 oz (about 3 Tbsp) of kosher salt. Add it at least 30 minutes before cooking to let the salt penetrate.
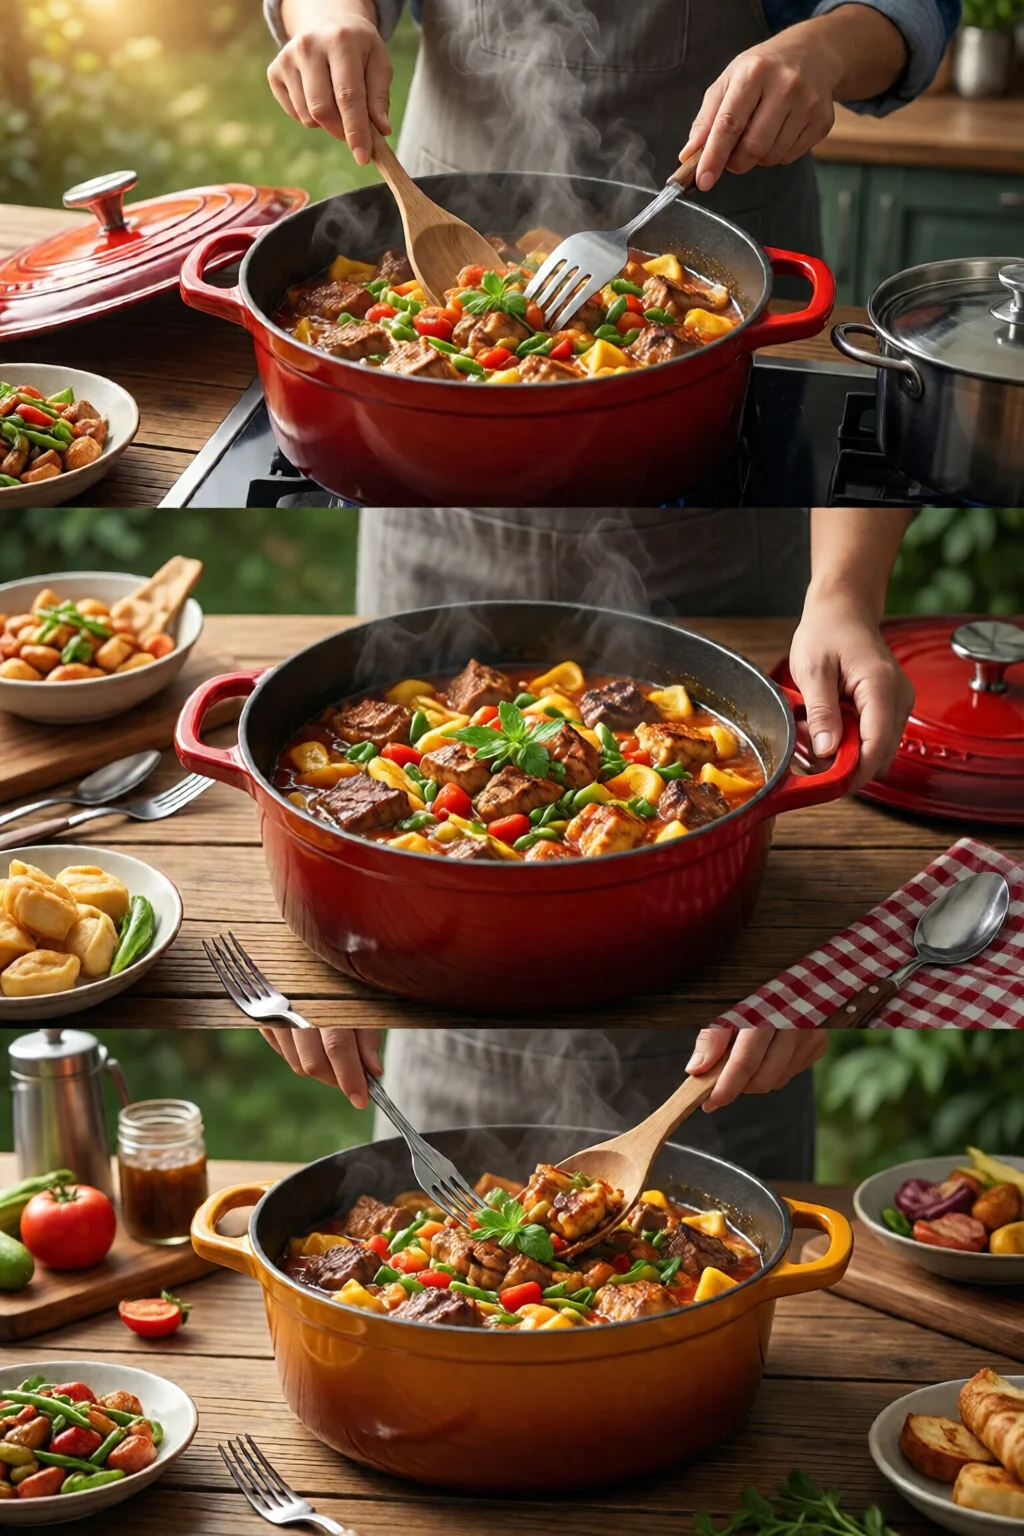
Step 3 – Master the Sear
Heat the Dutch oven over medium‑high heat (≈ 375 °F) for 5 minutes. Add 2 Tbsp high‑smoke‑point oil (e.g., avocado oil, $12 / L). When the oil shimmers, place the meat away from you to avoid splatter. Sear each side for 3‑4 minutes until a dark brown crust forms. Resist the urge to move the meat too soon; let it release naturally.
Outdoor tip: If you’re using a campfire, create a “fire triangle” – three medium‑sized logs arranged in a triangle with a gap in the center. Place the Dutch oven on a sturdy grate over the gap; this yields a more even heat than a direct flame.
Step 4 – Deglaze and Add Liquid
After searing, remove the meat and set aside. Pour off excess fat (leaving about 1 Tbsp for flavor). Add ½ cup of your chosen liquid (red wine for short ribs, apple cider vinegar for pork). Scrape the fond with a wooden spoon – those browned bits are flavor gold. Then return the meat, add the remaining liquid (broth, water, or a mix), and bring to a gentle simmer (≈ 190 °F).
Indoor nuance: Use the oven’s convection setting if available; it circulates air and reduces cooking time by about 15 %.
Step 5 – Cook Low and Slow (or Adjust for the Fire)
Cover the Dutch oven tightly and transfer it to the oven or set it on the fire’s indirect heat zone. Indoor: 300 °F for 3 hours (short ribs) or 275 °F for 4 hours (pork). Outdoor: Maintain a steady fire temperature of 250–300 °F; use a windscreen and a thermometer probe inserted into the lid’s rim to monitor.
Check after the first hour: if the liquid level is below half, add a splash of broth. A good rule: you should never let the liquid evaporate completely; the goal is a moist, tender result, not a dry roast.
Step 6 – Finish and Rest
When the meat is fork‑tender (it should pull apart with little resistance), remove the lid. For a glossy finish, increase heat to medium‑high and reduce the sauce by 20 % (about 10 minutes). Then let the meat rest for 10 minutes before carving – this redistributes juices.
Serve the short ribs over creamy polenta (a perfect pairing for indoor comfort) or shred the pork shoulder and toss with coleslaw for a rustic campfire sandwich.
Common Mistakes to Avoid
- Overcrowding the pot. Packing too much meat forces the pot to steam rather than sear, resulting in a pale crust. Keep a single layer; if needed, sear in batches.
- Using a cold Dutch oven on a hot fire. This can cause thermal shock and crack the enamel. Warm the pot gradually over low heat for 2‑3 minutes before raising the temperature.
- Neglecting the lid seal. A loose lid releases steam, drying out the dish. If the lid is warped, place a clean kitchen towel between the lid and pot to improve the seal.
- Skipping the resting period. Cutting into meat immediately causes juices to run out, leaving it dry. Rest for at least 5‑10 minutes; for larger cuts, go up to 15 minutes.
- Adding acidic ingredients too early. Acid (vinegar, tomatoes) can break down the cast‑iron’s seasoning if introduced before the sear. Add acids after the initial browning step.
Troubleshooting or Tips for Best Results
Issue: The sauce is too thin. Reduce it uncovered on medium heat for 10‑15 minutes, stirring occasionally. A splash of cold butter (½ Tbsp) at the end adds body and shine.
Issue: The meat isn’t tender after the suggested time. Fire temperatures can vary wildly. Use a meat thermometer; if the internal temperature is below 190 °F for pork shoulder, continue cooking in 30‑minute increments.
Tip: Use a pre‑heated trivet. Placing the Dutch oven on a hot trivet (pre‑heated on the grill or stovetop) helps maintain a consistent temperature when you lift the pot off the flame.
Tip: Add aromatics at the right moment. Fresh herbs (thyme, rosemary) lose potency if cooked too long. Add them during the last 30 minutes of cooking for a vibrant flavor.
Tip: Enhance smoky flavor outdoors. Wrap a handful of wood chips (hickory or apple) in a foil packet with holes punched, and place it on the coals. The smoke will infuse the dish without overwhelming it.
For more cast‑iron inspiration, check out our guide on cast iron skillet recipes and care. If you’re planning a meat‑heavy outdoor feast, the how to marinate meat perfectly tips will boost flavor before the Dutch oven even sees the fire. Want to combine the Dutch oven with a searing surface? Try the plancha grilling recipes and technique for a crisp finish. Need a quick weeknight dinner? Our 5 ingredient dinner recipes simple include a Dutch‑oven chicken that’s ready in under an hour. And if you’re craving something exotic, the Korean bibimbap recipe authentic can be assembled using a Dutch oven for the perfectly cooked rice.
FAQ
Can I use a non‑enameled cast‑iron Dutch oven outdoors?
Yes. Traditional seasoned cast‑iron handles high heat and is ideal for campfires. Just avoid sudden temperature changes that could cause rust; re‑season after each outdoor use.
How do I keep the temperature steady over a campfire?
Create a fire triangle with three medium logs, place a cast‑iron grate in the center, and use a windscreen. A probe thermometer slipped under the lid rim gives real‑time readings.
What’s the best way to clean a Dutch oven after cooking outdoors?
While the pot is still warm, scrub with a non‑metal brush and hot water. For stubborn bits, add coarse kosher salt and a little oil, then scrub. Rinse, dry thoroughly, and apply a thin coat of vegetable oil to prevent rust.
Can I bake bread in a Dutch oven indoors?
Absolutely. Preheat the oven to 475 °F, place the Dutch oven inside for 30 minutes, then bake the dough inside the hot pot with the lid on for the first 20 minutes to trap steam.
Do I need to pre‑heat the Dutch oven for a stew?
For a stew, you can start on medium heat without pre‑heating; the liquid will bring the pot up gradually. Pre‑heating is only essential when you want a strong sear.
Summary
Whether you’re perched beside a roaring campfire or working the back burner in a city apartment, Dutch oven recipes outdoor and indoor unlock a world of flavor with just one piece of equipment. Pick the right pot, respect the heat, and follow the sear‑deglaze‑simmer rhythm, and you’ll produce tender meats, rich sauces, and comforting sides every time. Remember the common pitfalls – overcrowding, loose lids, and abrupt temperature changes – and you’ll avoid the most frustrating kitchen (or campsite) mishaps. With these tips in hand, fire up that Dutch oven, experiment with the recipes above, and let the aromas guide you from the woods to the kitchen.
1 réflexion au sujet de « Best Dutch Oven Recipes Outdoor And Indoor Ideas That Actually Work »