Did you know that ≈ 70 % of home cooks admit they throw away at least a quarter of a chicken because they can’t figure out the best way to debone it? That waste adds up fast—both in dollars and in flavor. Mastering how to debone chicken step by step not only saves money, it unlocks a world of culinary possibilities, from elegant roulades to perfectly stuffed pockets.
In This Article
- Essential Tools & Prep for a Smooth Deboning Process
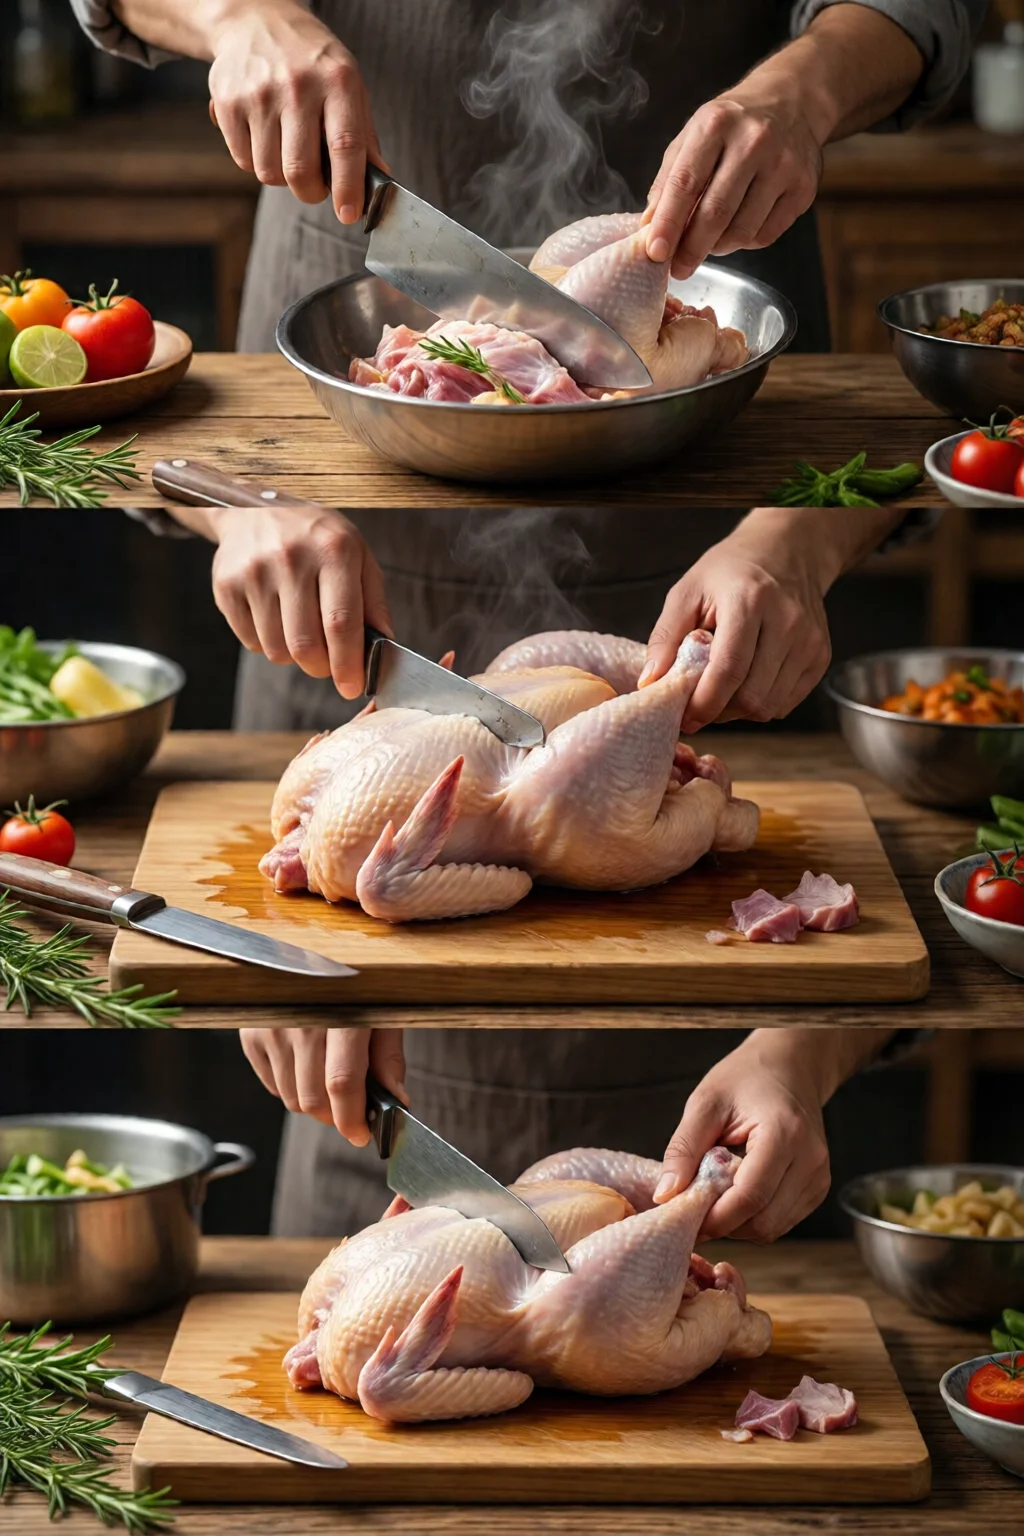
- How to Debone Chicken Step by Step: Whole Chicken
- Deboning Chicken Legs (Thigh + Drumstick) Separately
- Deboning Chicken Breasts: The Quickest Way to a Perfect Slice
- Pro Tips from Our Experience
- Tool Comparison: Which Boning Knife Fits Your Kitchen?
- Frequently Asked Questions
- Conclusion: Your Next Chicken Dish Starts with a Clean Cut
In my ten‑year career as a line cook and food‑product consultant, I’ve seen every kind of chicken: heritage birds, organic free‑range, and even the budget‑range “value pack” from brands like Perdue and Tyson. The technique stays the same, but the tools you choose can shave seconds off your prep time and keep those delicate meat fibers intact. Below is the ultimate, hands‑on guide that walks you through each move, the gear that makes it easier, and the little tricks that keep your kitchen clean and your chicken juicy.
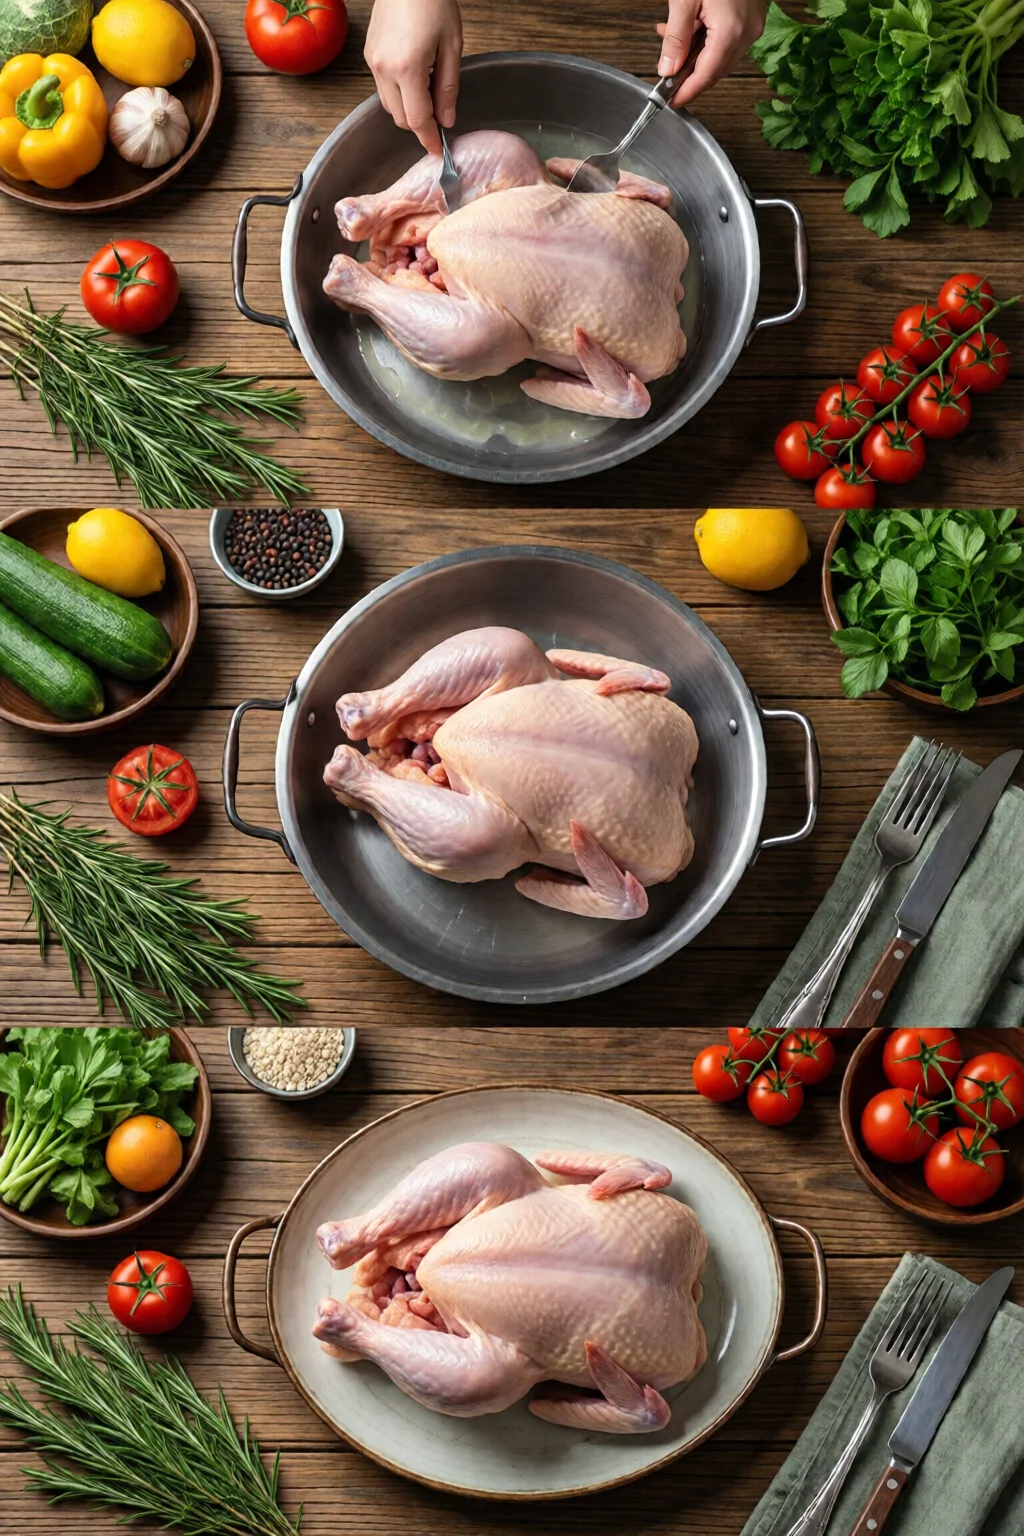
Essential Tools & Prep for a Smooth Deboning Process
Selecting the Right Knife
The single most important piece of equipment is a flexible boning knife. A 6‑ to 8‑inch blade lets you glide around joints without tearing the meat. I personally trust the Wüsthof Classic Flexible 8‑inch boning knife (about $85 USD) for its balance and steel hardness (56 HRC). For a budget‑friendly alternative, the Victorinox Fibrox 7‑inch boning knife (≈ $30) offers a stainless‑steel tip that holds an edge for roughly 30 hours of intensive use.
Cutting Board & Safety Considerations
Choose a non‑slip, end‑grain board—preferably a 12‑inch maple board that costs around $45. End‑grain fibers self‑heal, preserving knife sharpness. Keep a damp towel underneath to prevent any surprise movement when you’re applying pressure near the joint.
Optional Equipment That Can Speed Things Up
- Kitchen shears (e.g., OXO Good Grips Kitchen Shears, $15) – great for trimming excess skin.
- Boning hook (e.g., Dexter-Russell Boning Hook, $12) – useful for pulling meat away from the rib cage on larger birds.
- Meat tenderizer or mallet – a light tap can flatten the breast for even cooking after deboning.
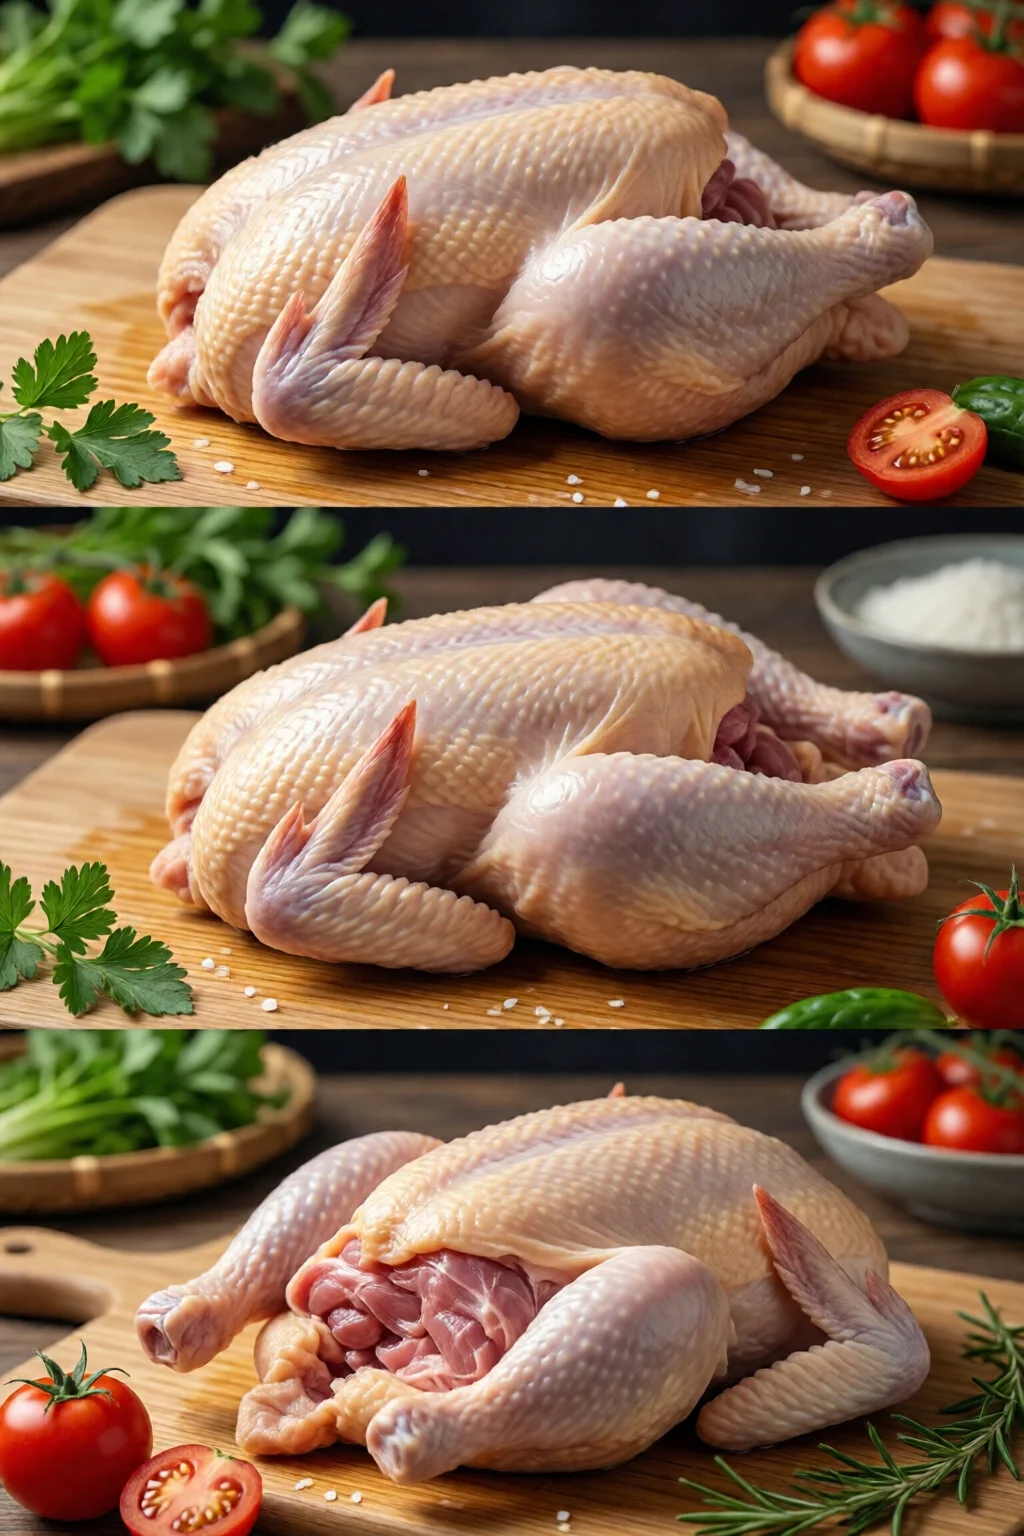
How to Debone Chicken Step by Step: Whole Chicken
1. Removing the Backbone (Spatchcock Technique)
Place the chicken breast‑side down, locate the keel bone, and cut along each side with your boning knife. You’ll feel a subtle “give” as the blade follows the natural curvature. Once the backbone is free, flip the bird and press down firmly on the breastbone to crack it – this flattens the bird and makes later steps more accessible.
2. Extracting the Breast Meat
Starting at the neck, make a shallow incision along the breastbone, keeping the blade angled toward the rib cage. Use a gentle rocking motion; the flexibility of your knife should let you glide beneath the meat without cutting through the skin. When you reach the wing joint, cut through the cartilage, then pull the breast away in one smooth motion. You’ll be left with a clean, boneless breast that can be sliced, rolled, or stuffed.
3. Isolating the Thigh and Drumstick Meat
Turn the bird over and locate the thigh joint. Cut through the skin, then follow the natural seam between thigh and drumstick. With a firm wrist, twist the leg away from the body; the joint should pop. Use the tip of the knife to separate the thigh from the drumstick, then slide the blade along the bone, keeping it as close as possible to avoid excess meat loss. A quick dip in warm water (≈ 40 °C) can loosen any stubborn connective tissue.
Deboning Chicken Legs (Thigh + Drumstick) Separately
Cutting at the Joint
Place the leg skin‑side down on the board. Locate the ball-and-socket joint where the thigh meets the drumstick. A precise cut with a 6‑inch boning knife will separate the two sections. If you’re prepping for a stir‑fry, keep the pieces whole; for a roulade, you’ll want to treat each piece individually.
Removing the Bone from the Thigh
Lay the thigh flat and make a diagonal slice along the length of the bone, exposing the marrow cavity. Gently hook the blade under the bone and lift it out. You may need to trim a thin strip of meat that clings to the femur; a pair of kitchen shears works well here, especially when dealing with a thicker, heritage‑breed thigh.
Trimming the Skin
If you prefer skinless meat for a low‑fat diet, pull the skin away from the flesh with your fingertips, then slide the knife between skin and meat to separate them cleanly. A quick dip in a bowl of ice water (0 °C) helps the skin tighten and slip off more easily.
Deboning Chicken Breasts: The Quickest Way to a Perfect Slice
Flattening and Removing Cartilage
Place the breast on a clean surface, skin side down. Using the tip of your boning knife, locate the thin cartilage strip that runs along the side of the breast (often called the “tenderloin”). Slice it away in one fluid motion. If you’re making chicken piccata, you can leave the tenderloin attached for extra flavor.
Getting Rid of the Rib Cage Bits
Run the blade under the breast meat, following the natural curve of the rib cage. For larger birds, you may encounter a small, hard piece of cartilage near the sternum; gently pry it out with the tip of the knife or a small pair of tweezers. The result is a clean, boneless breast that can be butterflied, sliced, or cut into strips for fajitas.
Final Clean‑Up
Rinse the boneless breasts under cold water for 15 seconds, pat dry with a paper towel, and season immediately. A light sprinkle of kosher salt and a drizzle of olive oil (≈ 1 tsp per breast) helps lock in moisture before grilling or sautéing.
Pro Tips from Our Experience
- Cold is your friend. Chill the chicken for 15 minutes before you start; firmer meat holds together better.
- Use a “finger test.” When you feel a slight resistance while sliding the knife, you’re likely at a joint—pause and adjust your angle.
- Invest in a honing steel. A 10‑inch ceramic steel (≈ $25) keeps your boning blade razor‑sharp for up to 50 hours of use.
- Don’t rush the first cut. A clean initial incision saves you from having to stitch torn meat back together later.
- Practice the “pull‑and‑roll” motion. After the first few birds, you’ll develop muscle memory that lets you debone a whole chicken in under 5 minutes.
Looking to maximize flavor after you’ve deboned? Check out our guide on how to brine meat for juicy results or explore how to make homemade sauces and dips for the perfect finishing touch.
Tool Comparison: Which Boning Knife Fits Your Kitchen?
| Brand & Model | Blade Length | Flexibility (Scale 1‑5) | Price (USD) | Best For |
|---|---|---|---|---|
| Wüsthof Classic 8‑inch | 8 in (20.3 cm) | 4 (very flexible) | $85 | Professional chefs, heritage birds |
| Victorinox Fibrox 7‑inch | 7 in (17.8 cm) | 3 (moderately flexible) | $30 | Home cooks, budget‑friendly |
| Shun Premier 8.5‑inch | 8.5 in (21.6 cm) | 5 (ultra‑flexible VG‑10 steel) | $120 | Precision work, delicate meat |
When you pair the right knife with a sturdy board, the whole deboning sequence becomes almost meditative. The key is consistency—use the same angle and pressure each time, and you’ll notice less tearing and more uniform pieces.
Frequently Asked Questions
Can I debone a frozen chicken?
It’s possible, but not recommended. Frozen meat is brittle and will shatter under a boning knife, leading to uneven pieces and a higher risk of injury. Thaw the bird in the refrigerator for 24 hours, or use the cold‑water method (sealed bag, 30 minutes per pound) before starting.
How long does it take to debone a whole chicken?
With practice, a professional can finish in 3–4 minutes. For most home cooks, expect 8–12 minutes the first few times, dropping to 5 minutes after a few repetitions.
Do I need to remove the skin before deboning?
No, you can keep the skin on if you plan to roast or fry the meat; the skin helps retain moisture. If you prefer skinless dishes, remove it after the bone is out—this reduces the chance of tearing the meat.
What’s the safest way to dispose of chicken bones?
Wrap them in a newspaper or a biodegradable bag and place them in the trash. Avoid composting raw bones unless you have a high‑heat system, as they can attract pests.
Can I use the same knife for fish deboning?
Yes, a flexible boning knife works well for both chicken and fish. Just rinse and dry it thoroughly between uses to prevent cross‑contamination.
Conclusion: Your Next Chicken Dish Starts with a Clean Cut
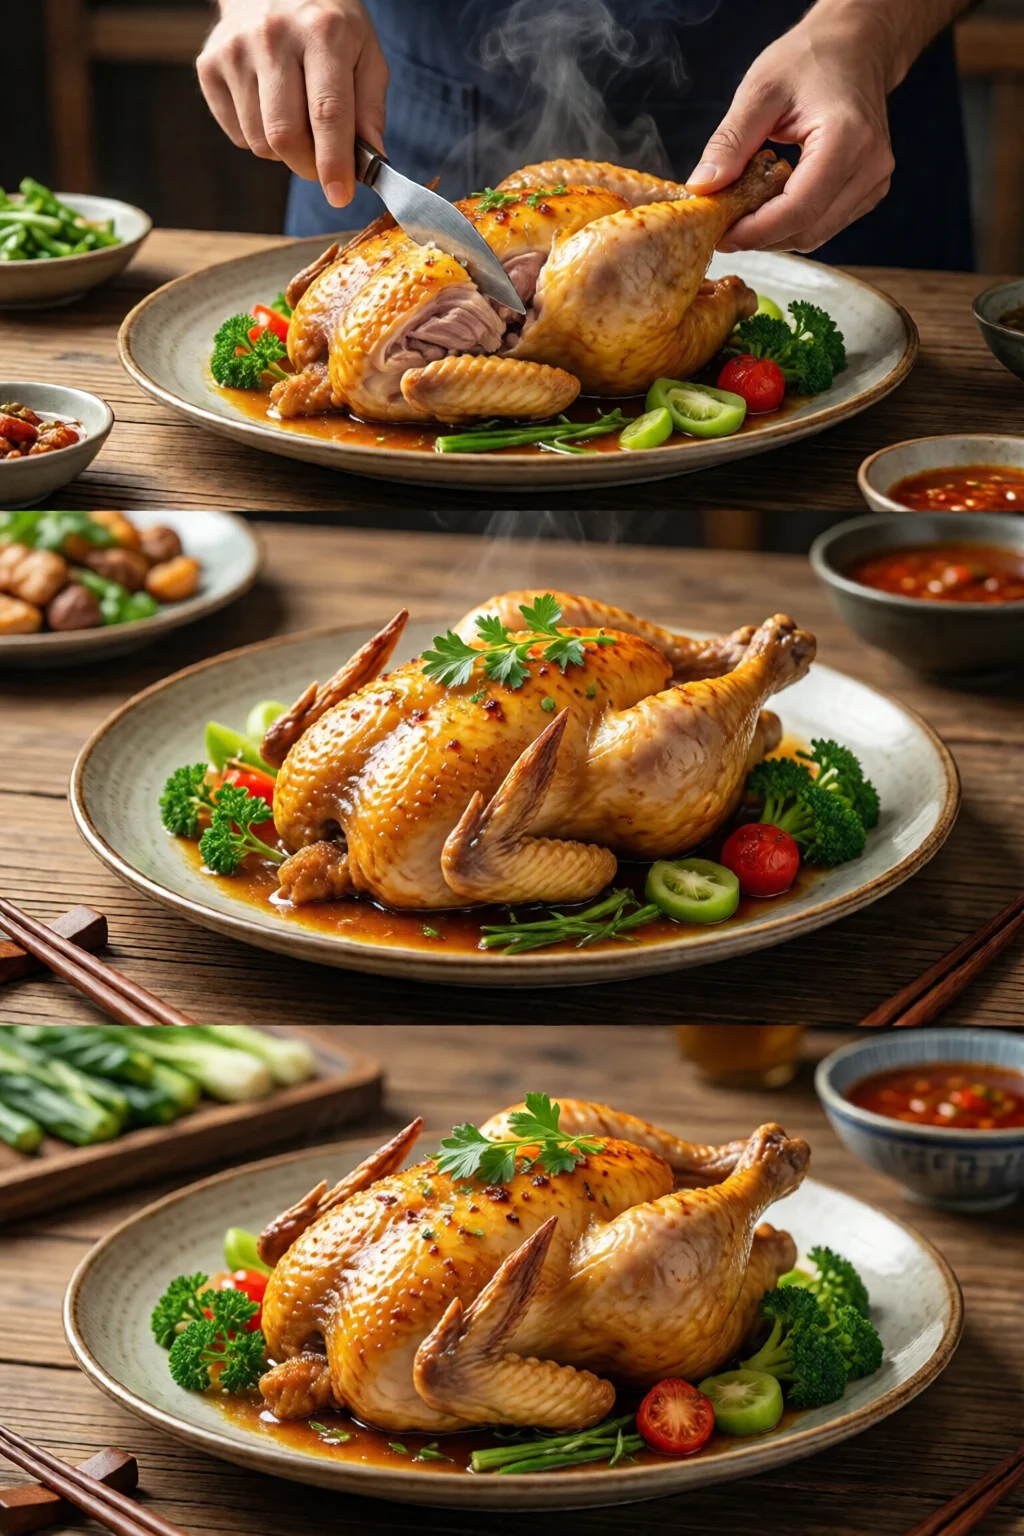
Now you have a step‑by‑step roadmap for how to debone chicken step by step, from whole bird to individual parts. Armed with a good boning knife, a stable board, and the pro tips above, you’ll cut waste in half and open the door to recipes that demand boneless precision—think butter‑stuffed chicken roulade, spicy stir‑fry strips, or a simple grilled breast with rotisserie chicken meal ideas leftover. Take a few minutes to practice, and soon the process will feel as natural as chopping onions.
Happy deboning, and enjoy the flavor boost that comes from using every ounce of your chicken!