According to a 2022 USDA survey, 73 percent of home cooks admit they over‑cook rice at least once a month, turning a fluffy side dish into a gummy paste. The good news? Mastering how to make perfect rice every time is less about luck and more about a handful of precise steps, the right water‑to‑rice ratio, and a pinch of patience.
In This Article
In my ten‑year career as a line‑cook at a bustling Asian‑fusion restaurant, I’ve boiled, steamed, and fried more bags of rice than I can count. The difference between a restaurant‑quality bowl and a soggy mess often comes down to three variables: grain selection, water proportion, and heat control. Below is a deep‑dive that turns those variables into a repeatable system you can trust, whether you’re using a $19 aluminum pot or a $149 Zojirushi NS‑TSC10 rice cooker.
Understanding Rice Varieties
Long‑grain vs. short‑grain
Long‑grain varieties such as Basmati or Jasmine stay separate when cooked because they contain higher amylose, a starch that resists clumping. Short‑grain, like Japanese sushi rice, is richer in amylopectin, giving it that sticky texture prized for nigiri. If your goal is fluffy pilaf, reach for a 2‑cup bag of Lundberg Organic Basmati ($6.99) and expect a 1‑inch grain after cooking.
Aromatic rices
Aromatic rices carry natural oils that add fragrance. A quick sniff of Thai Jasmine (e.g., Royal Umbrella, $4.49 per 2‑lb bag) can transport you to a street market in Bangkok. These oils can be muted if the water ratio is too high, so keep the ratio tight (1 part rice to 1.5 parts water).
Choosing the right grain for the dish
For fried rice, day‑old short‑grain works best; the grains are drier and less likely to fuse. For biryani, a 1:2 ratio with aged Basmati yields the signature “long‑and‑fluffy” texture. Knowing the grain’s starch profile saves you from trial‑and‑error every time you ask, “how to make perfect rice every time?”

The Science of Water Ratio and Timing
Classic 1:2 ratio
Most plain white rice follows a simple 1 cup rice to 2 cups water rule. At sea level, 1 cup (185 g) of uncooked rice absorbs roughly 300 ml of water. Using a kitchen scale eliminates the “eyeball” guesswork that leads to mushy outcomes.
Adjustments for altitude
Every 1,000 ft above sea level reduces boiling point by about 2 °F, extending cook time by 5‑10 minutes. In Denver (5,280 ft), I increase water to a 1:2.25 ratio and add an extra 3 minutes of simmering. The result? Rice that’s still tender, not under‑cooked.
Cooking methods – stovetop, rice cooker, Instant Pot
Stovetop gives you tactile control; a 5‑quart Cuisinart stainless pot ($39.99) heats evenly but demands a watchful eye. A dedicated rice cooker like the Zojirushi NS‑TSC10 ($149) automates the “absorption” phase and switches to “keep‑warm” at exactly the right moment. The Instant Pot Duo 7‑in‑1 ($99) uses pressure to cut cooking time in half—6 minutes at high pressure plus a natural release of 10 minutes produces perfectly steamed grains.
Step‑by‑Step Stovetop Method
Rinsing and soaking
Rinse rice under cold water until the runoff is clear—usually 3‑4 swirls. This removes surface starch that otherwise creates a gummy coat. For Basmati, a 20‑minute soak in cool water softens the bran, reducing cooking time by about 2 minutes and improving length.
Boiling and simmering
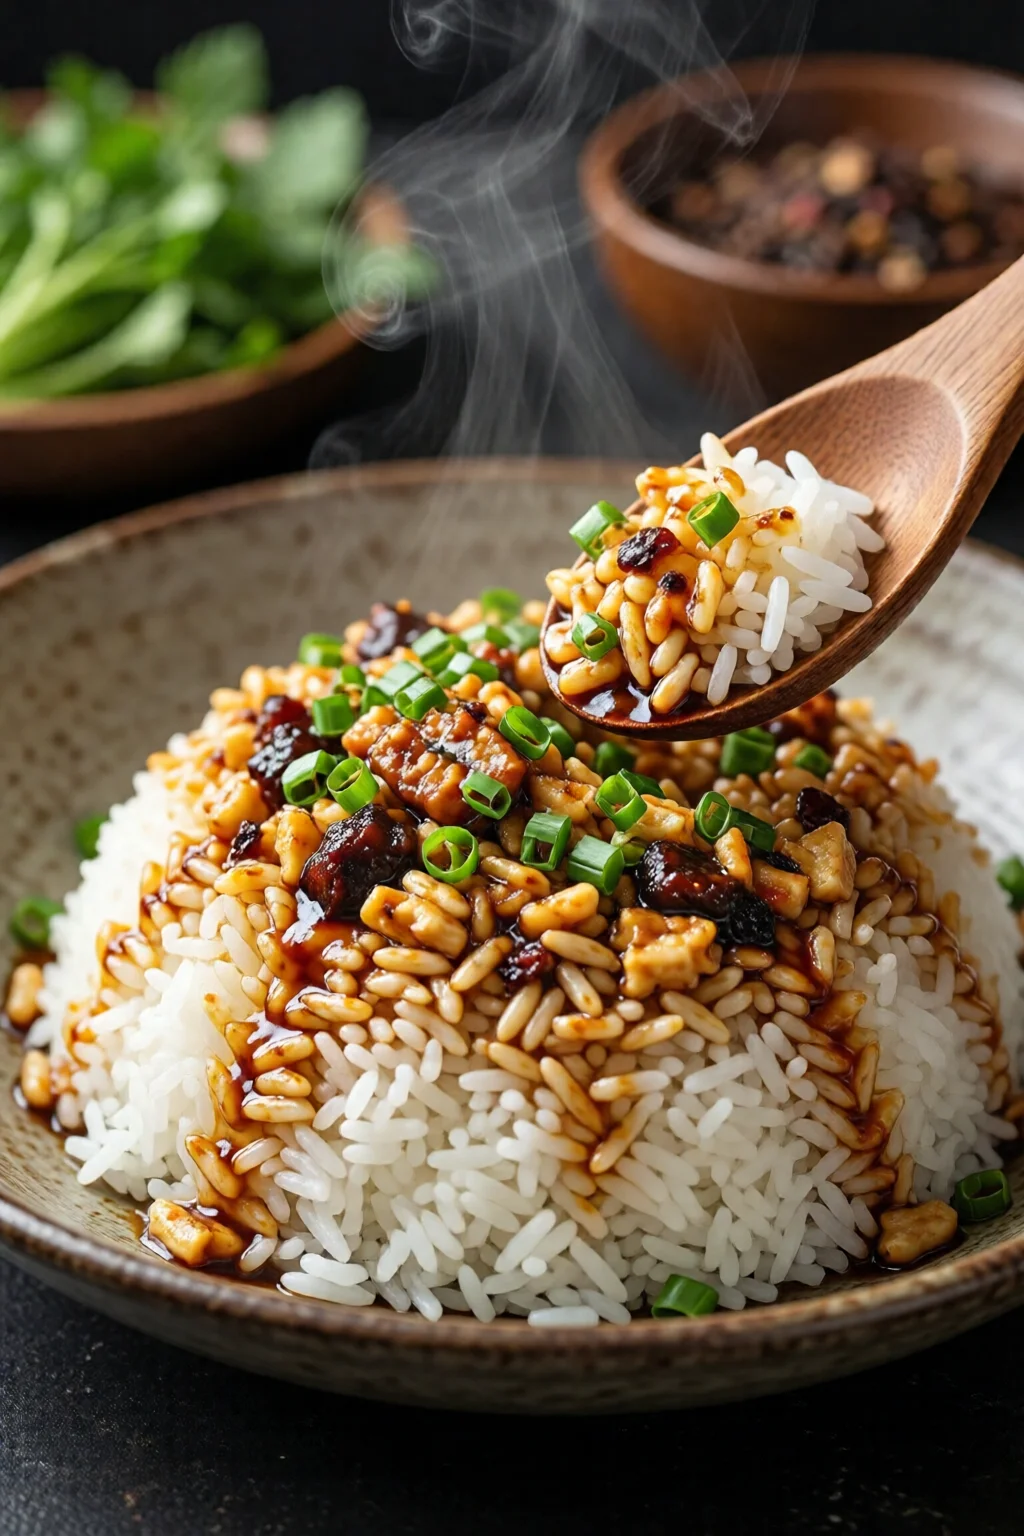
Bring the measured water to a rolling boil, add a pinch of salt and a drizzle (≈½ teaspoon) of neutral oil (e.g., 365 Pure Canola, $3.29 per 48‑oz). Stir once, then cover tightly with a lid that fits snugly—no vent holes. Reduce heat to low (≈ 1 on a 10‑point stove dial) and let it simmer for 12‑14 minutes. Resist the urge to peek; steam is the secret agent that finishes the grain.
Resting and fluffing
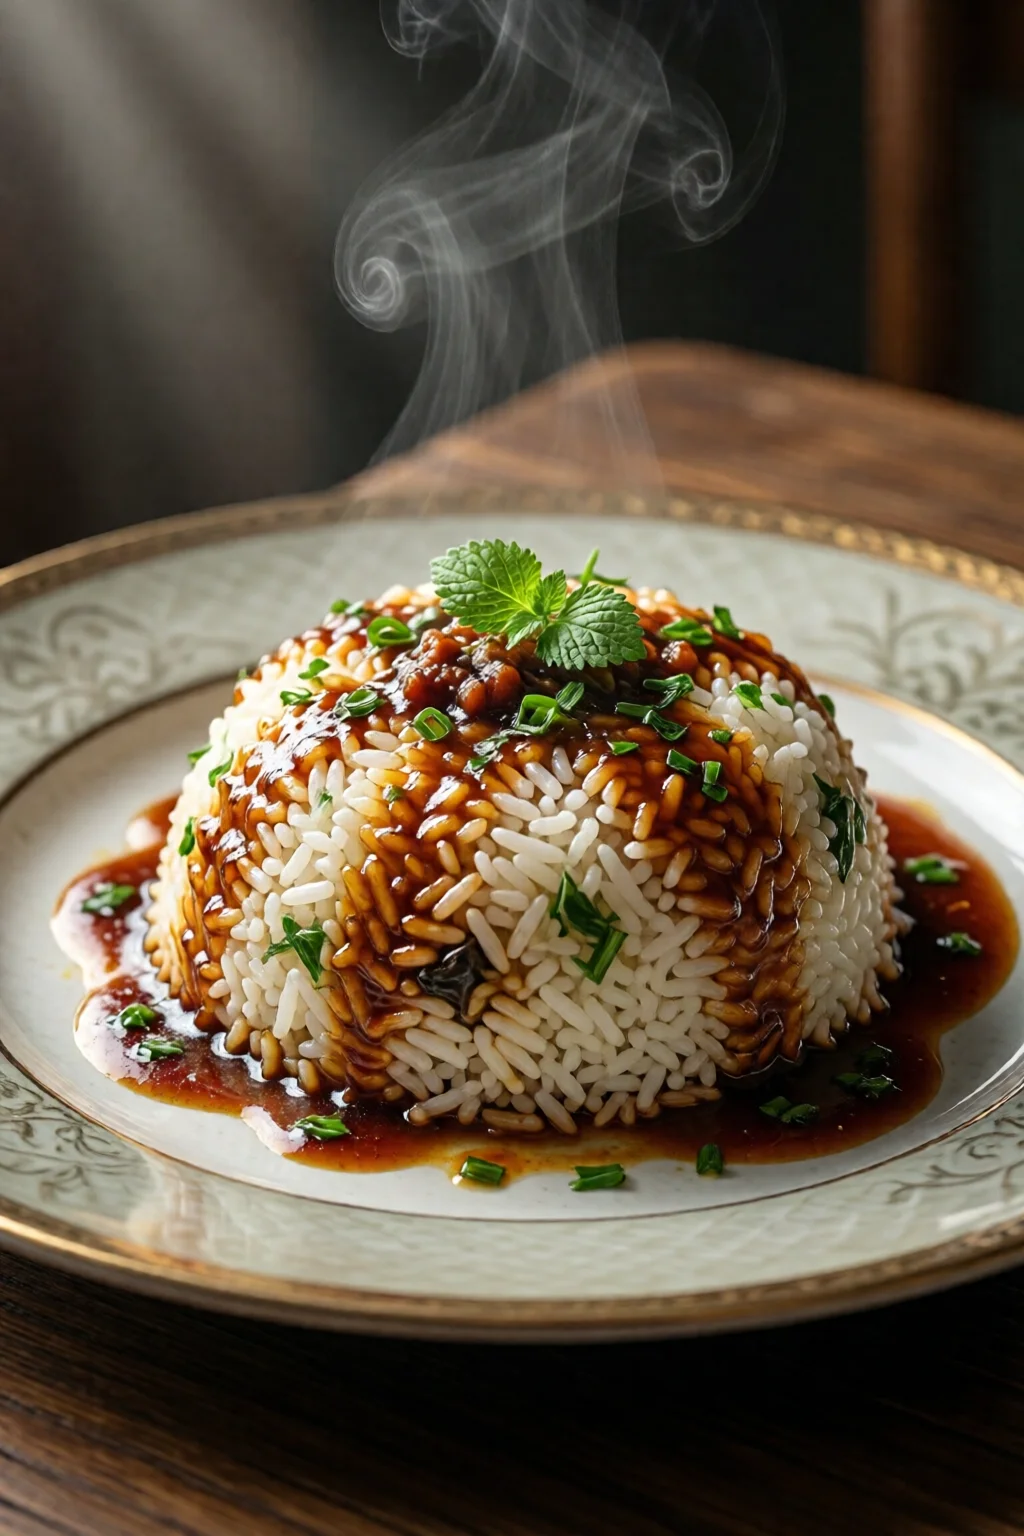
After the timer dings, remove the pot from heat and let it sit, covered, for 10 minutes. This resting stage lets the moisture redistribute, preventing a wet bottom. Finally, use a fork or a rice paddle (the wooden kind from a Japanese sushi set, $12) to gently fluff, separating each grain without crushing them.
Alternative Techniques
Microwave
For a quick single‑serve, combine ½ cup rice, ¾ cup water, and a pinch of salt in a 2‑liter microwave‑safe bowl. Cover loosely with a vented lid. Cook on high for 10 minutes, then let stand 5 minutes. The texture is decent, but you lose the subtle toasting that stovetop offers.
Oven‑baked rice
Preheat the oven to 375 °F. In a 9‑inch glass casserole, mix 1 cup rice, 1 ¾ cups broth (chicken or vegetable), and a drizzle of olive oil ($6.99 per 500 ml). Cover tightly with foil and bake for 25 minutes. This method yields uniformly cooked grains and is perfect when you’re already using the oven for a roast.
Pressure cooker (Instant Pot)
Rinse 1 cup rice, add 1 cup water, a pinch of salt, and optionally ½ teaspoon butter for richer flavor. Seal the lid, set “Manual/Pressure Cook” to high for 4 minutes, then allow a natural pressure release for 10 minutes. The result is fluffy rice in under 15 minutes total—a lifesaver on weeknight hustle.
Troubleshooting Common Issues
Mushy rice
Most often caused by excess water or a lid that isn’t sealed. If you notice a pool of liquid after cooking, drain it quickly and spread the rice on a baking sheet for 2‑3 minutes to steam off excess moisture.
Undercooked kernels
If the center feels crunchy, increase the simmer time by 2‑3 minutes and add ¼ cup extra water. Keep the lid on; opening releases steam that the rice still needs.
Sticking to pot
Non‑stick pans can hide scorching. Use a heavy‑bottomed stainless pot, add a teaspoon of oil before the water, and ensure the heat is low enough that the water barely bubbles. A quick scrape with a silicone spatula prevents burn marks.
Pro Tips from Our Experience
- Invest in a digital kitchen scale. Measuring 185 g of rice versus “1 cup” eliminates the 10‑15 % variance that often ruins texture.
- Toast the rice in a dry skillet for 2 minutes before adding water. This nutty flavor boost is a secret I use in every fried‑rice dish.
- For extra fragrance, substitute half the water with low‑sodium chicken broth ($2.49 per 32‑oz carton). The salt content balances the starch, giving a silkier mouthfeel.
- When using a rice cooker, let the “keep‑warm” cycle run for at least 10 minutes before serving. The gentle heat finishes the steaming process.
- Store uncooked rice in an airtight container in a cool, dark pantry. Exposure to humidity can cause the grains to clump, leading to uneven cooking.
Equipment Comparison
| Equipment | Cost (USD) | Cook Time | Ease of Use | Best For |
|---|---|---|---|---|
| Stovetop heavy‑bottom pot (e.g., Cuisinart 5‑qt) | $39.99 | 15‑20 min | Medium – requires monitoring | Control enthusiasts, small batches |
| Zojirushi NS‑TSC10 rice cooker | $149 | 12‑18 min (auto) | High – set‑and‑forget | Consistent results, large families |
| Instant Pot Duo 7‑in‑1 | $99 | 8‑12 min (pressure) | High – one‑button | Speed, multi‑use (steams, soups) |
| Microwave bowl (generic) | $5 | 10 min | Very high – quick | Single servings, dorm rooms |
| Oven‑bake casserole | $0 (uses existing dish) | 25 min | Medium – preheat needed | When oven is already in use |
Conclusion: Your Blueprint for Flawless Rice
Perfecting rice isn’t a mystery; it’s a formula of grain selection, precise water ratio, and disciplined heat management. By weighing your rice, rinsing until clear, using the right pot or cooker, and respecting the resting period, you’ll answer the question “how to make perfect rice every time” with confidence. Keep a notebook of your favorite ratios, note altitude adjustments, and experiment with broth or toasted grains. Within a few weeks, you’ll serve rice that’s as fluffy as a cloud and as flavorful as a restaurant side.
Why does my rice turn out sticky even when I follow the 1:2 ratio?
Sticky rice usually results from excess surface starch, not just water. Rinse the grains until the water runs clear and consider soaking long‑grain varieties for 20 minutes. Adding a teaspoon of oil or butter to the cooking water also creates a coating that reduces stickiness.
Can I use brown rice with the same method?
Brown rice requires more water (1 cup rice to 2½ cups water) and a longer simmer—usually 35‑40 minutes on low heat. A rice cooker with a “brown rice” setting or an Instant Pot (22 minutes high pressure, 10‑minute natural release) yields the best texture.
Is it worth buying a dedicated rice cooker?
If you eat rice at least three times a week, a quality rice cooker like the Zojirushi NS‑TSC10 pays for itself in consistency and time saved. The auto‑keep‑warm feature also prevents over‑cooking, which is a common issue with stovetop methods.
How do I store cooked rice safely?
Cool the rice within 30 minutes, then transfer to an airtight container and refrigerate. It stays safe for up to 4 days. For longer storage, spread the rice on a baking sheet, freeze in a single layer, then bag it—great for quick reheating in the microwave.
Ready to put these tips into practice? Grab a bag of your favorite grain, a trusty pot or cooker, and start mastering the art of flawless rice today.