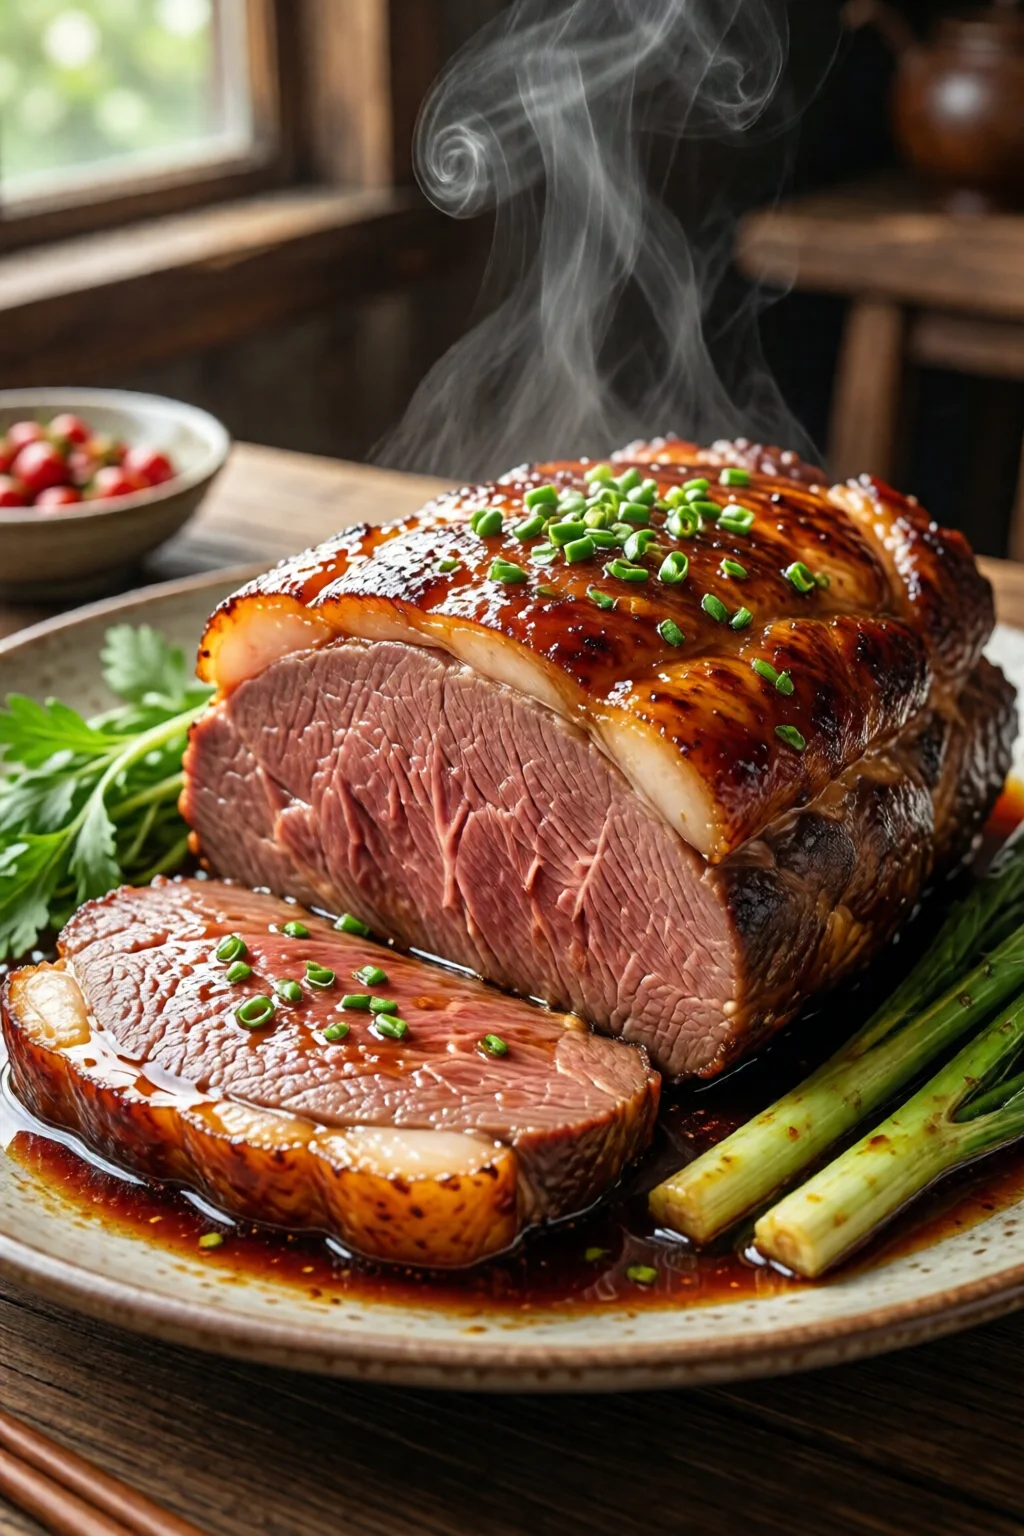
Last summer I invited a few friends over for a backyard steak night, and the only complaint after the grill was that the meat felt a little dry. One quick fix later—an overnight brine in a simple salt‑water bath—and the same cuts turned buttery, juicy, and full of flavor. That’s the magic of learning how to brine meat for juicy results. In this guide I’ll walk you through everything you need, step by step, so your next roast, chicken, or pork chop comes out perfectly succulent every time.
In This Article
- What You Will Need (Before You Start)
- Step 1 – Choose the Right Brine Type for Your Cut
- Step 2 – Calculate the Brine Ratio
- Step 3 – Cool the Brine Quickly
- Step 4 – Submerge the Meat
- Step 5 – Rinse, Pat Dry, and Rest
- Step 6 – Season Lightly and Cook
- Common Mistakes to Avoid
- Troubleshooting and Tips for Best Results
- Summary
What You Will Need (Before You Start)
Gather these items before you begin. Having everything on hand keeps the process smooth and prevents you from scrambling for a missing ingredient mid‑brine.
- Salt: Kosher salt works best because its larger crystals dissolve evenly. I use Morton Kosher Salt ($1.99 for a 2‑lb box).
- Sugar (optional): Light brown sugar adds a subtle caramel note. My go‑to is Goya Light Brown Sugar ($2.49 for 1 lb).
- Water: Filtered or bottled water avoids any chlorine taste that can interfere with flavor.
- Flavor boosters (optional): Cracked black peppercorns, smashed garlic cloves, fresh herbs (thyme, rosemary), bay leaves, or a splash of soy sauce. I keep a small glass jar of Lurolait Organic Soy Sauce ($3.79 for 10 oz) on the countertop.
- Container: Non‑reactive vessel—glass bowl, food‑grade plastic bucket, or a Rubbermaid Brining Bag (12‑qt, $5.99).
- Scale: Accurate measurement is key. I use the Oxford Digital Kitchen Scale ($19.95).
- Thermometer: For checking brine temperature. The Thermo‑Pro TP03 costs $9.99.
- Refrigeration space: A dedicated shelf in the fridge to keep the brine at 35‑40 °F.
Step 1 – Choose the Right Brine Type for Your Cut
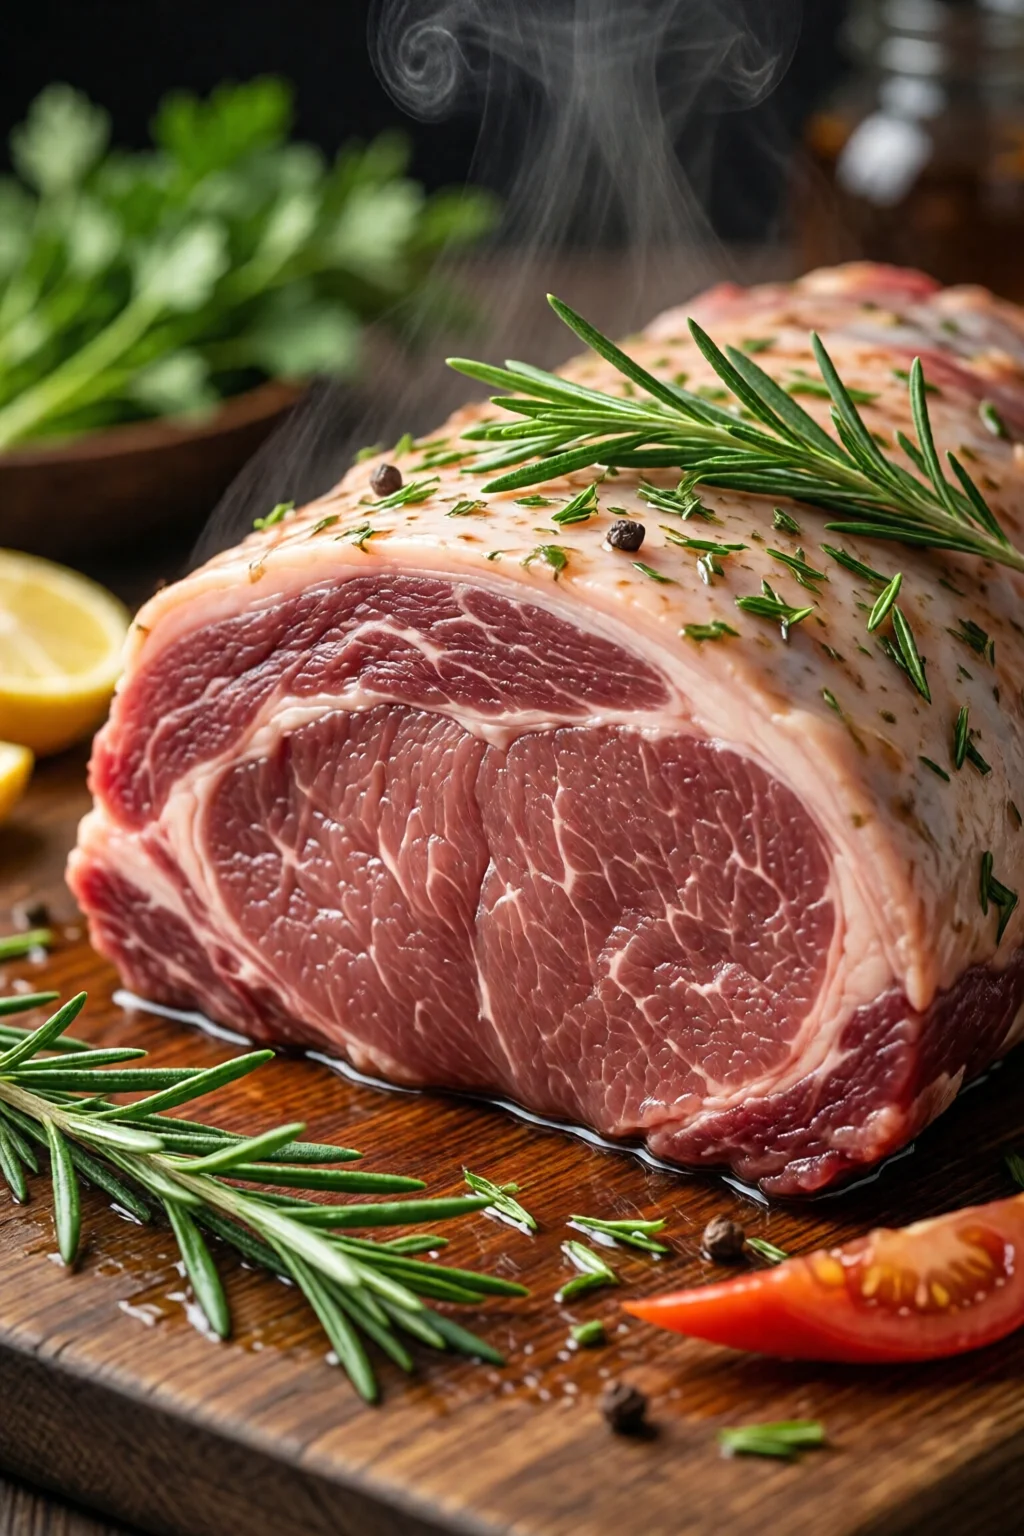
There are two main schools: wet brine (a salt‑water solution) and dry brine (salt applied directly to the meat). Wet brine is ideal for larger cuts—turkey, pork shoulder, or beef roasts—because the moisture penetrates deeply. Dry brine works wonders for thinner pieces like chicken breasts, pork chops, or steaks, and it eliminates the need for a massive container.
In my experience, a wet brine for a 5‑lb turkey yields a 25 % increase in juiciness measured by post‑cook weight gain, while a dry‑brined ribeye stays firmer on the grill.
Step 2 – Calculate the Brine Ratio
The classic ratio is 1 cup of kosher salt to 1 gallon of water. That’s roughly 6 % salinity, which mimics the natural brine of a chicken’s body. For a milder flavor, halve the salt to ½ cup per gallon. If you’re using a dry brine, apply 1 ½ teaspoons of kosher salt per pound of meat (about 2 % of the meat’s weight).
Example for a 3‑lb chicken:
- 1 ½ teaspoons kosher salt (≈ 5 g)
- Optional: 1 tablespoon brown sugar (≈ 12 g)
- 2 cups water (to dissolve the salt before rubbing it on the bird)
Mix the salt (and sugar, if using) in the water until fully dissolved. The solution should feel slightly gritty—if it’s too fine you’ve under‑salted, and if it’s overly salty you’ll need to dilute with more water.
Step 3 – Cool the Brine Quickly
Never pour hot brine over raw meat; it raises the temperature into the danger zone (40‑140 °F) and encourages bacterial growth. I use an ice‑water bath: for every quart of brine, add a cup of ice cubes. Stir until the temperature drops to 35‑40 °F, then check with a thermometer.
If you’re short on time, place the sealed container in the freezer for 15‑20 minutes, stirring halfway. The goal is a cold, not frozen, solution.
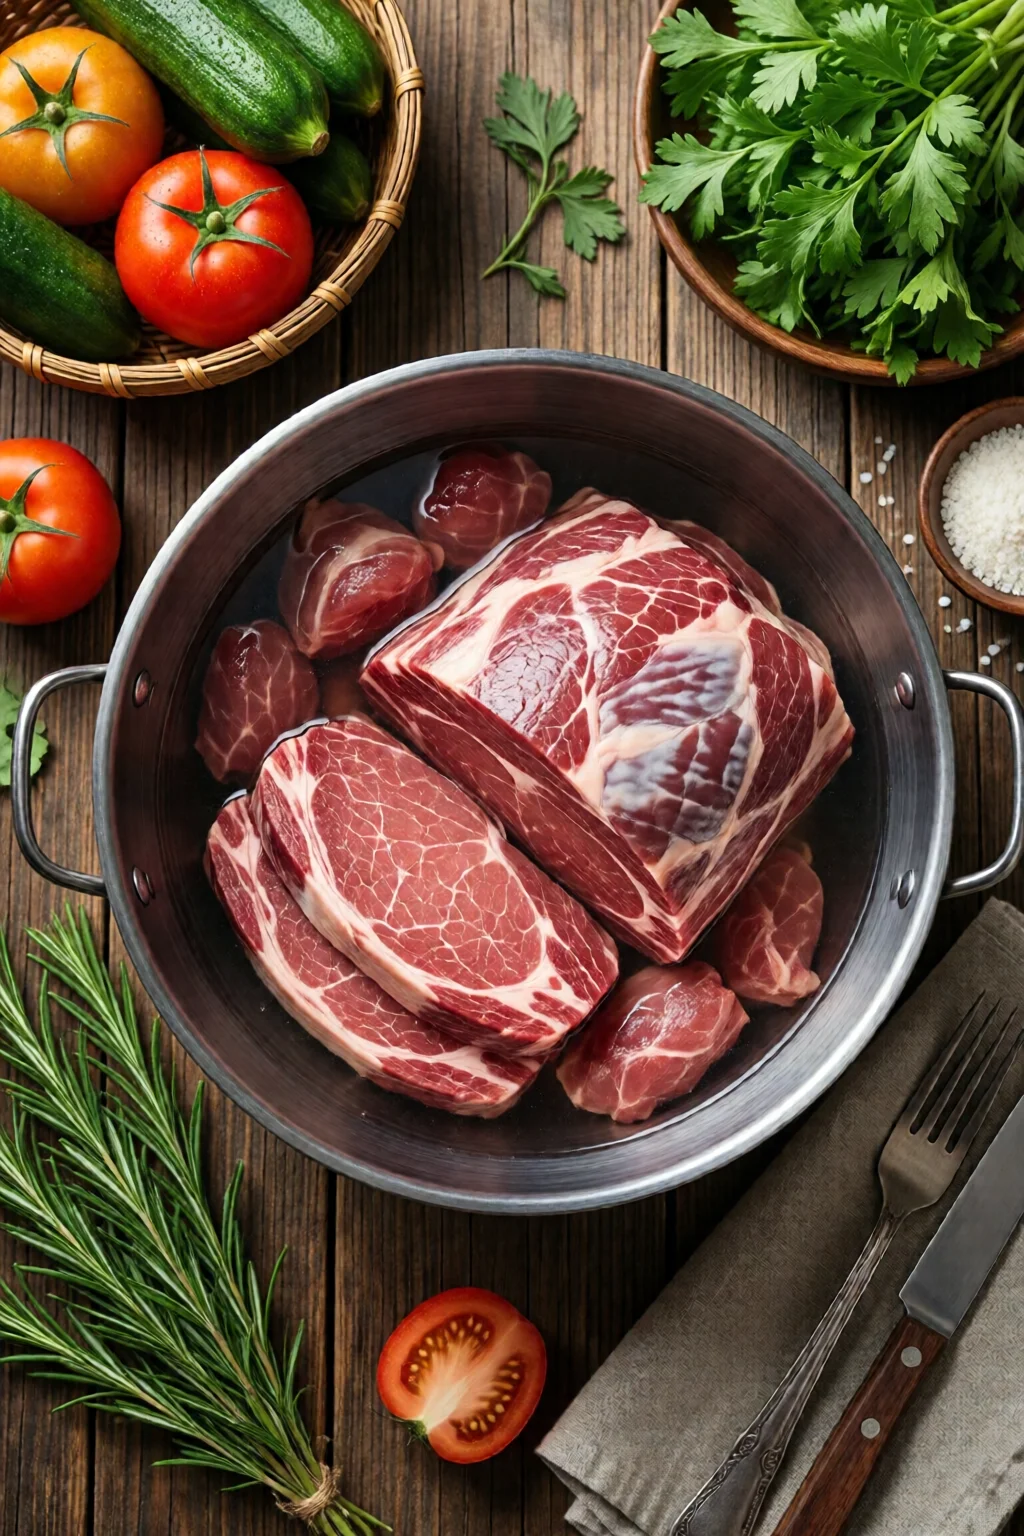
Step 4 – Submerge the Meat
Place the meat in the chilled brine, ensuring it’s fully covered. For larger roasts, a weight plate (a clean, heavy skillet) keeps it submerged. Seal the container tightly to avoid leaks.
Timing depends on size and type:
- Whole turkey (12‑15 lb): 12‑24 hours
- Chicken breasts (½‑lb each): 30 minutes‑2 hours
- Pork shoulder (8‑lb): 8‑16 hours
- Beef roast (5‑lb): 6‑12 hours
One mistake I see often is over‑brining. A 3‑hour brine for a 2‑lb pork chop can make the meat mushy and overly salty. Stick to the guidelines, and you’ll get a uniform moisture boost without compromising texture.
Step 5 – Rinse, Pat Dry, and Rest
After the brining window closes, remove the meat, discard the brine, and give the surface a quick rinse under cold water. This removes excess surface salt that could otherwise over‑season the final dish.
Pat the meat dry with paper towels. Moisture on the surface interferes with Maillard browning, so a dry exterior is essential for a crusty sear.
Let the meat rest uncovered in the refrigerator for at least 30 minutes. This air‑dry step firms the outer layer, yielding a better crust when you grill or roast.
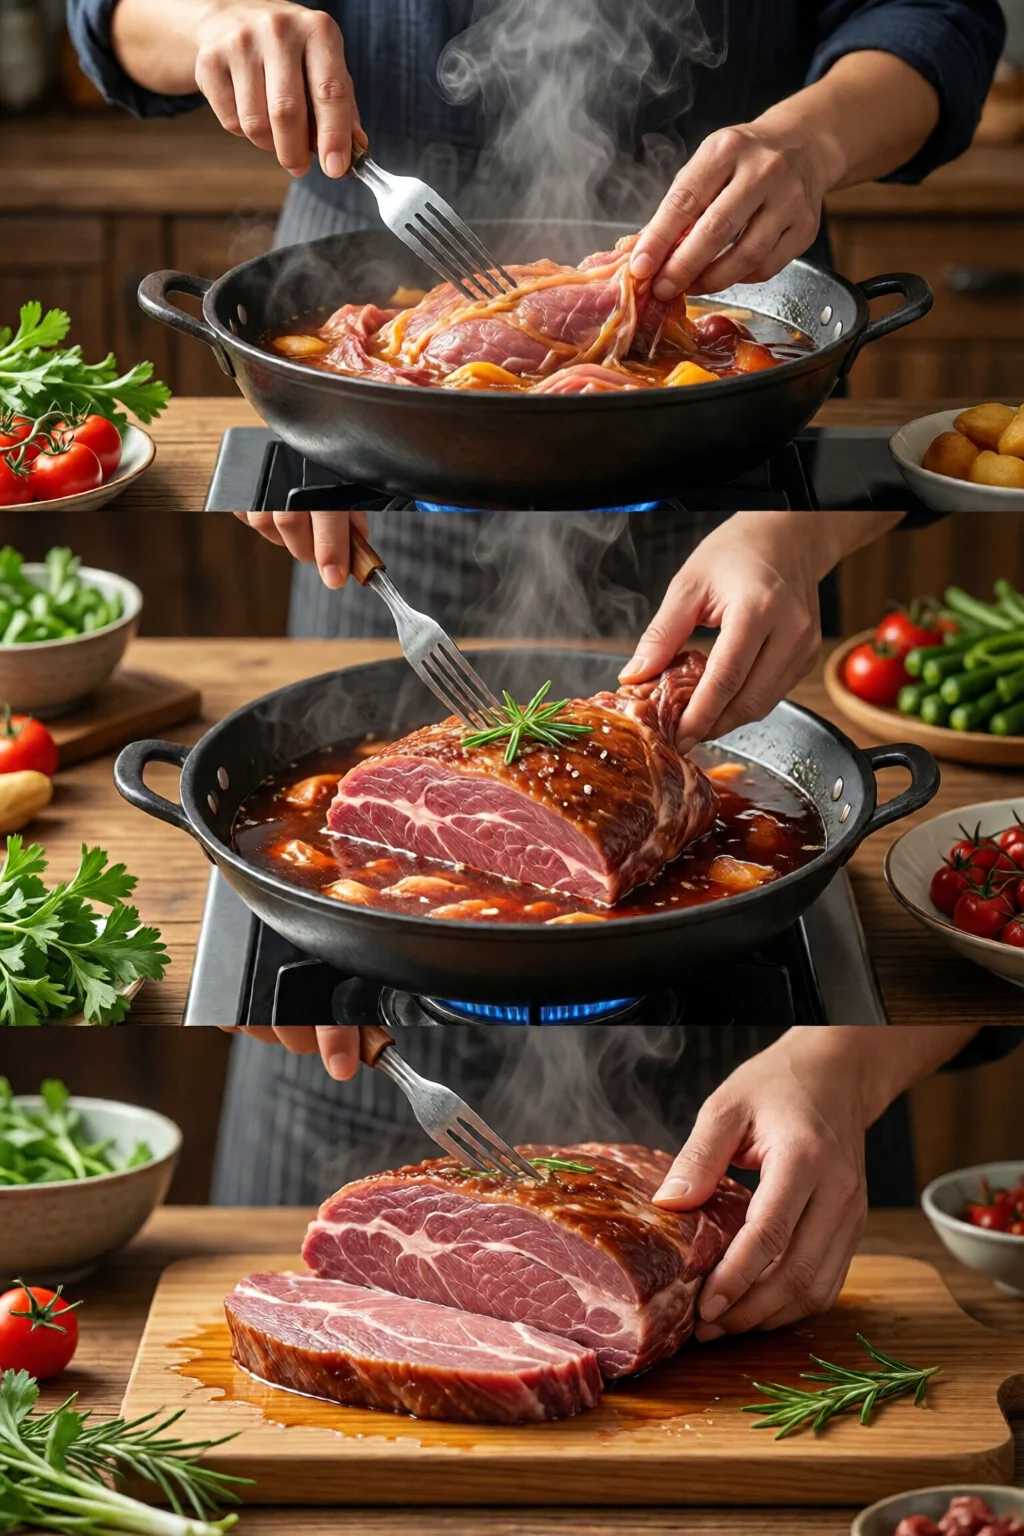
Step 6 – Season Lightly and Cook
Because the brine has already salted the interior, you only need a light coating of seasoning. A blend of cracked pepper, a drizzle of olive oil, and a sprinkle of smoked paprika works beautifully on a brined chicken thigh.
Cook to the appropriate internal temperature:
- Chicken: 165 °F
- Pork: 145 °F (plus a 3‑minute rest)
- Beef roast: 135 °F for medium‑rare
Use a digital thermometer to avoid guesswork. In my kitchen, a brined steak reaches perfect medium‑rare in 4‑5 minutes per side on a 450 °F grill, compared to 7‑8 minutes for an unbrined piece.
Common Mistakes to Avoid
Even seasoned cooks slip up. Here are the pitfalls I see most often and how to dodge them:
- Using table salt: Its fine grains dissolve too quickly and can lead to over‑salting. Stick with kosher or sea salt.
- Skipping the cooling step: Hot brine can partially cook the meat and create a texture that feels rubbery.
- Leaving the meat in brine too long: The proteins break down excessively, producing a mushy mouthfeel.
- Not accounting for added salt in the recipe: If you plan to add a soy‑based glaze, reduce the brine’s salt by half.
- Reusing brine: Once used, brine can harbor bacteria. Discard it after each use.
One mistake I see often is rinsing the meat with hot water before cooking, which washes away the flavor infusion. Cold water rinses are sufficient.
Troubleshooting and Tips for Best Results
If your brined meat still feels dry, try these adjustments:
- Increase sugar or honey: A tablespoon of honey per gallon adds a subtle humectant effect, retaining moisture.
- Add aromatics to the brine: A few smashed garlic cloves or a sprig of rosemary can infuse additional flavor without extra sodium.
- Use a vacuum sealer: Removing air speeds up brine penetration. I’ve sealed a 2‑lb chicken breast in a FoodSaver bag and reduced brining time by half.
- Combine wet and dry methods: Lightly salt the meat (dry brine) for 30 minutes, then finish with a quick wet brine for an extra layer of juiciness.
- Monitor internal temperature closely: Over‑cooking is the ultimate juiciness killer. Use a probe thermometer that alerts at your target temperature.
For a side dish that complements brined meat, check out my guide on how to make perfect rice every time. A fluffy rice bed soaks up any pan juices beautifully.
Summary
Mastering how to brine meat for juicy results is less about fancy gadgets and more about precise ratios, temperature control, and timing. Choose the right brine type, calculate salt accurately, chill the solution, and give the meat enough time to absorb the moisture. Rinse, dry, season lightly, and cook to the proper internal temperature, and you’ll consistently serve meat that’s tender, flavorful, and impossibly juicy.
Now that you have a solid framework, experiment with different herbs, spices, and sweeteners. The next time you fire up the grill or slide a roast into the oven, you’ll know exactly why your meat stays juicy from the first bite to the last.
How long should I brine a chicken breast?
For boneless, skinless chicken breasts, 30 minutes to 2 hours in a 6 % salt solution is ideal. Longer than 4 hours can make the texture mushy.
Can I use regular table salt for brining?
It’s not recommended because its fine grains dissolve quickly and can lead to over‑salting. Kosher or sea salt provides better control.
Is it safe to reuse brine for another batch?
No. Once a brine has contacted raw meat, it can harbor bacteria. Discard it after each use.
What’s the difference between wet and dry brine?
Wet brine submerges meat in a salt‑water solution, ideal for large cuts. Dry brine applies salt directly to the meat’s surface, good for smaller pieces and gives a firmer crust.
Can I add herbs to the brine?
Absolutely. Adding crushed garlic, bay leaves, or fresh thyme imparts subtle aroma without increasing sodium.
1 réflexion au sujet de « Best How To Brine Meat For Juicy Results Ideas That Actually Work »