Nothing beats the aroma of a freshly baked loaf of sourdough wafting through your kitchen. If you’ve ever wondered how to turn that dreamy scent into a reality, you’re in the right place. This homemade sourdough bread recipe beginner guide walks you through every step, from nurturing a starter to pulling a golden crust out of the oven, with the kind of practical tips only a seasoned baker can share.
In This Article
- Understanding the Basics: What Makes Sourdough Different?
- Step‑by‑Step Homemade Sourdough Bread Recipe Beginner
- Essential Tools and Their Costs
- Common Mistakes and How to Fix Them
- Flavor Variations for the Adventurous Beginner
- Pro Tips from Our Experience
- Comparing Baking Methods: Dutch Oven vs. Baking Stone
- Storing and Reviving Your Sourdough
- Related Recipes You Might Enjoy
- FAQ
- Conclusion: Your First Loaf Is Within Reach
In my ten‑year career as a pastry chef, I’ve seen beginners stumble over the same three hurdles: under‑fed starters, mis‑timed folds, and uneven scoring. By the end of this article you’ll have a clear roadmap, concrete numbers, and a few pro secrets that will make your first loaf not just edible, but truly impressive.
Understanding the Basics: What Makes Sourdough Different?
The Role of Wild Yeast and Lactic Bacteria
Sourdough relies on a symbiotic partnership between wild yeast (mostly Saccharomyces exiguus) and lactic acid bacteria such as Lactobacillus sanfranciscensis. This duo gives sourdough its characteristic tang, superior shelf life, and chewy crumb. Unlike commercial yeast, the wild strains develop slowly, which is why timing and temperature are your best friends.
Why a Starter Is Your Foundation
A healthy starter is essentially a living culture that you feed with equal parts flour and water. For a beginner, I recommend using a blend of 50% whole‑wheat flour and 50% unbleached all‑purpose flour (King Arthur Bread Flour, $8.99 per 5‑lb bag). Whole‑wheat fuels the bacteria, while the all‑purpose flour gives the yeast the sugars it loves.
Hydration Levels Explained
Hydration is the ratio of water to flour by weight. Most beginner sourdough recipes sit at 70% hydration (700 g water per 1 kg flour). This yields a dough that’s manageable yet moist enough to develop an open crumb. Adjust up to 80% for a more airy loaf, but be prepared for a stickier handling experience.
Step‑by‑Step Homemade Sourdough Bread Recipe Beginner
1. Build Your Starter (Day 1‑5)
- Day 1: Mix 50 g whole‑wheat flour, 50 g all‑purpose flour, and 100 g lukewarm water (≈30 °C). Stir in a non‑reactive container, cover loosely, and let sit 24 hours at 22‑24 °C.
- Day 2‑4: Discard half the mixture (≈100 g) and feed with the same 50 g/50 g flour blend plus 100 g water. By Day 4 you should see bubbles and a pleasant sour aroma.
- Day 5: If the starter doubles in size within 4‑6 hours after feeding, it’s ready. A mature starter will weigh about 200 g and have a yeasty, slightly tangy smell.
2. Autolyse – The Secret to Gluten Development
Combine 500 g bread flour, 350 g water, and 10 g salt in a large mixing bowl. No starter yet. Let rest 30 minutes. This “autolyse” phase allows enzymes to break down starches, making the later knead smoother and the crumb more open.
3. Incorporate the Starter and Bulk Fermentation
Add 150 g of your active starter (about 30% of the total flour weight) and 5 g instant yeast (optional for a safety net; costs $0.10 per packet). Mix until fully integrated, then cover and let ferment at 24 °C for 4 hours, performing a series of stretch‑and‑folds every 30 minutes (total of 6 folds). Each fold should take about 20 seconds.
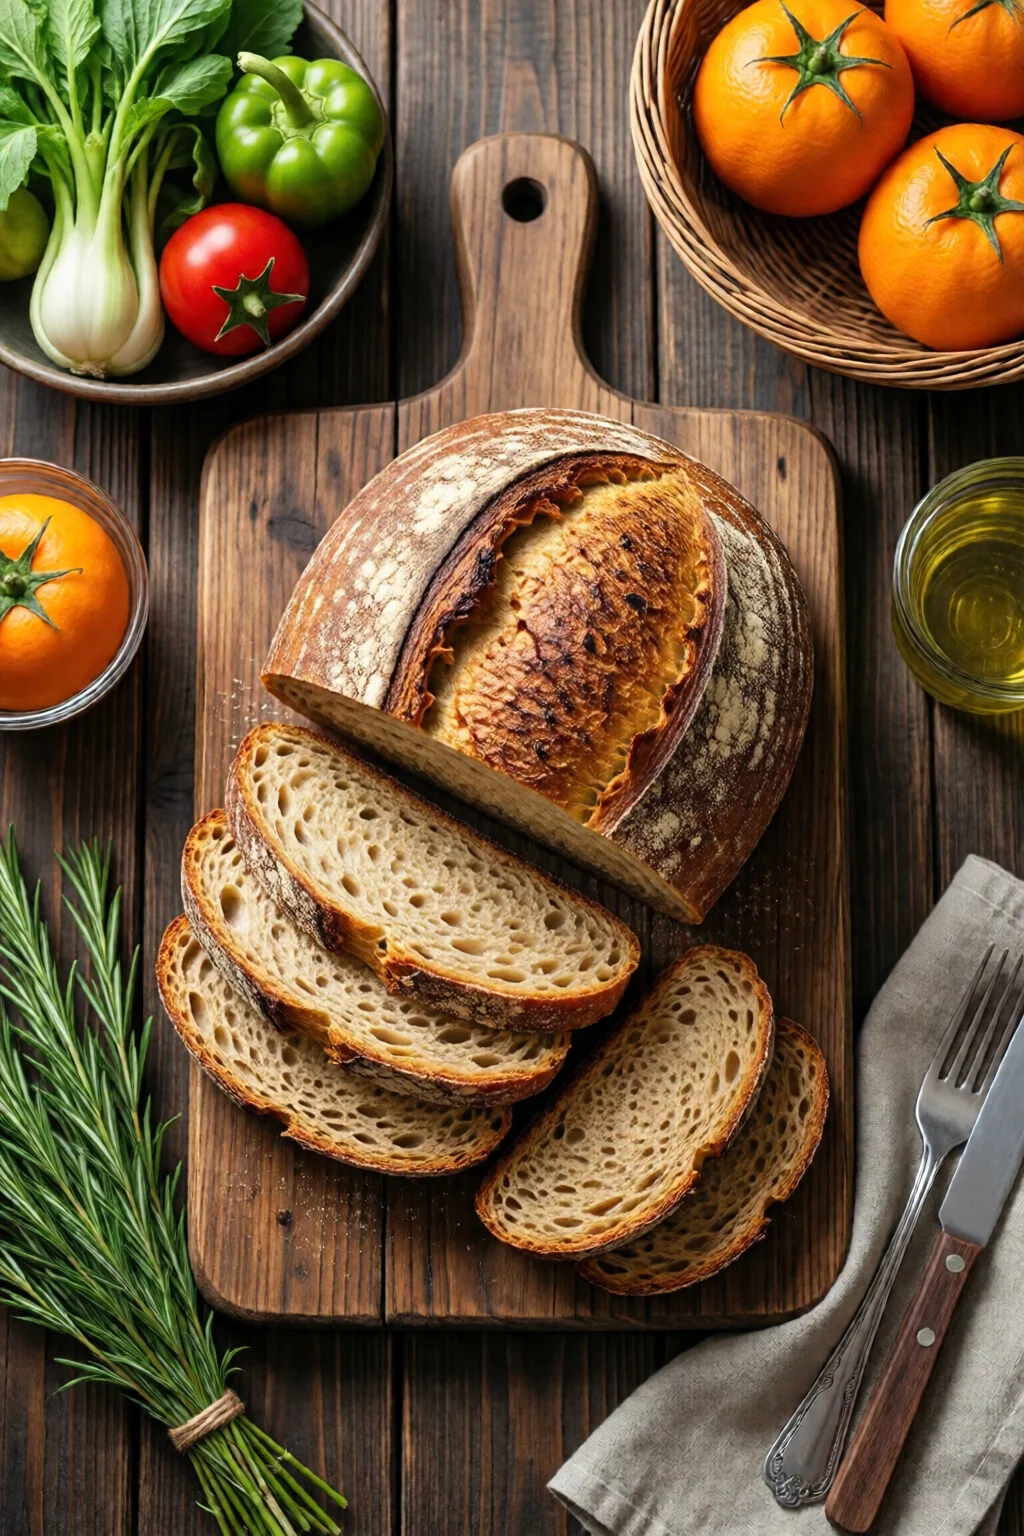
4. Shaping the Loaf
Turn the dough onto a lightly floured surface. Pre‑shape into a round, let rest 15 minutes, then tighten into a boule or bâtard using a bench scraper. Place the shaped dough seam‑side up in a well‑floured proofing basket (banneton) dusted with rice flour.
5. Final Proof
Cover the basket with a damp kitchen towel and refrigerate for 12‑14 hours (cold retard). This not only develops flavor but also makes scoring easier.
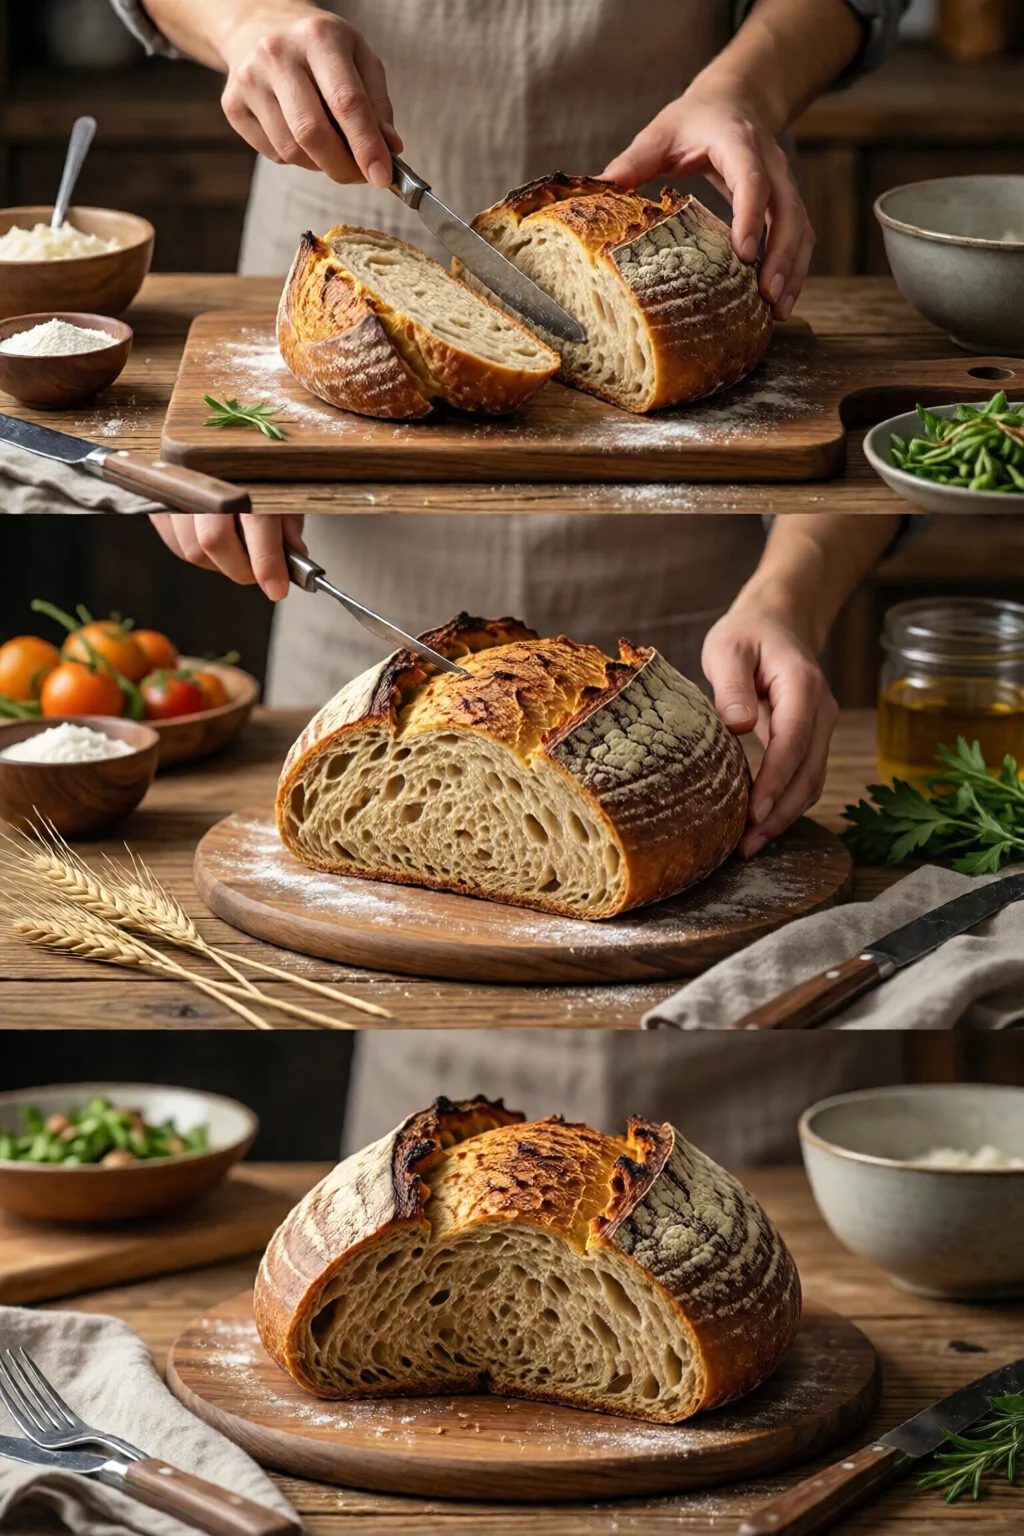
6. Bake – The Magic Moment
- Preheat a 4‑qt cast‑iron Dutch oven (Le Creuset €149 or Lodge $79) to 250 °C (482 °F) for at least 30 minutes.
- Score the loaf with a razor blade (a single diagonal slash works for beginners).
- Place the dough inside the hot Dutch oven, cover, and bake 20 minutes.
- Remove the lid, lower temperature to 230 °C (450 °F), and bake an additional 25‑30 minutes until the crust is deep caramel‑brown and the internal temperature reaches 96 °C (205 °F).
- Transfer to a wire rack and let cool at least 1 hour before slicing.
Essential Tools and Their Costs
| Tool | Typical Price (USD/EUR) | Why It Matters |
|---|---|---|
| Digital Kitchen Scale (e.g., OXO Good Grips, $19.95) | $20 | Precision in flour and water ratios; a 2‑gram error can affect hydration. |
| French‑style Bread Lame (razor blade) | $12 | Clean scoring for controlled oven spring. |
| Proofing Basket (banneton) – natural rattan | $30 | Even shape and optimal humidity during final proof. |
| Cast‑Iron Dutch Oven (Lodge 5‑qt) | $79 | Traps steam for a crisp crust; reusable for years. |
| Bench Scraper | $8 | Handles sticky dough and assists in shaping. |
Common Mistakes and How to Fix Them
Starter Is Inactive
One mistake I see often is neglecting the starter’s temperature. Keep it in a spot that stays around 23 °C; a kitchen counter is usually fine. If it’s sluggish, feed it twice a day for three days using a 100% hydration mix (equal weight water and flour).
Over‑ or Under‑Proofing
Under‑proofed dough feels dense and won’t expand well in the oven. Perform the “poke test”: gently press the dough with a fingertip; if the indentation springs back slowly, it’s ready. Over‑proofed dough will collapse when scored.
Crust Too Hard, Crumb Too Dense
Make sure you preheat the Dutch oven thoroughly and bake with the lid on for the first 20 minutes. This creates steam, which delays crust formation and allows the loaf to fully expand.
Flavor Variations for the Adventurous Beginner
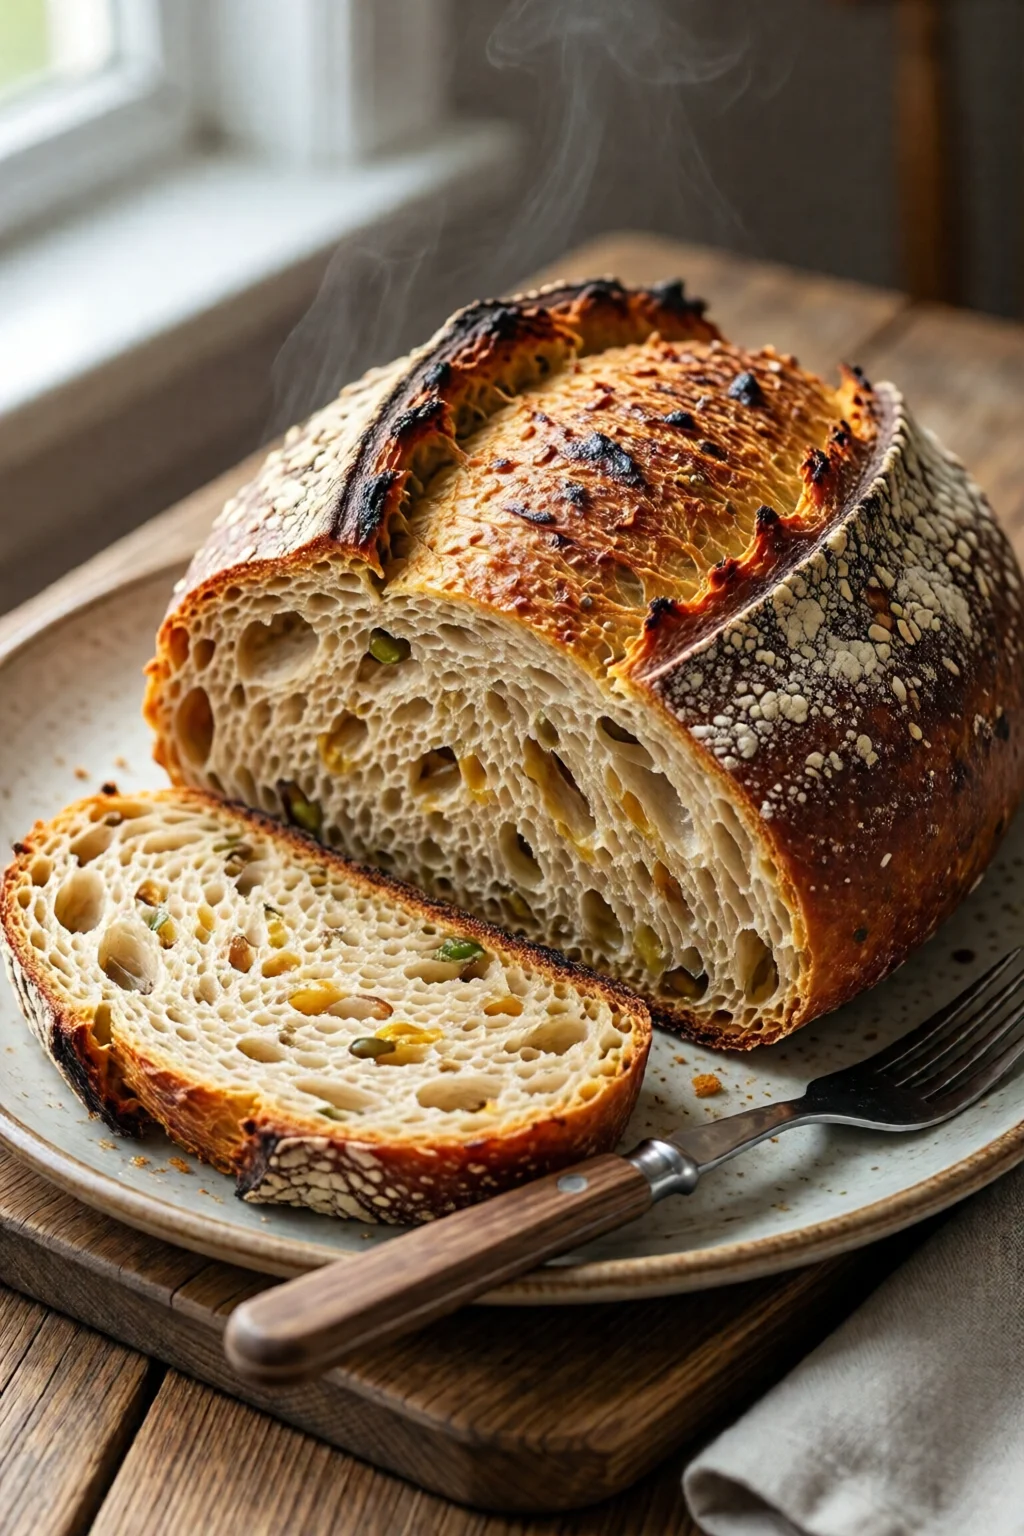
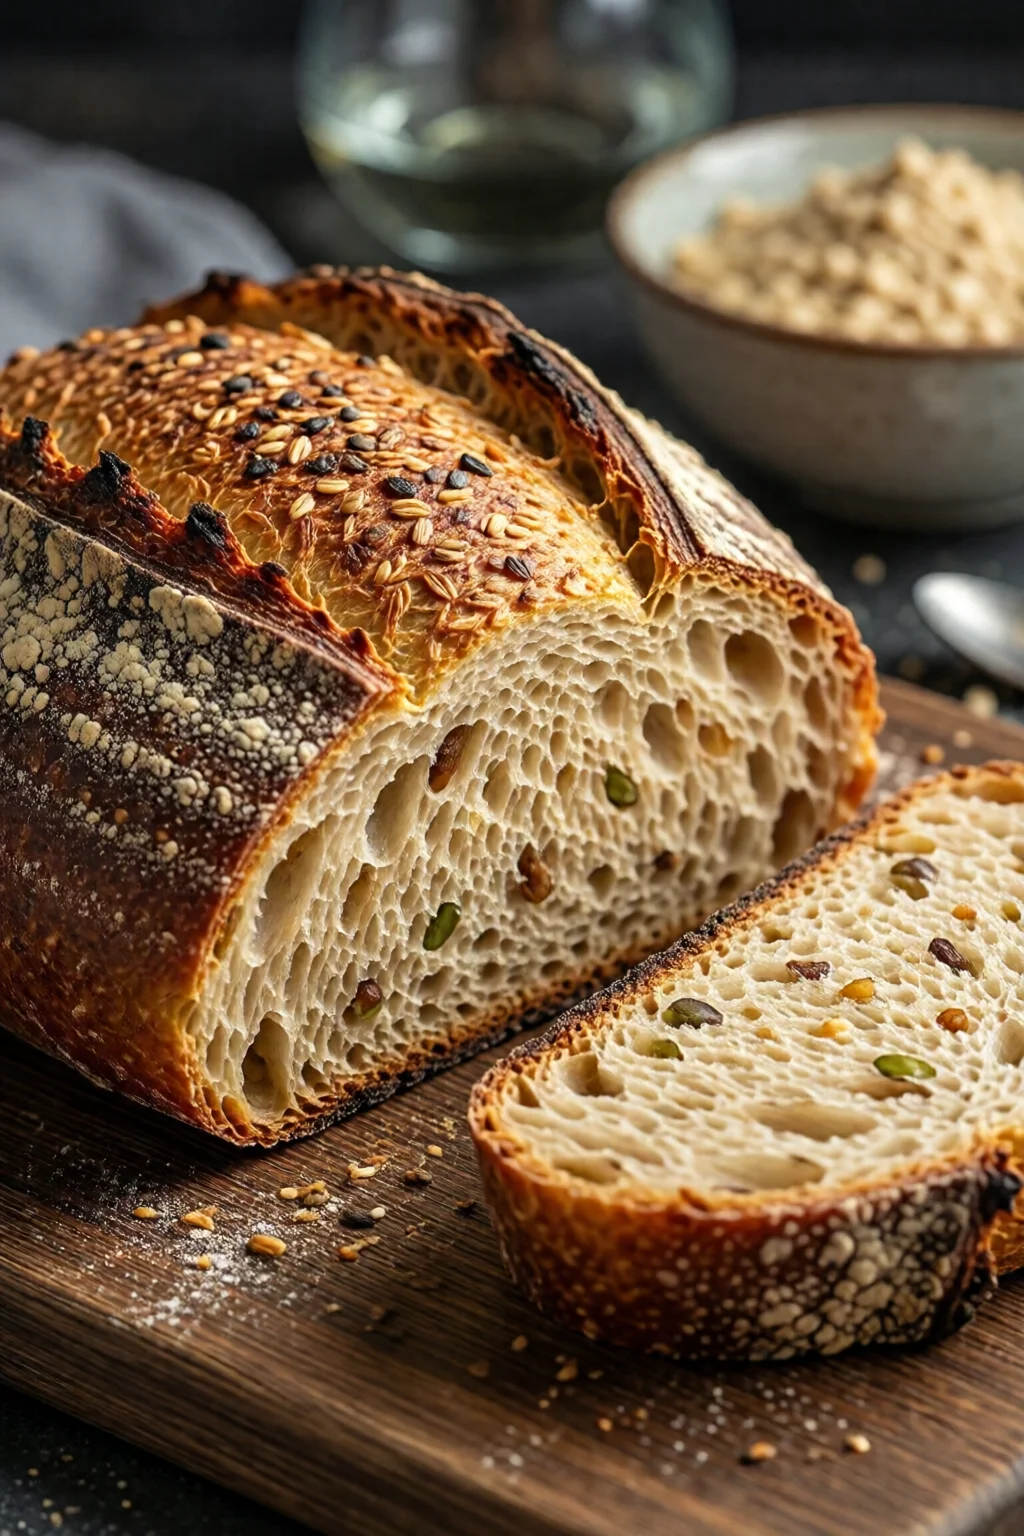
Whole‑Grain Add‑Ins
Replace up to 30% of the flour with rye or spelt for a nutty flavor. Adjust water by +5% because whole grains absorb more.
Herbs and Seeds
Stir in 20 g of chopped rosemary, thyme, or 30 g of mixed seeds (sunflower, pumpkin) during the bulk fermentation. These additions don’t affect the rise but boost aroma.
Sourdough “San Francisco” Style
Increase the starter to 20% of the flour weight and ferment at a cooler 18 °C for 24 hours. Expect a tangier crumb and a slightly firmer crust.
Pro Tips from Our Experience
- Use a Transparent Container for the Starter. Seeing the bubbles helps you gauge activity without a thermometer.
- Invest in a Good Thermometer. A digital probe costs about $15 and lets you nail the ideal fermentation temps (78‑82 °F for bulk rise).
- Score with Confidence. A quick, decisive slash creates the best oven spring. Hesitation leads to ragged edges.
- Let the Bread Cool Completely. Cutting too early releases steam, resulting in gummy crumb. Patience pays off.
- Recycle Your Starter. Keep feeding a small amount (50 g) for future loaves; it reduces waste and saves money—roughly $0.05 per loaf.
Comparing Baking Methods: Dutch Oven vs. Baking Stone
If you don’t have a Dutch oven, a baking stone paired with a steam tray works, but the results differ. Below is a quick comparison.
| Method | Crust Quality | Ease of Use | Cost |
|---|---|---|---|
| Cast‑Iron Dutch Oven | Excellent – thick, glossy crust | Very easy – just preheat and cover | $79–$149 |
| Baking Stone + Steam Tray | Good – slightly drier crust | Moderate – requires adding boiling water | $30–$60 |
| Pizza Steel | Very good – crisp bottom | Easy – no cover needed | $50–$120 |
Storing and Reviving Your Sourdough
Short‑Term Storage
Wrap the cooled loaf in a clean kitchen towel, then place it in a paper bag. It stays fresh for 2‑3 days at room temperature. Avoid plastic; it traps moisture and makes the crust soggy.
Freezing for Later
Slice the loaf, wrap each piece in parchment, then freezer‑bag. Thaw at room temperature and crisp up in a 180 °C (350 °F) oven for 5‑7 minutes. You’ll get near‑fresh texture.
Re‑Activating a Dormant Starter
If you refrigerate your starter for weeks, feed it once daily for three days at room temperature before using. This “revival” restores its vigor.

Related Recipes You Might Enjoy
If you’re craving something sweet after mastering sourdough, try our coconut cake recipe tropical and moist. For a chocolate fix, the best brownies recipe fudgy and chewy pairs beautifully with a slice of sourdough. Looking for a simple cookie to accompany your bread? Check out the sugar cookie recipe soft and decorated. Need a low‑sugar dessert? Our sugar free dessert recipes healthy have you covered. And when you’re short on time, the 15 minute meals healthy and delicious will keep your kitchen humming.
FAQ
How long does it take to bake a sourdough loaf?
The total bake time is about 45‑50 minutes: 20 minutes covered, then 25‑30 minutes uncovered. Including cooling, plan for at least 1½ hours from oven to slice.
Can I use whole‑wheat flour only for the starter?
Yes, but a 50/50 mix with all‑purpose flour gives a more balanced flavor and activity level, especially for beginners.
What temperature should I keep my starter at?
Aim for 22‑24 °C (71‑75 °F). Cooler temperatures slow fermentation, while warmer (above 28 °C) can cause over‑acidification.
Do I need to add commercial yeast?
No, a healthy starter is enough. Adding a pinch of instant yeast can act as a safety net for very cold kitchens, but it’s optional.
How can I tell if my loaf is fully baked?
An internal temperature of 96 °C (205 °F) and a hollow sound when tapping the bottom indicate doneness.
Conclusion: Your First Loaf Is Within Reach
With the right starter, precise measurements, and a few seasoned tricks, the homemade sourdough bread recipe beginner guide you just read will transform your kitchen into a bakery. Set aside a few hours, follow the steps, and soon you’ll be pulling a crusty boule out of a Dutch oven, feeling the pride of a baker who truly understands the science and art behind sourdough.
Remember: patience, temperature control, and a good scale are your best allies. Happy baking!
1 réflexion au sujet de « Homemade Sourdough Bread Recipe Beginner – Tips, Ideas and Inspiration »