Ever wondered why every Ethiopian feast seems to revolve around a soft, spongy, slightly sour pancake that doubles as a plate, a utensil, and a flavor‑carrier?
In This Article
- What You Will Need (Before You Start)
- Step 1: Gather and Prepare Your Ingredients
- Step 2: Create the Fermented Batter
- Step 3: Rest and Adjust the Batter
- Step 4: Cook the Injera
- Step 5: Serve and Pair with Traditional Dishes
- Common Mistakes to Avoid
- Tips for Best Results (Troubleshooting)
- Summary & Conclusion
- Frequently Asked Questions
What You Will Need (Before You Start)
- Teff flour – the authentic base. I use Bob’s Red Mill Organic Teff Flour, 2 lb bag, about $9.99.
- All‑purpose flour (optional for a lighter texture) – King Arthur Unbleached, 5 lb, $4.49.
- Water – filtered or spring water, room temperature.
- Salt – 1 tsp fine sea salt.
- Starter culture – a pinch of commercial sourdough starter or a tablespoon of plain yogurt for beginners.
- Large mixing bowl – at least 6 qt capacity.
- Whisk or hand‑held electric mixer – I prefer the Cuisinart Classic Hand Mixer, $29.99.
- Non‑stick skillet or traditional mitad – a 10‑inch cast‑iron Crepe Pan from Nordic Ware, $39.95, works wonders.
- Spatula – silicone, heat‑resistant.
- Thermometer – optional, but handy for keeping the batter at 75‑80 °F (24‑27 °C) during fermentation.
- Clean kitchen towel or cheesecloth – for covering the batter.
- Timer – any smartphone will do.
All together, the upfront cost is roughly $130 if you buy everything brand‑new, but most cooks already own the basic tools, so the recurring expense per batch is under $12.
Step 1: Gather and Prepare Your Ingredients
First, measure out 2 cups (250 g) of teff flour. If you’re using a blend, add 1 cup (120 g) of all‑purpose flour to lighten the crumb. In my kitchen, I sift the flours together into the mixing bowl to break up any clumps – this alone saves a few minutes of stirring later.
Next, add 3 cups (720 ml) of lukewarm water. The ratio of flour to water is critical: too thick and the injera won’t spread; too thin and it becomes a watery pancake that tears. I aim for a batter that looks like a thin crepe batter – it should coat the back of a spoon but still run off easily.
Step 2: Create the Fermented Batter
Whisk the flour‑water mixture until smooth; no lumps should remain. Then stir in 1 tsp salt and the starter culture (a pinch of commercial sourdough starter or 1 Tbsp plain yogurt). The starter introduces the lactobacilli that give injera its signature tang.
Cover the bowl with a clean kitchen towel or cheesecloth and let it sit at room temperature (ideally 75‑80 °F). In my experience, a sunny windowsill works perfectly in spring and fall. If you live in a cooler climate, a turned‑on oven set to the lowest “warm” setting (around 80 °F) provides a stable environment.
Fermentation time is the most variable factor. Traditional Ethiopian households let the batter rest for 2‑3 days, but a reliable shortcut is 24‑48 hours. I recommend tasting after 24 hours; if the batter smells mildly sour, like a thin yogurt, you can proceed. If it’s still bland, give it another 12‑24 hours.
Step 3: Rest and Adjust the Batter
After the initial fermentation, give the batter a gentle stir to reincorporate any settled flour. Check the consistency – it should be similar to a thin pancake batter (about 1 mm thickness when poured). If it’s too thick, add water a tablespoon at a time; if too thin, sprinkle a little extra teff flour.
At this stage, you may also add a pinch of baking soda (½ tsp) to boost the rise, especially if your kitchen is cooler than 70 °F. This is optional; traditional injera relies solely on natural fermentation.
Let the batter sit uncovered for 30 minutes before cooking. This brief “air‑dry” phase helps develop surface bubbles that will become the characteristic holes in the finished injera.
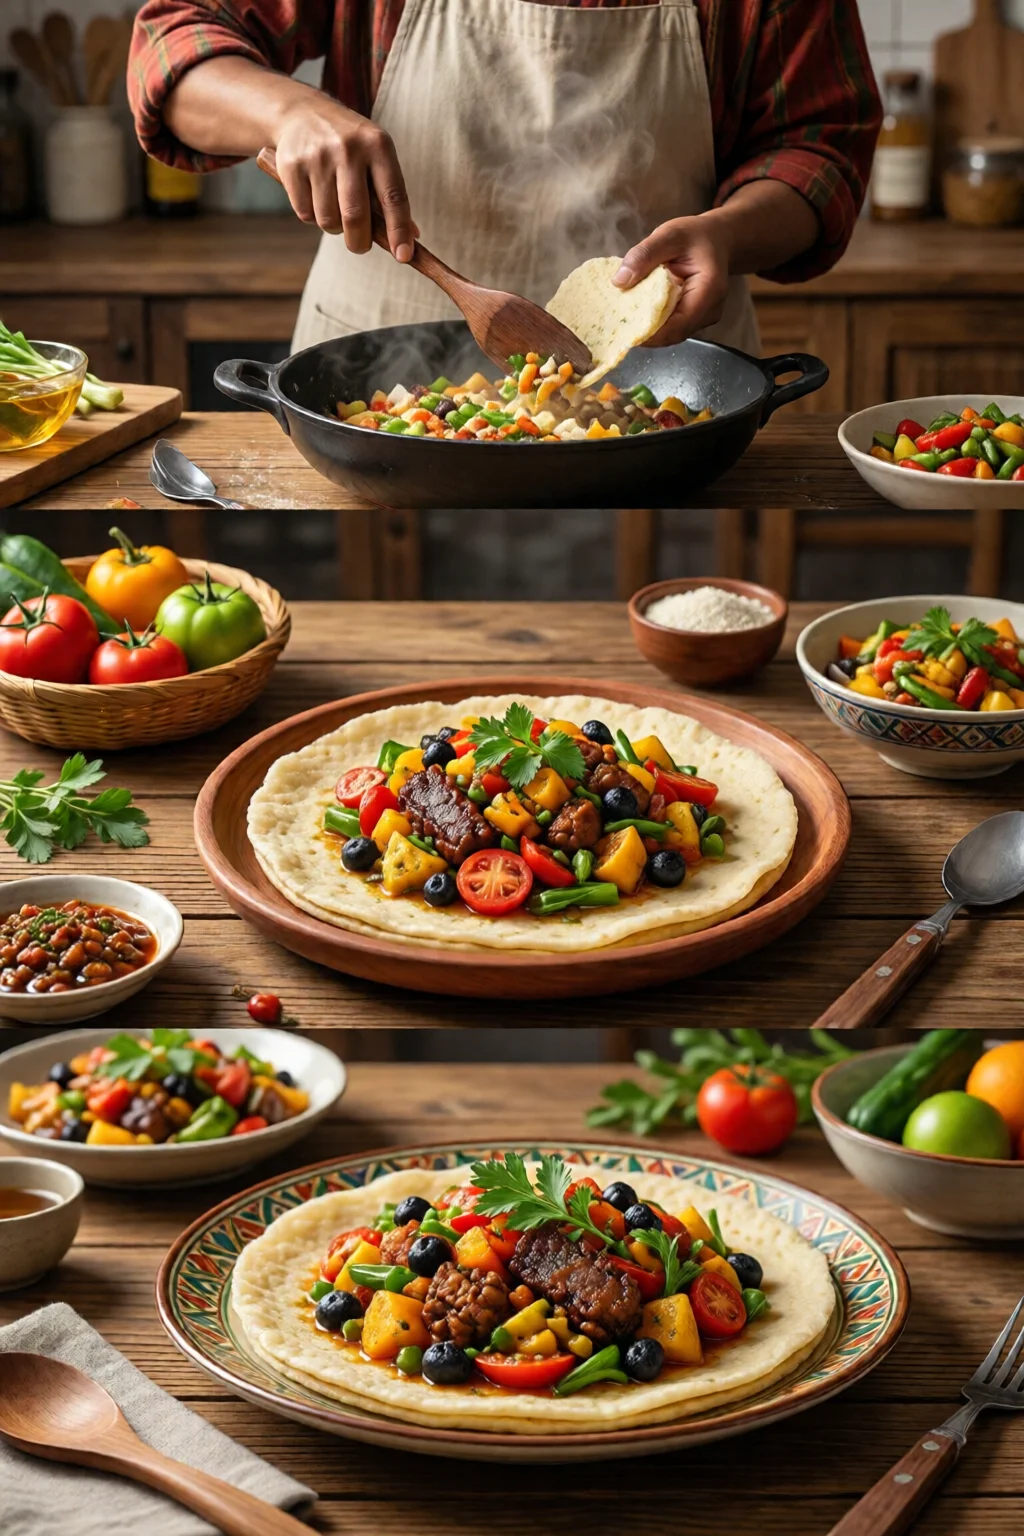
Step 4: Cook the Injera
Heat your 10‑inch cast‑iron skillet over medium‑high heat. When a few drops of water sizzle and evaporate instantly, the pan is ready – roughly 350 °F (175 °C). Lightly brush the surface with a few drops of oil; you don’t need much – injera should be non‑sticky but not fried.
Pour a ladleful (about ¼ cup) of batter onto the center of the pan, then quickly swirl the pan in a circular motion to spread the batter into a thin, even layer, about the size of a dinner plate (≈10 inches diameter). The batter should immediately begin to form tiny bubbles.
Cover the pan with a lid and let the injera steam for 2‑3 minutes. You’ll notice the surface turning opaque and the edges lifting slightly. Once the top is no longer wet and the holes have fully expanded, slide the injera onto a clean plate using a silicone spatula.
Repeat with the remaining batter, adjusting the heat as needed. The first injera often serves as a “test” – if it’s too thick, reduce the batter amount; if it’s too thin, add a splash of flour.
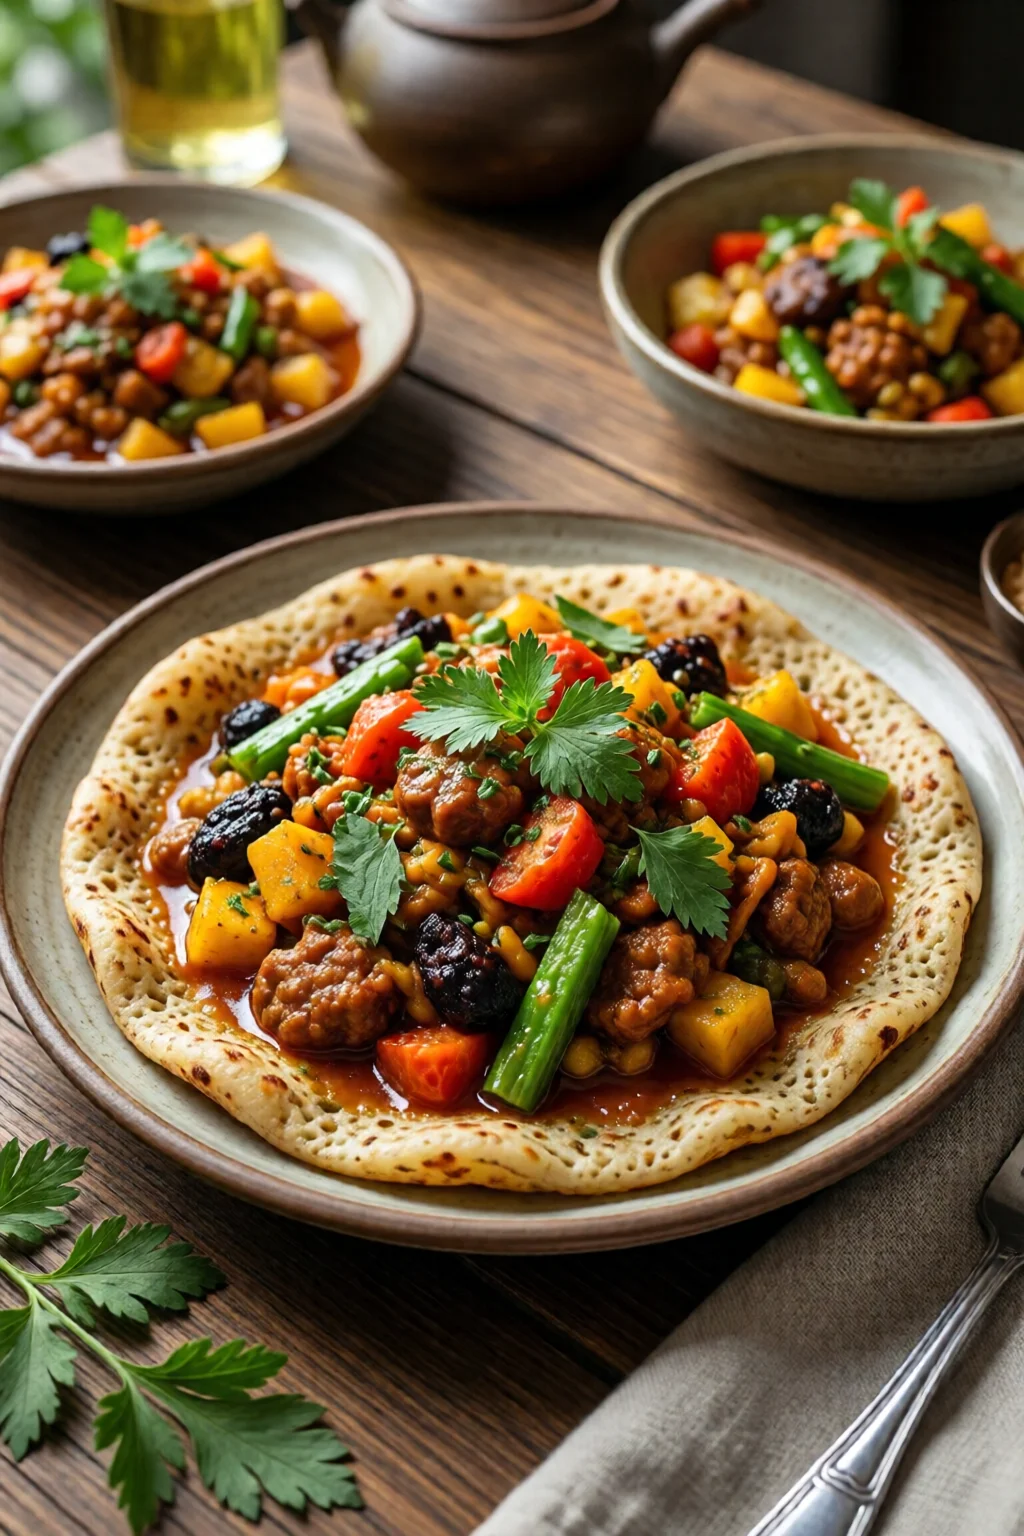
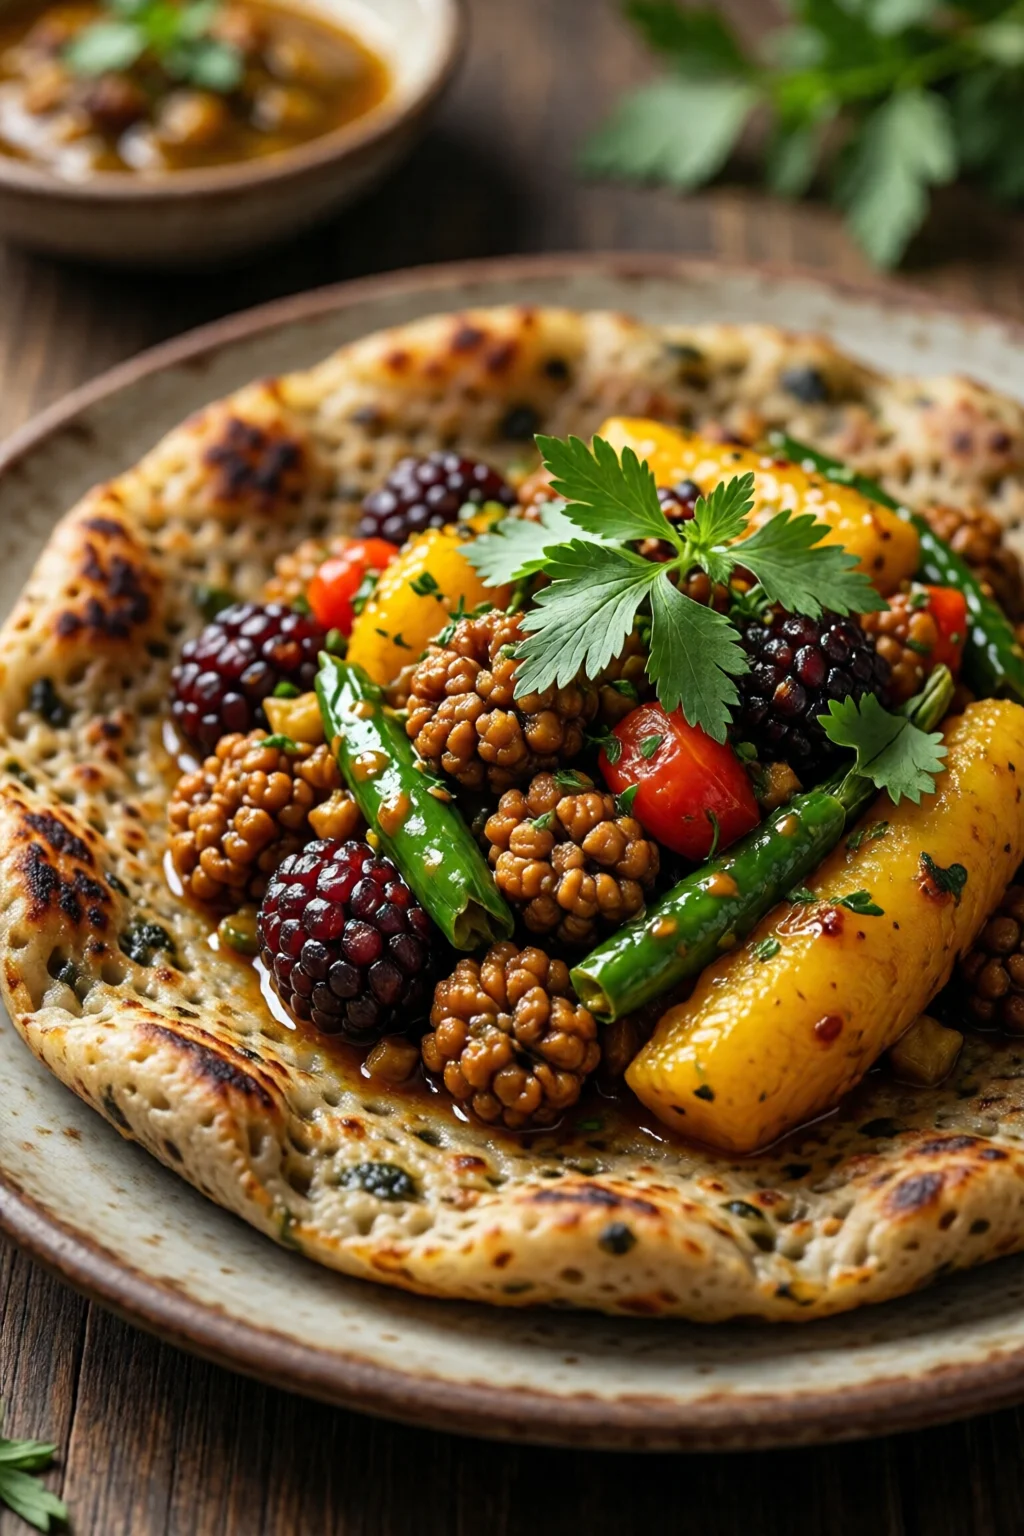
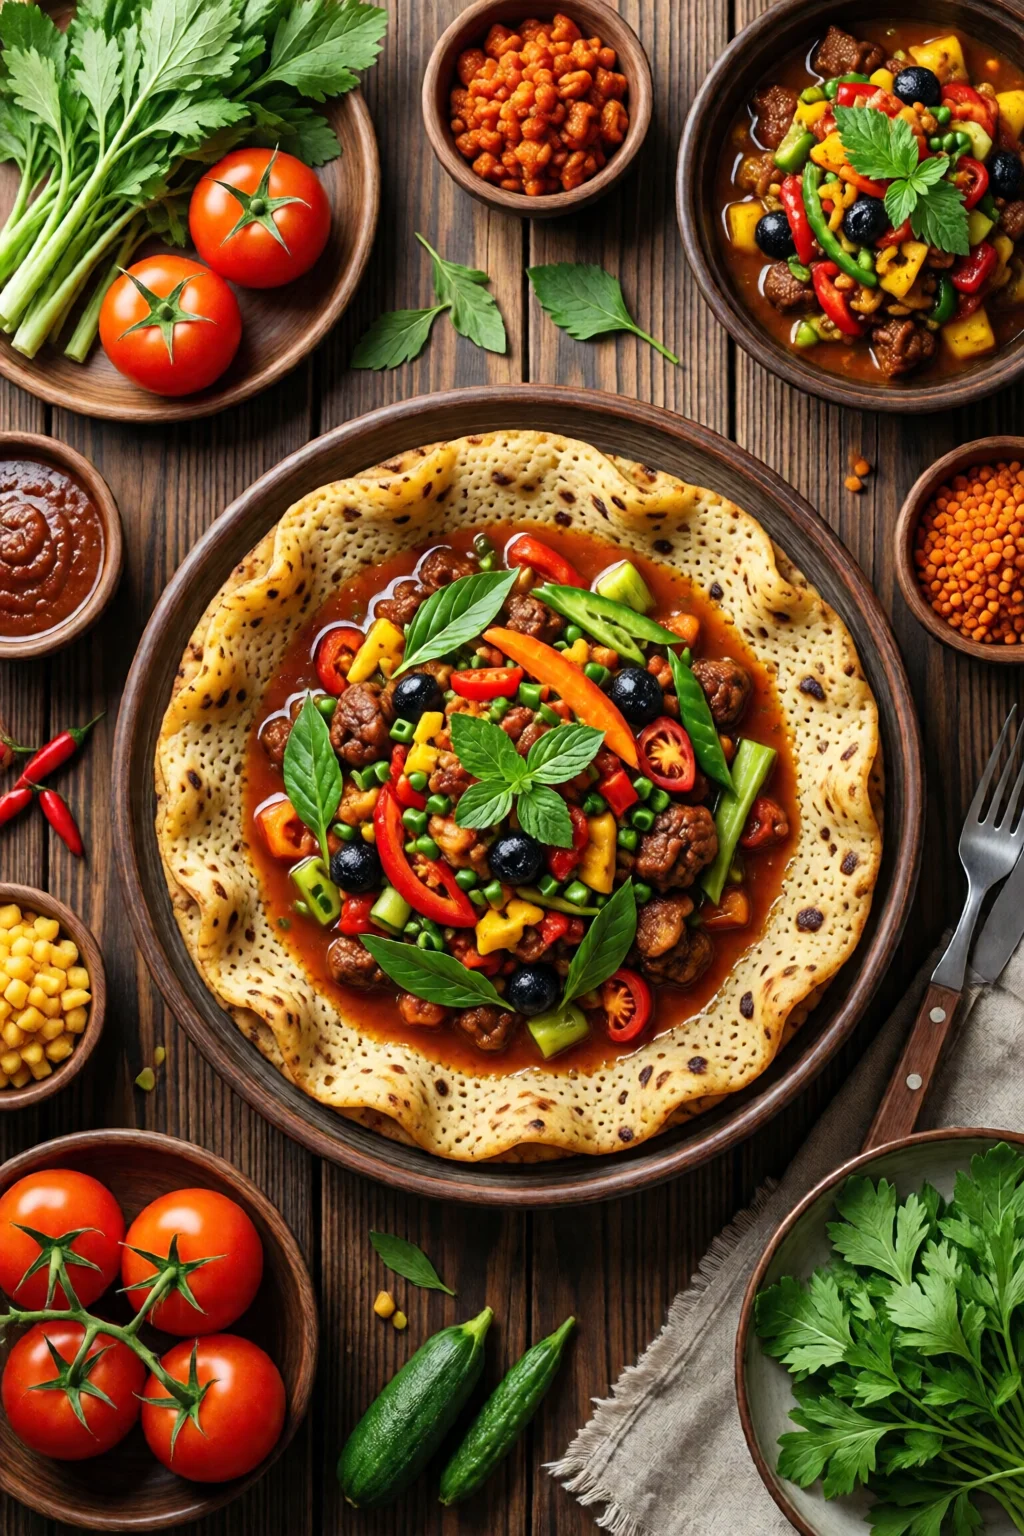
Step 5: Serve and Pair with Traditional Dishes
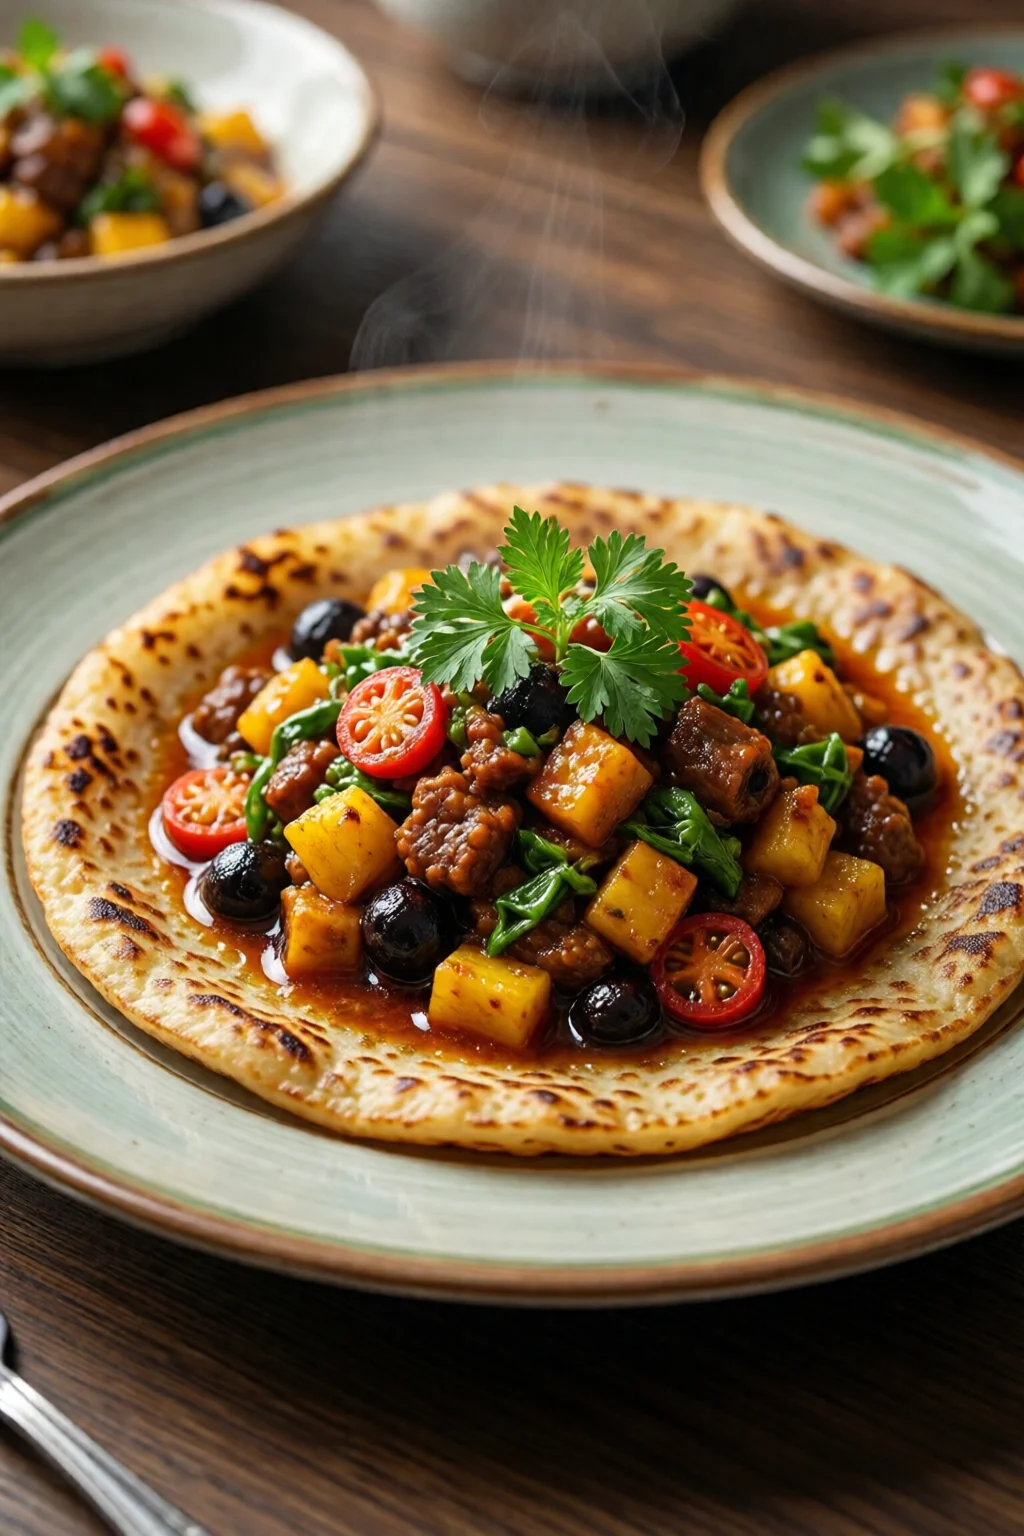
In Ethiopian cuisine, injera is both plate and utensil. Lay a fresh stack of warm injera on a large platter, then top with stews (wat) such as doro wat (spicy chicken), misir wat (lentil stew), or kitfo (seasoned raw beef). Guests tear off pieces of injera and use them to scoop up the sauces.
If you’re curious about side dishes, try pairing injera with a fresh healthy salad for lunch or a lean protein like the healthy chicken breast recipes. For a cross‑cultural twist, I’ve served injera alongside Indian butter chicken – the sour base cuts through the richness beautifully.
Common Mistakes to Avoid
- Skipping the fermentation. One mistake I see often is trying to “rush” injera by using only water and flour. The sour flavor and airy texture come from the natural lactobacilli; without time, you’ll get a flat, bland pancake.
- Using cold water. Cold batter slows fermentation dramatically. Aim for 70‑75 °F water to kick‑start the process.
- Over‑crowding the pan. Pouring too much batter results in a thick, rubbery injera. Stick to a ladleful and swirl quickly.
- Cooking at too high a heat. The surface will brown before the holes form, leaving a dense texture. Medium‑high is ideal.
- Neglecting the “air‑dry” rest. Skipping the 30‑minute uncovered rest reduces bubble formation, yielding a smooth, hole‑less surface.
Tips for Best Results (Troubleshooting)
Temperature control. If your kitchen is cooler than 65 °F, place the covered batter in a turned‑on oven with just the light on, or use a proofing box set to 78 °F. Consistent warmth shortens fermentation to 24‑36 hours.
Adjusting sourness. For a milder tang, reduce fermentation time by a few hours. For a stronger flavor, extend it up to 72 hours and add a pinch more salt.
Flour quality. Pure teff flour yields the most authentic taste, but it can be pricey ($9.99 for 2 lb). A 70/30 blend with all‑purpose flour reduces cost to about $5 per batch while preserving the characteristic nuttiness.
Storage. Fresh injera stays soft for 2‑3 days at room temperature if covered with a clean kitchen towel. For longer storage, wrap tightly in plastic and freeze; thaw in the microwave for 30 seconds, then re‑steam briefly.
Re‑use batter. After the first batch, the leftover batter can be refrigerated for up to 48 hours and used for a second round of injera. The texture may be slightly denser, so add a splash of water before cooking.
Summary & Conclusion
Mastering Ethiopian recipes traditional injera is less about fancy equipment and more about patience, temperature, and respecting the fermentation process. With the right flour, a reliable starter, and a well‑heated skillet, you can produce the spongy, sour canvas that makes Ethiopian meals unforgettable. Remember, the first few attempts are practice runs – each batch teaches you how your kitchen’s climate influences the batter. Soon you’ll be serving injera alongside doro wat, kitfo, or even a creative Turkish kebab and meze spread, impressing friends and family with a taste of Addis Ababa right at home.
Frequently Asked Questions
How long does the batter need to ferment?
Traditional Ethiopian households ferment for 2‑3 days, but a reliable shortcut is 24‑48 hours at 75‑80 °F. Taste after 24 hours; if it’s mildly sour, you can proceed.
Can I use whole‑wheat flour instead of teff?
You can substitute up to 30 % whole‑wheat flour for a lighter texture, but pure teff provides the authentic nutty flavor and the right gluten‑free structure.
Do I need a special pan for injera?
A large non‑stick skillet or a traditional cast‑iron mitad works best. A 10‑inch crepe pan is ideal; it distributes heat evenly and creates the perfect surface for bubbling.
How can I keep injera soft after cooking?
Stack the hot injera on a clean kitchen towel, cover with another towel, and store in a sealed container. This traps steam and prevents the bread from drying out.
2 réflexions au sujet de “Ethiopian Recipes Traditional Injera: Complete Guide for 2026”