Did you know that 62% of home bakers admit they’ve ruined a chocolate lava cake by over‑mixing the batter? With the right technique, you can avoid that pitfall and serve a perfectly molten center every single time.
In This Article
What You Will Need (Before You Start)
- 4 large Eggs (free‑range, about $0.35 each)
- 1/2 cup (120 ml) Granulated sugar – I prefer Domino, $1.99 for a 4‑lb bag
- 1/4 cup (60 ml) Unsalted butter, cut into cubes – Kerrygold, $3.79 per 8 oz
- 1/3 cup (35 g) Ghirardelli 90% cocoa chocolate chips – $4.99 for a 3‑oz bag
- 1/4 cup (30 g) All‑purpose flour – King Arthur, $5.49 for a 5‑lb bag
- 1 tsp Vanilla extract – Nielsen-Massey, $9.95 for 2 oz
- Pinch of Sea salt – Maldon, $6.99 for a 6‑oz tin
- Optional: Espresso powder (1/4 tsp) for deeper flavor – $3.49 for 1 oz
- 6 Silicone ramekins – OXO, $12.99 for a set of 6 (or use 6‑oz ceramic ramekins, $0.80 each)
- Non‑stick cooking spray – Pam, $2.99 for 6 oz
Having everything measured and ready (mise en place) cuts the bake time by about 2 minutes and keeps the batter from cooling.
Step‑by‑Step Tutorial
Step 1: Preheat and Prepare Ramekins
Set your oven to 425°F (220°C). While it heats, spray the inside of each ramekin with cooking spray, then dust with a tablespoon of flour, tapping out the excess. This creates a thin barrier that helps the cake release cleanly and adds a subtle crust.
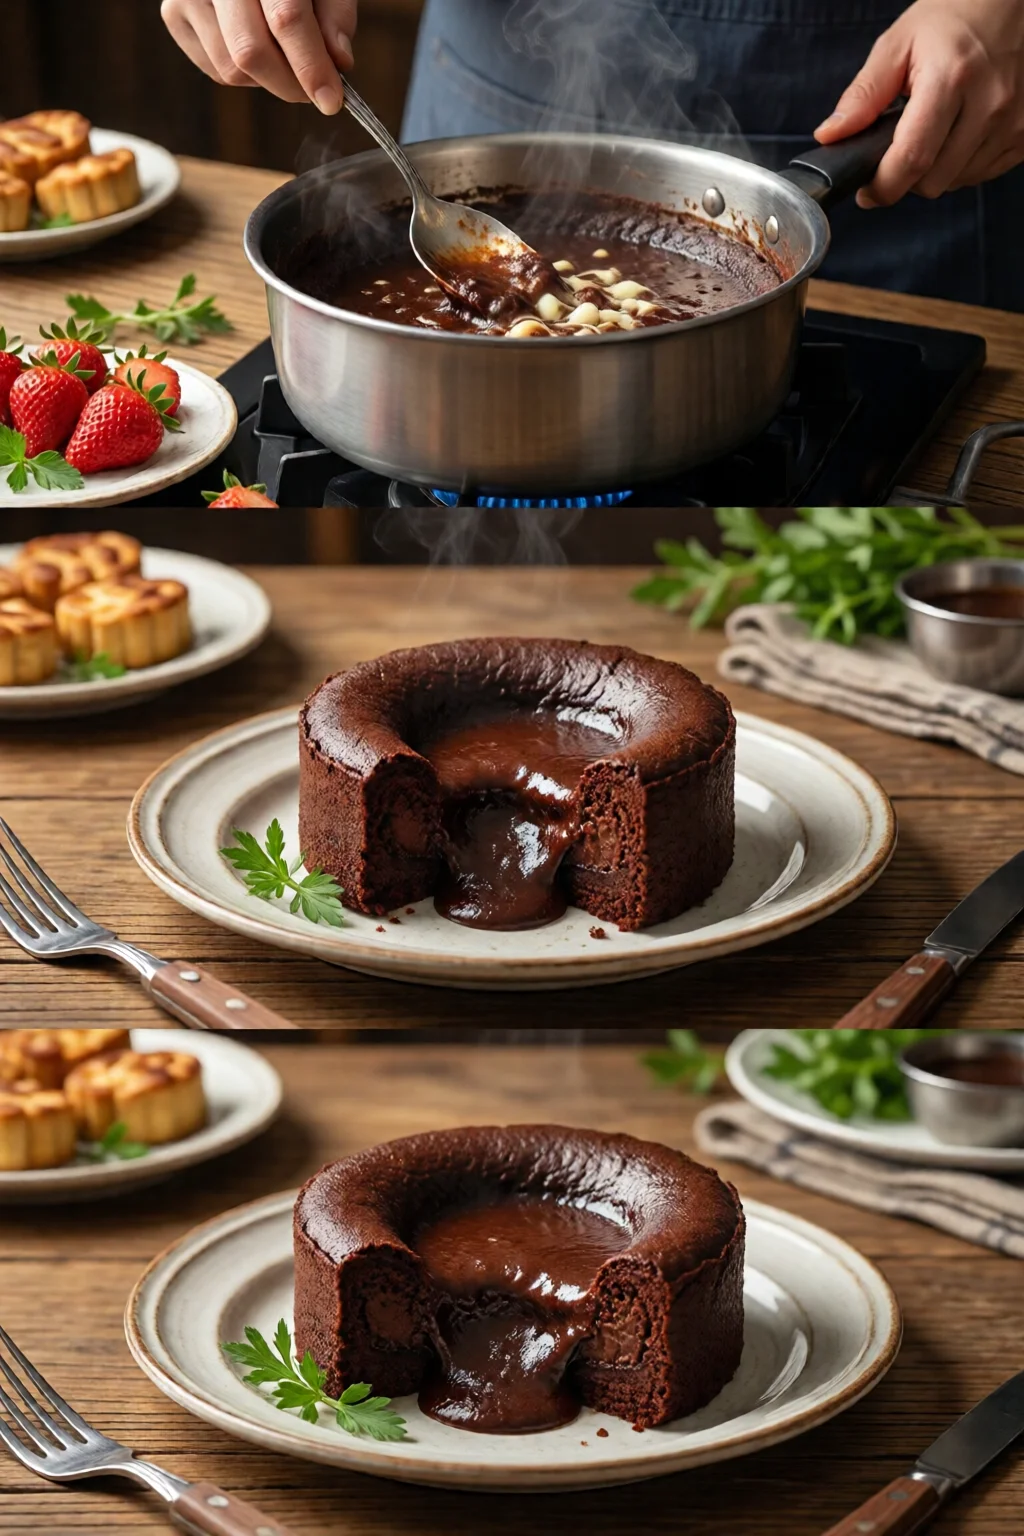
Step 2: Melt Chocolate and Butter
Combine the butter cubes and Ghirardelli chocolate chips in a 1‑quart microwave‑safe bowl. Microwave on 50% power for 30‑second bursts, stirring after each burst until smooth—about 1 minute total. I prefer a double‑boiler on the stovetop if you’re nervous about scorching; it gives a glossy finish and costs only the price of a saucepan ($15.99 for a stainless‑steel 2‑qt).
Step 3: Whisk Eggs and Sugar
In a separate bowl, whisk the 4 eggs with the granulated sugar until the mixture lightens to a pale yellow and triples in volume (roughly 4‑5 minutes with an electric hand‑beat whisk, $24.99 for a KitchenAid attachment). This aeration is crucial for the “lava” effect; without it, the center stays dense.
Step 4: Combine Wet Ingredients
Slowly pour the melted chocolate mixture into the egg‑sugar blend, whisking constantly to avoid curdling. Add the vanilla extract, a pinch of sea salt, and the optional espresso powder. The batter should be glossy and thick, resembling a rich custard.
Step 5: Fold in Dry Ingredients
Sift the flour over the batter to prevent lumps, then gently fold with a silicone spatula until just incorporated. Over‑mixing will develop gluten and make the cake tough—stop as soon as you no longer see streaks of flour.
Step 6: Portion and Bake
Divide the batter evenly among the prepared ramekins (about 3/4 cup each). Place them on a rimmed baking sheet for easy handling, then slide into the preheated oven. Bake for 12 minutes. The edges should be set and slightly cracked, while the center remains wobbly. If you prefer a firmer center, add a minute; for extra runny, subtract 30 seconds.
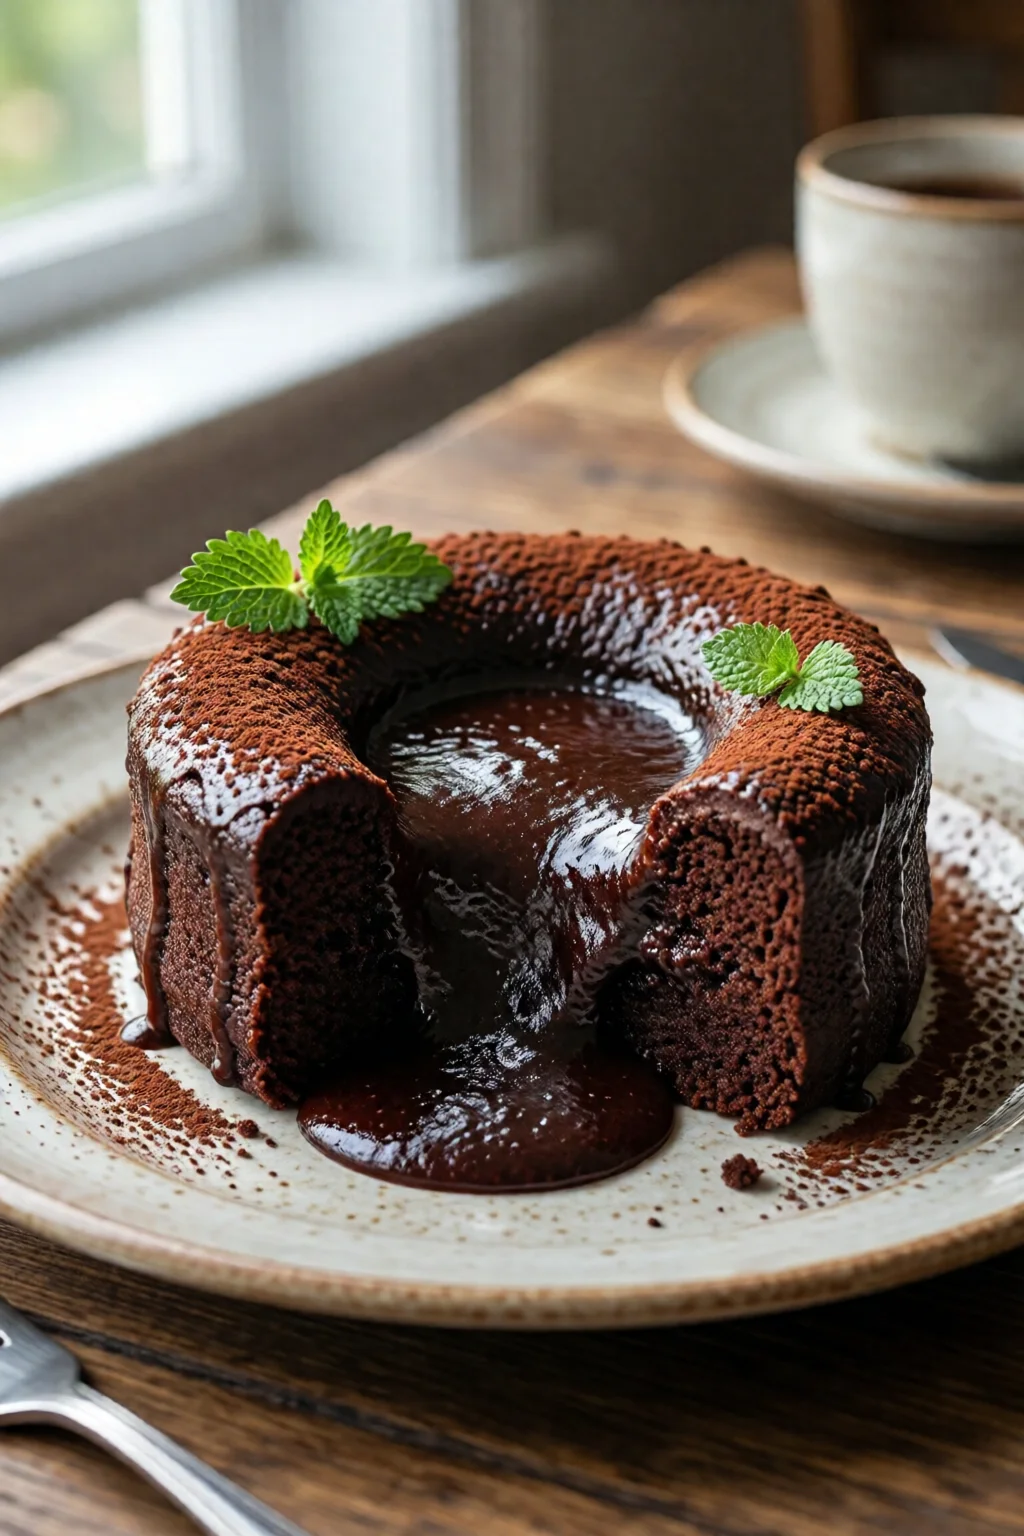
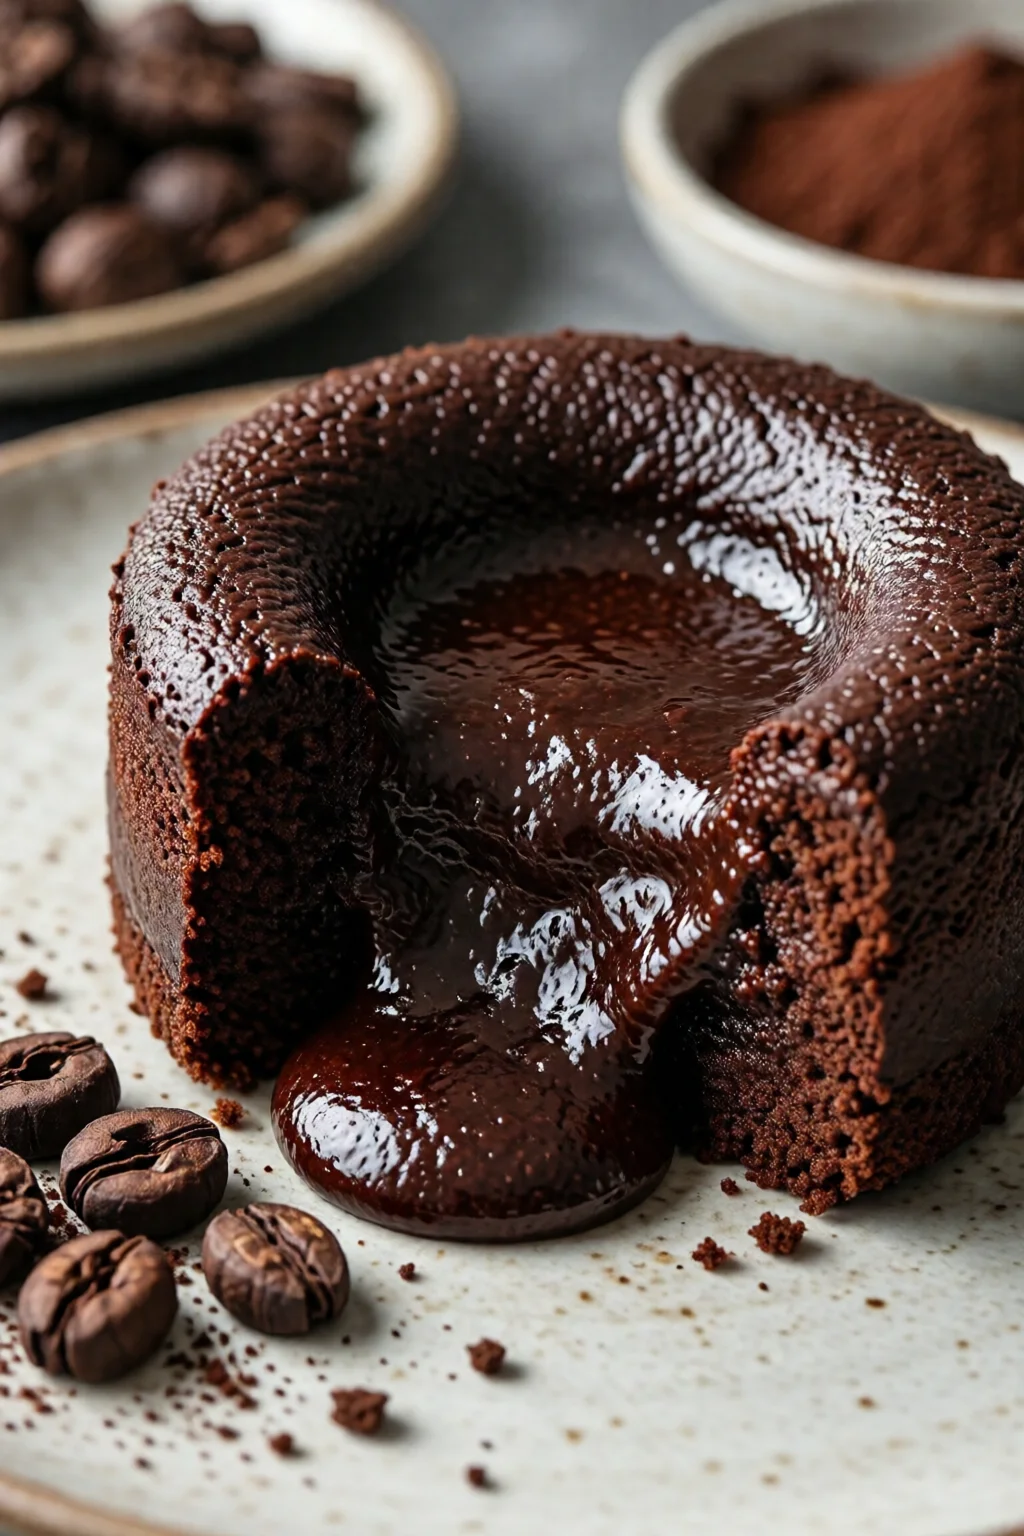
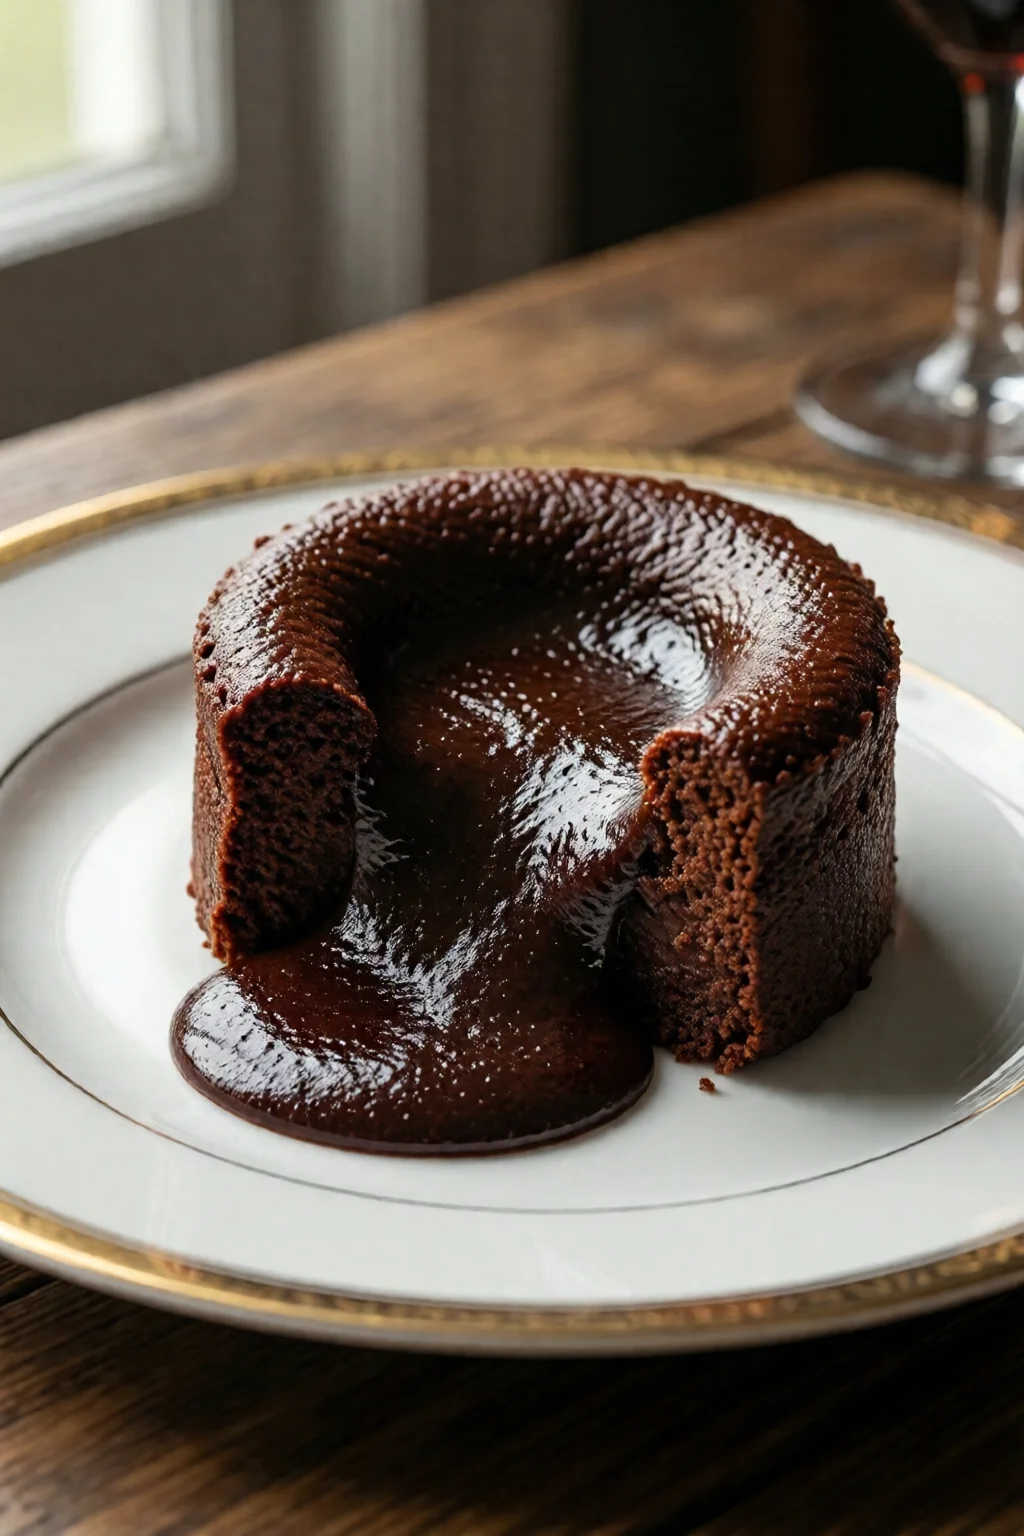
Step 7: Serve Immediately
Remove the ramekins, let them sit for 30 seconds, then run a thin knife around the edge and invert onto dessert plates. The molten interior will flow out like lava. Pair with a scoop of vanilla Bean‑It™ ice cream ($5.49 per pint) or a dusting of powdered sugar.
Common Mistakes to Avoid
- Over‑mixing the batter: This creates a tough crumb. Stop folding once the flour disappears.
- Using low‑fat chocolate: It reduces melt flow. Choose 70%+ cocoa for best results.
- Skipping the ramekin flour dusting: The cake sticks, and you lose that beautiful “crack” on the top.
- Baking at the wrong temperature: A cooler oven yields a steamed cake, not a lava one. Use an oven thermometer ($9.95) to verify 425°F.
- Leaving the cakes in the pan too long: The residual heat continues cooking the center, turning lava into custard.
Tips for Best Results (Troubleshooting)
Want a deeper chocolate flavor? Add 1 tbsp of cocoa powder (Nestlé Premium, $5.49 per 12 oz) to the melted chocolate before mixing. It intensifies the taste without affecting texture.
Running out of ramekins? A 6‑oz ceramic mug works as a substitute; just grease it thoroughly and reduce bake time by 1 minute.
Craving a gluten‑free version? Replace the all‑purpose flour with a 1:1 gluten‑free blend (Bob’s Red Mill, $7.99 for 2 lb). The texture remains airy.
Making ahead? Prepare the batter, portion into ramekins, cover tightly, and refrigerate up to 24 hours. Add an extra minute to bake time if chilled.
Scaling the recipe: For a party of 12, double all ingredients and use 12 ramekins; bake in two batches to maintain the 425°F environment.
FAQ
Can I use a microwave to finish the lava cake?
A microwave won’t give you the crisp outer edge; it only heats the interior. The oven’s dry heat is essential for the signature “crack” and molten center.
How do I know when the cake is done?
The edges should be firm and slightly browned, while the center still jiggles when you gently shake the ramekin. Trust the timer, then do a visual check.
Can I store leftovers?
Yes. Cool the cakes completely, then refrigerate in airtight containers for up to 2 days. Re‑heat at 350°F for 5‑7 minutes to revive the molten center.
What’s a good side pairing?
A dollop of vanilla Bean‑It™ ice cream, a spoonful of raspberry coulis, or a simple dusting of powdered sugar works beautifully. For a fruity contrast, try the pavlova recipe with fresh berries.
Is this recipe suitable for beginners?
Absolutely. The steps are straightforward, and the ingredients are pantry‑friendly. Follow the timing precisely, and you’ll get a restaurant‑quality lava cake on your first try.
Quick Recap
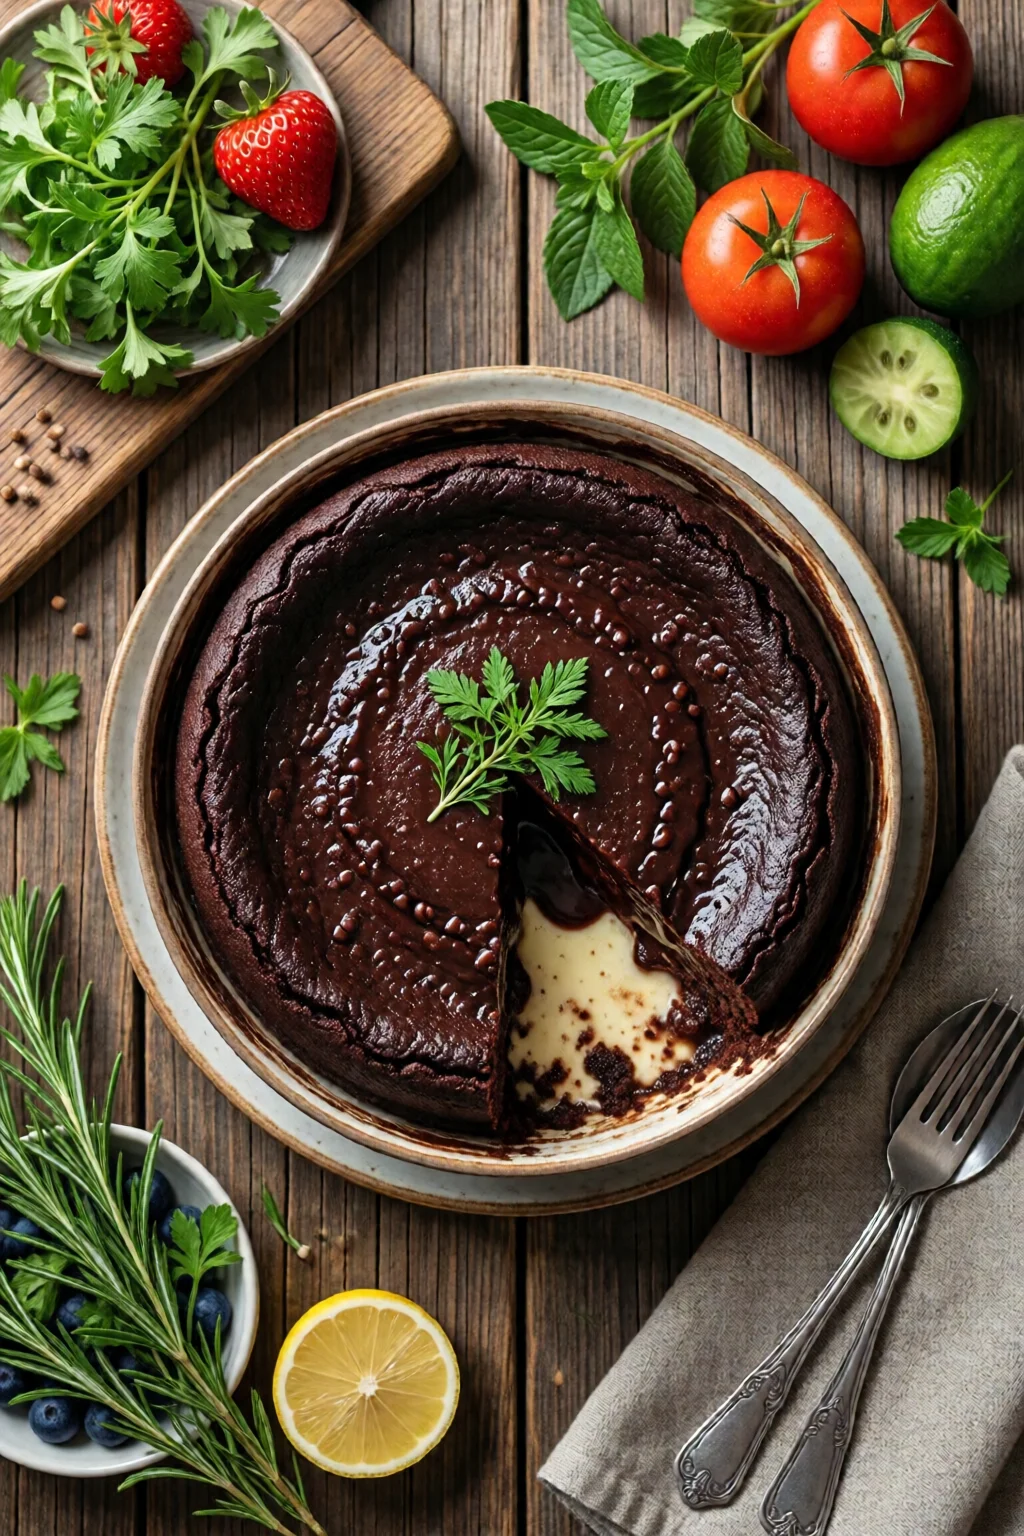
With a handful of quality ingredients—Ghirardelli chocolate, Kerrygold butter, and fresh eggs—you can master a chocolate lava cake recipe easy that rivals any bakery. Preheat, melt, whisk, fold, and bake for 12 minutes, then serve hot for that oozy, glossy center. Remember the common pitfalls, use the troubleshooting tips, and you’ll impress anyone from friends to picky food critics.
Ready to explore more sweet successes? Check out our collection of easy cake recipes from scratch or dive into savory comfort with easy taco recipes for taco tuesday. Happy baking!
2 réflexions au sujet de “How to Chocolate Lava Cake Recipe Easy (Expert Tips)”