Ever wondered why a steak can be restaurant‑perfect at home, or how a piece of fish stays buttery‑soft without overcooking? The answer lies in sous vide, and this sous vide cooking for beginners guide will show you exactly how to master it without a culinary degree.
In This Article
- 1. Choose the Right Immersion Circulator – Your Sous Vide Engine
- 2. Pick the Proper Container – Pot, Bucket, or Water Oven
- 3. Vacuum Seal or Use the Water‑Displacement Method – Bagging Basics
- 4. Master Temperature & Time Charts – The Science of Perfect Doneness
- 5. Finish with a Sear – From Velvet to Crust
- 7. Clean & Maintain – Longevity of Your Sous Vide Gear
- Comparison Table – Top Sous Vide Devices for Beginners
- Final Verdict – Is Sous Vide Worth the Investment?
1. Choose the Right Immersion Circulator – Your Sous Vide Engine
The heart of any sous vide setup is the immersion circulator. In my experience, the Anova Culinary Precision Cooker Nano (around $129) offers a solid balance of accuracy (±0.1°C) and user‑friendly app control. If you need more power for large batches, the Breville Joule ($199) delivers 1100 W and a sleek magnetic base that sticks to any pot. Both units hit the 0‑90 °C range, but the Joule’s Bluetooth connectivity lets you monitor the bath from your phone while you’re prepping the rest of the meal.
Pros
- Precise temperature control (±0.1 °C)
- Compact footprint – fits in a 4‑liter pot
- App recipes and timers
Cons
- Anova Nano lacks Bluetooth (only Wi‑Fi)
- Joule’s magnetic base can detach on very smooth stainless pots
2. Pick the Proper Container – Pot, Bucket, or Water Oven
A sturdy 6‑quart (5.7 L) stockpot works for most home kitchens. I use a Cuisinart 6‑Quart Stainless Steel Stockpot ($55) because its thick walls retain heat, reducing temperature fluctuations to under 0.3 °C during a 2‑hour cook. For batch cooking, a polycarbonate water oven like the ChefSteps KitchenSTOVE (≈$399) holds up to 20 L and has built‑in insulation, shaving 10‑15 minutes off recovery time.
Make sure the water level stays at least 2 inches (5 cm) above the food bag; otherwise the circulator will draw in air and lose efficiency.
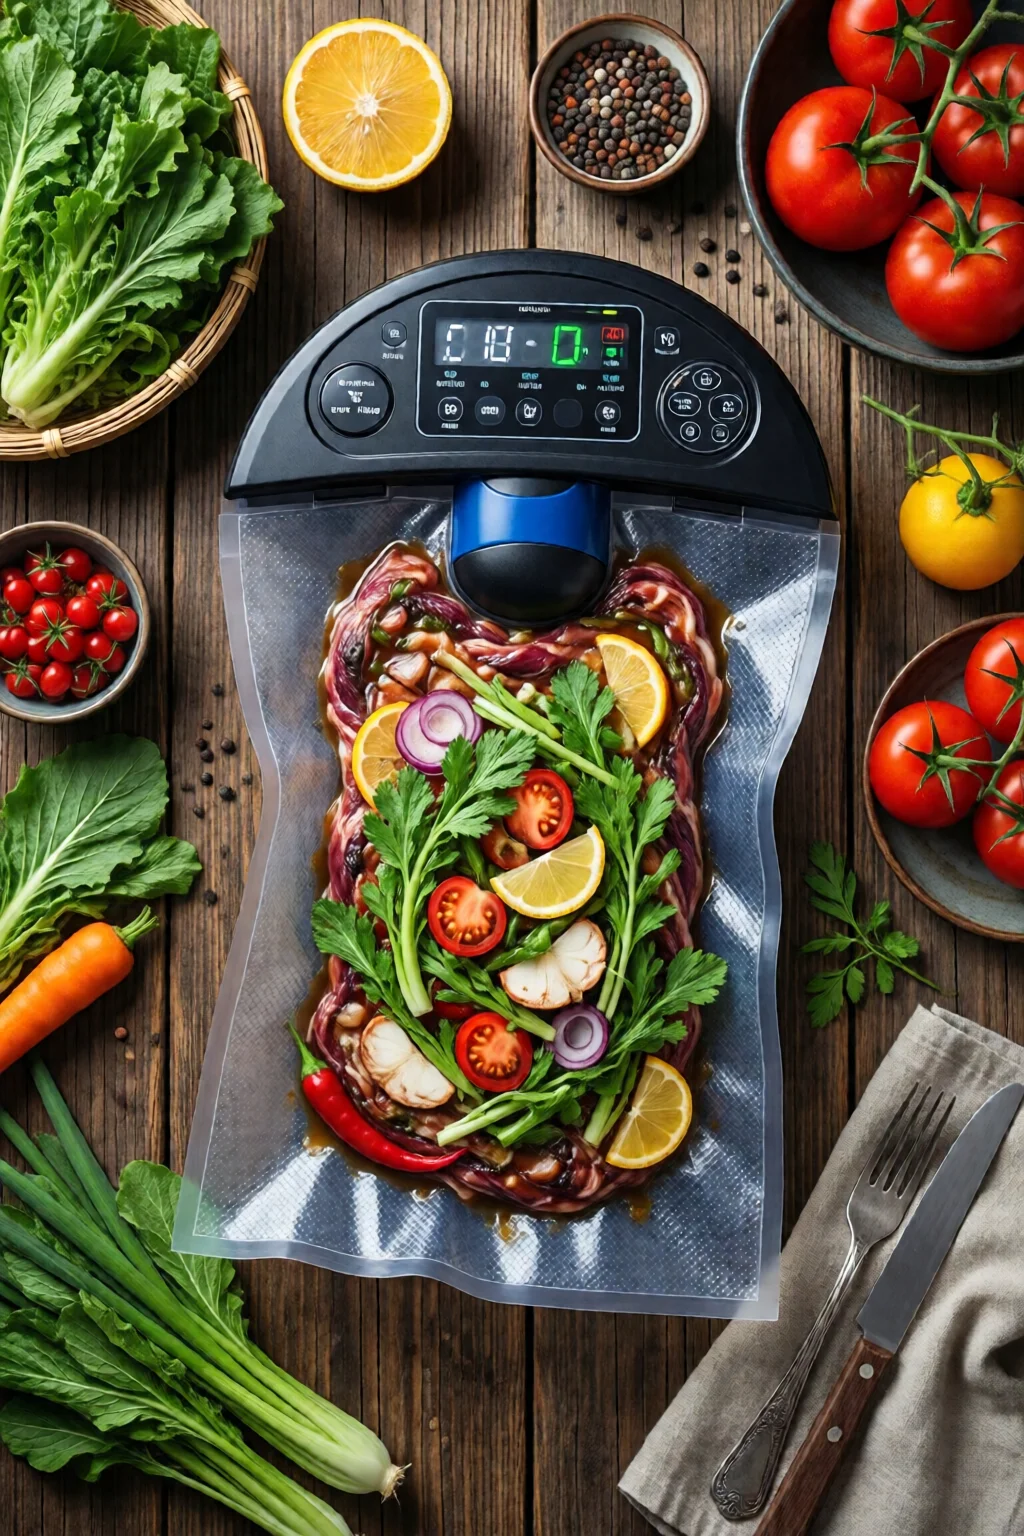
3. Vacuum Seal or Use the Water‑Displacement Method – Bagging Basics
High‑quality vacuum bags prevent water from seeping in and keep aromas locked. I swear by FoodSaver Vacuum Seal System bags (12‑inch rolls at $19). The sealed bags have a burst strength of 300 psi, which is more than enough for 80 °C cooking.
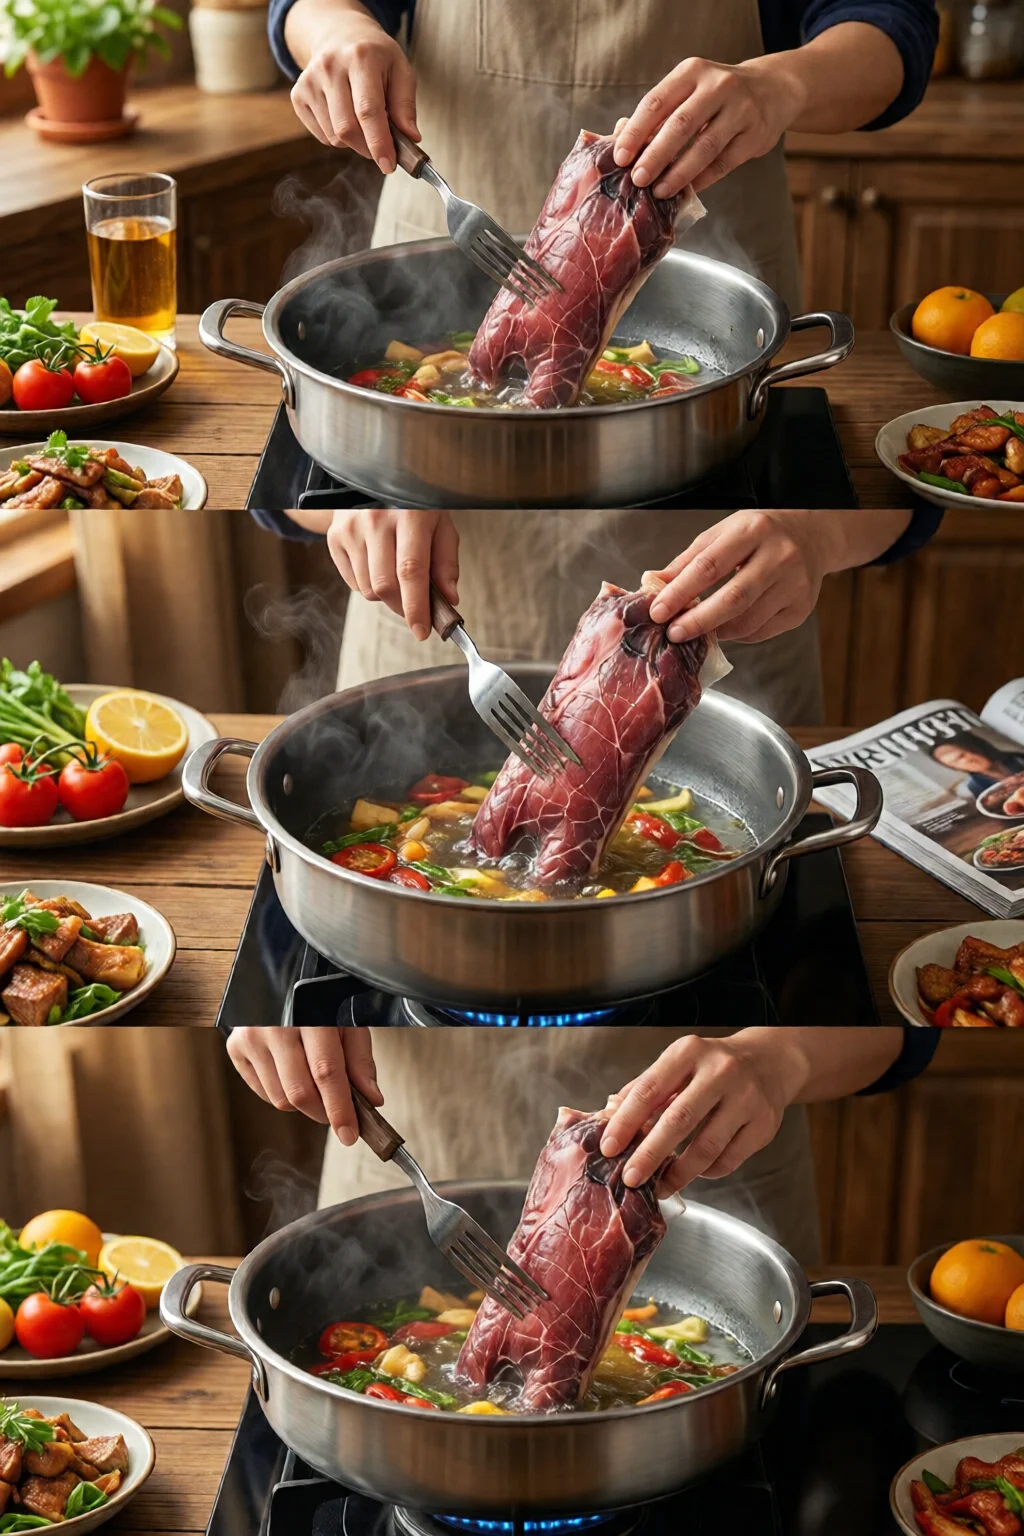
If you don’t own a vacuum sealer, the water‑displacement technique works fine: place food in a zip‑top bag, slowly lower it into the water bath, and the pressure forces the air out before sealing. Just be sure the bag is BPA‑free and rated for 95 °C.
One mistake I see often is using regular Ziploc bags for long cooks; they can soften and leak after 4 hours at 80 °C.
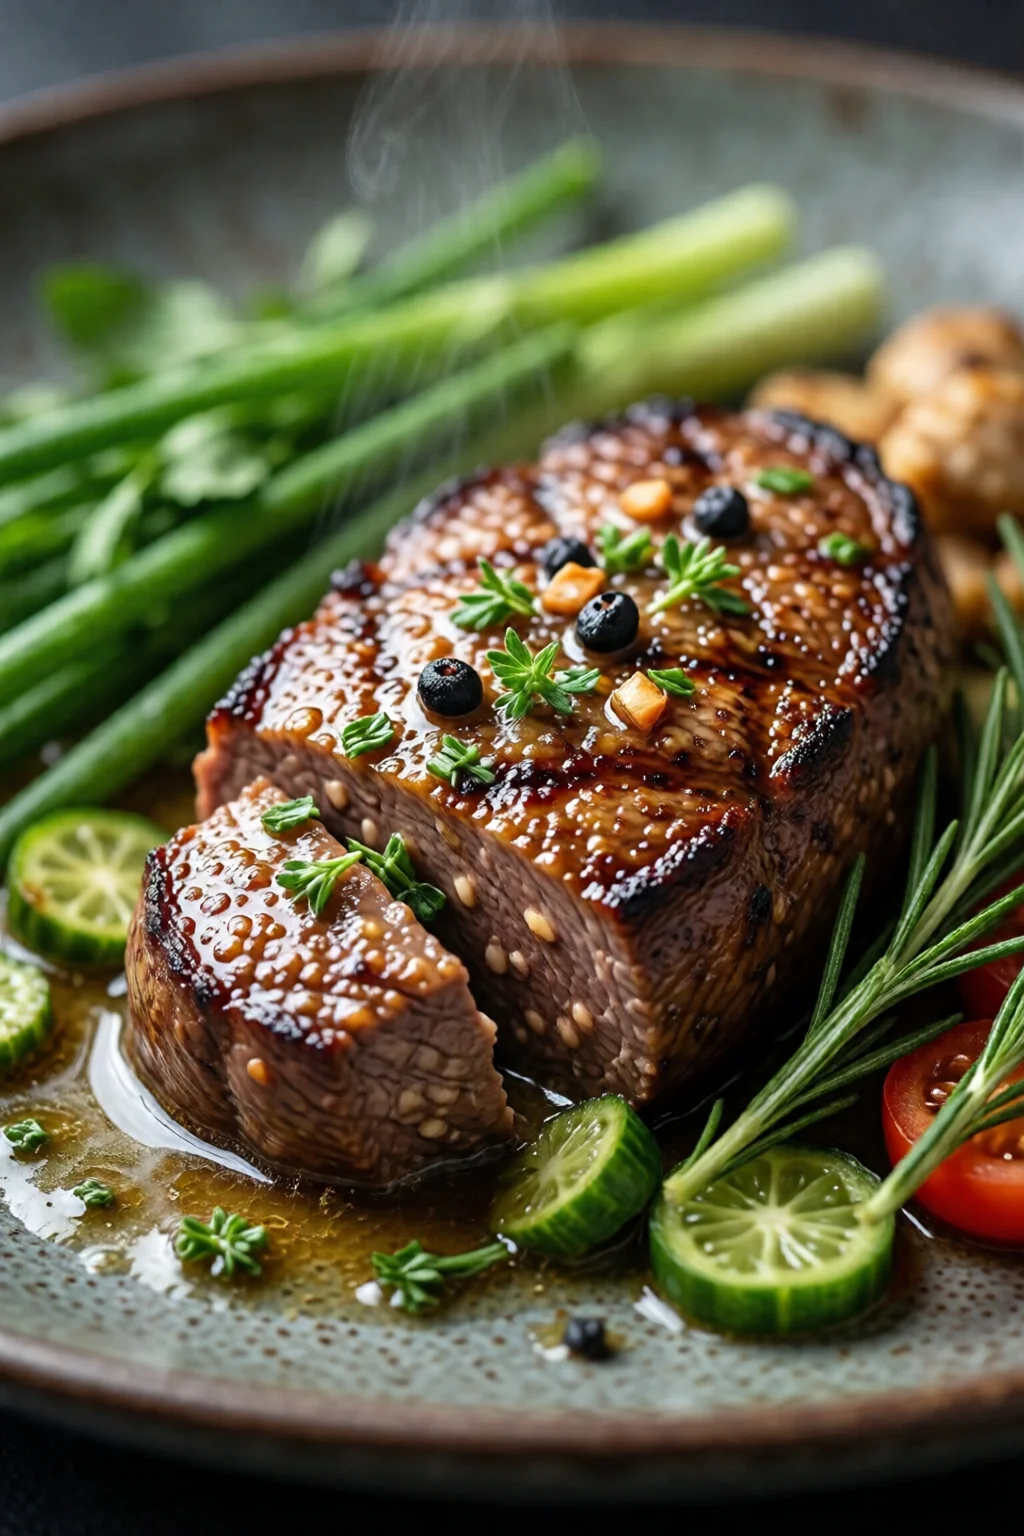
4. Master Temperature & Time Charts – The Science of Perfect Doneness
Unlike traditional cooking, sous vide relies on time‑temperature combos to achieve texture. Here are my go‑to settings (all temperatures are water bath temps):
- Steak (ribeye, medium‑rare): 54 °C (129 °F) for 1.5‑2 hours
- Chicken breast: 60 °C (140 °F) for 1‑1.5 hours
- Salmon fillet: 50 °C (122 °F) for 45‑60 minutes
- Eggs (soft‑boiled): 65 °C (149 °F) for 45 minutes
These numbers come from the USDA’s safe‑hold times and my own testing. If you’re cooking at lower temps (e.g., 45 °C for rare steak), extend the time to at least 3 hours to ensure pasteurization.
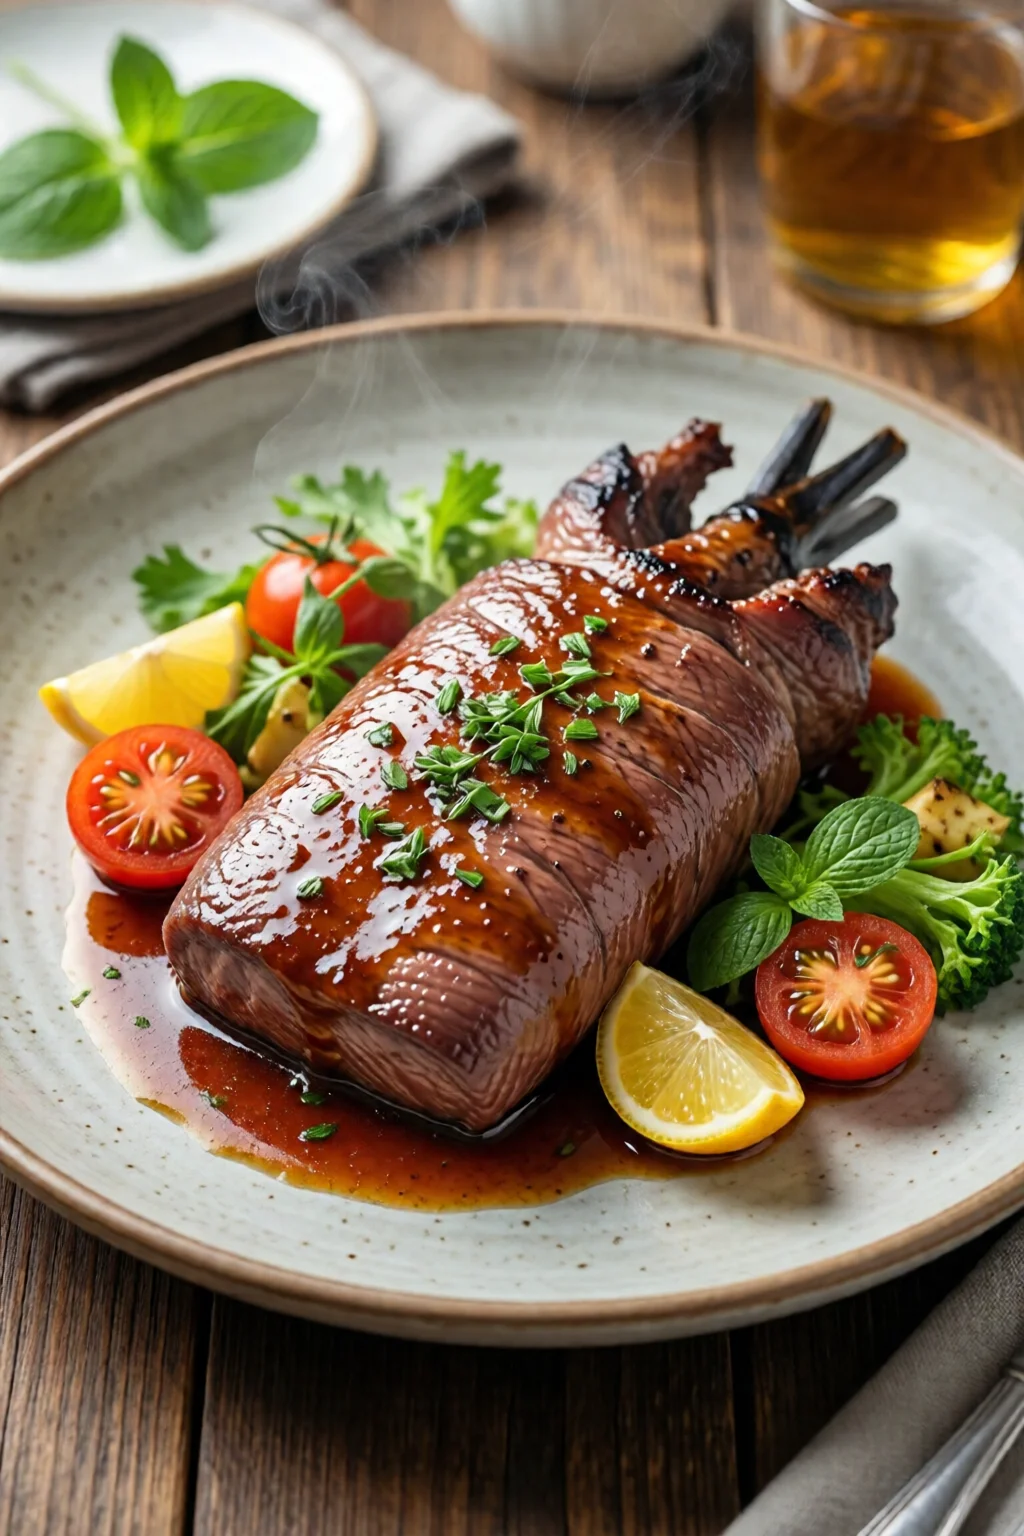
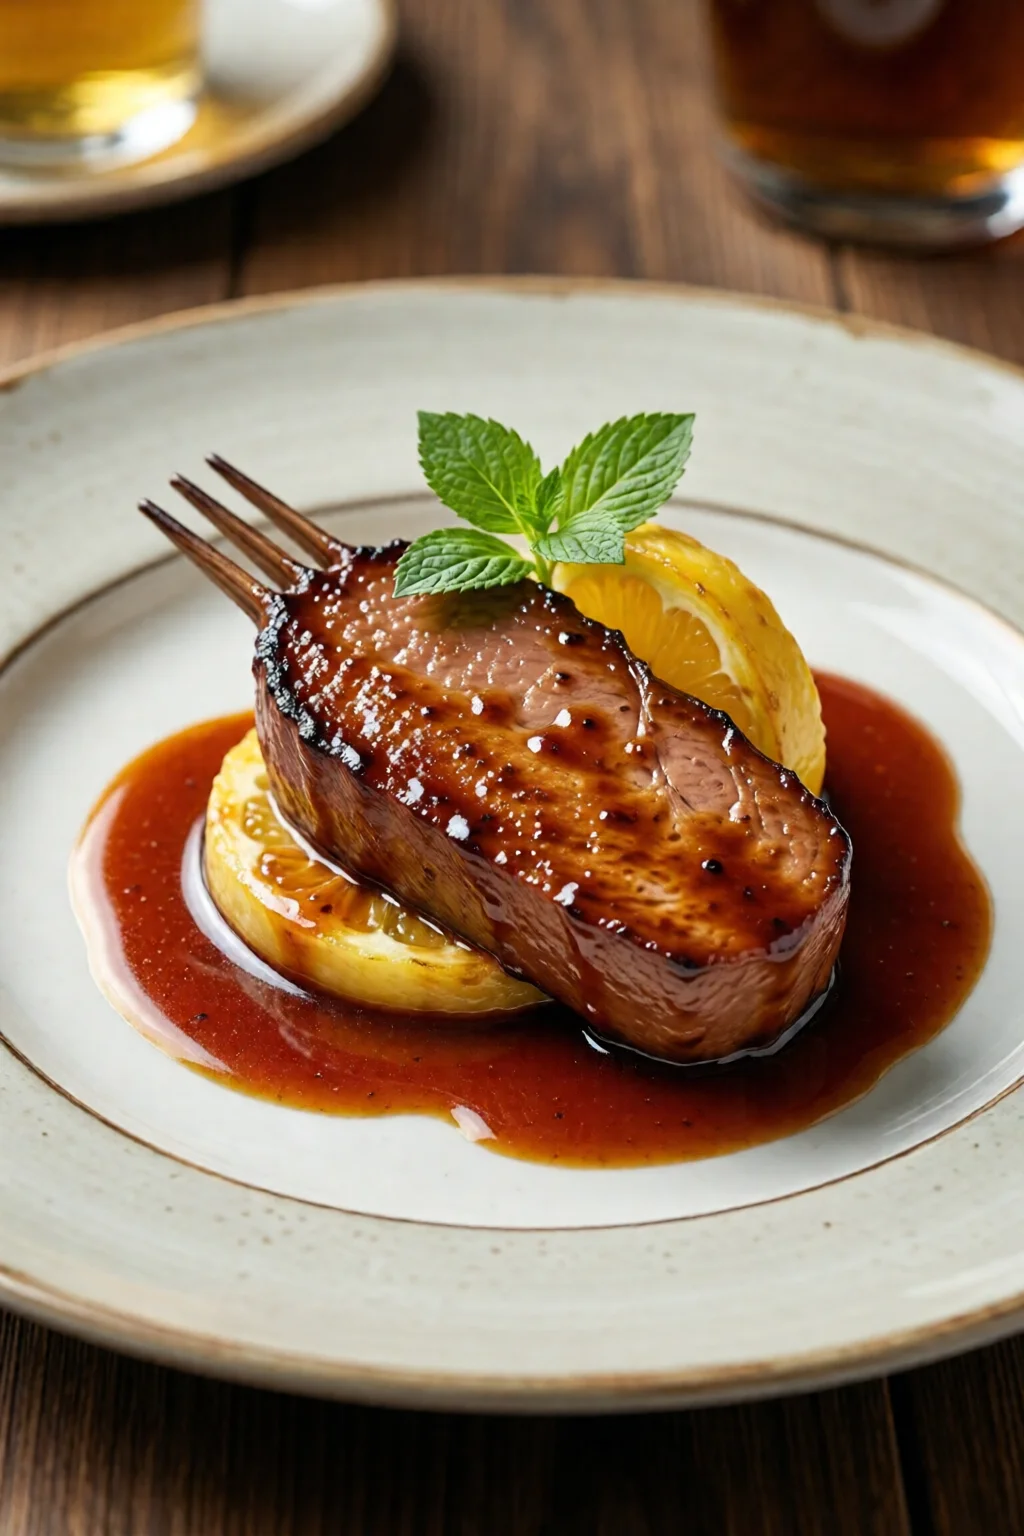
5. Finish with a Sear – From Velvet to Crust
After the bath, a quick sear adds flavor and texture. Heat a cast‑iron skillet over high heat, add 1 tsp (5 ml) of high‑smoke‑point oil (like avocado oil, $8 for a 12‑oz bottle), and sear each side for 45‑60 seconds. In my kitchen, I finish a 2‑inch steak with a pat of herb butter (2 g butter, 0.5 g minced rosemary) for a glossy finish.
Pro tip: Pat the bagged food dry with paper towels before searing; excess moisture will steam rather than brown.
6. Explore Flavor Infusions – Herbs, Marinades, and how to marinate meat perfectly tips
Sous vide excels at infusing flavors. Add a sprig of thyme, a crushed garlic clove, or a tablespoon (15 ml) of soy‑ginger glaze to the bag before sealing. The low‑heat environment allows the aromatics to permeate without burning.
My favorite experiment: a Mediterranean chicken breast with 10 ml olive oil, 2 g lemon zest, and a pinch of oregano, cooked at 60 °C for 1.5 hours. The result was juicy, bright, and ready to toss into a Greek salad—perfect for a quick Greek recipes traditional and healthy meal.
7. Clean & Maintain – Longevity of Your Sous Vide Gear
After each use, wipe the circulator’s heating element with a damp cloth; avoid submerging it. Descale with a 1:1 mixture of white vinegar and water every 30 cycles to prevent mineral buildup. Vacuum bags can be recycled if your local program accepts them; otherwise, cut them up for compostable waste.
Regular maintenance keeps the temperature variance under 0.2 °C, which is crucial for delicate foods like custards or egg‑based desserts.
Comparison Table – Top Sous Vide Devices for Beginners
| Model | Power (W) | Temperature Range | App Integration | Price (USD) | Rating (out of 5) |
|---|---|---|---|---|---|
| Anova Culinary Precision Cooker Nano | 800 | 0‑90 °C | Wi‑Fi (Anova App) | $129 | 4.6 |
| Breville Joule | 1100 | 0‑95 °C | Bluetooth (Joule App) | $199 | 4.8 |
| Instant Pot Accu Slim Sous Vide | 600 | 25‑95 °C | Bluetooth (Instant Pot App) | $99 | 4.3 |
| ChefSteps KitchenSTOVE (Water Oven) | 1500 (built‑in) | 20‑95 °C | Wi‑Fi (ChefSteps App) | $399 | 4.7 |
| Gourmia GSV 1400 | 1400 | 20‑95 °C | No app (digital knob) | $89 | 4.1 |
Final Verdict – Is Sous Vide Worth the Investment?
If you crave consistent, restaurant‑quality results with minimal guesswork, sous vide is a game‑changer. The initial cost (≈$100‑$200 for a solid circulator) pays off after just a handful of meals—especially when you factor in reduced food waste and the ability to batch‑cook proteins for the week.
My recommendation: start with the Anova Nano if you’re on a budget, or splurge on the Joule for its sleek design and superior connectivity. Pair it with a reliable vacuum sealer and a sturdy pot, and you’ll have a precision cooking system that grows with your skills.
Do I need a vacuum sealer to start sous vide?
A vacuum sealer isn’t mandatory, but it ensures airtight bags and better heat transfer. The water‑displacement method works for short cooks, while a sealer is recommended for long‑time or high‑temperature recipes.
Can I use regular zip‑lock bags for sous vide?
Yes, as long as they are BPA‑free and rated for at least 95 °C. For cooks over 4 hours, switch to heavy‑duty vacuum bags to avoid leaks.
What’s the difference between sous vide and slow cooking?
Sous vide maintains a precise, uniform temperature, while slow cookers fluctuate and often exceed target temps, leading to over‑cooked textures. Sous vide also preserves moisture and flavor better.
How do I prevent my water bath from evaporating?
Cover the pot with a lid or aluminum foil, and add a small amount of oil to the surface. For long cooks (>8 hours), a water oven with insulated walls reduces evaporation dramatically.
Can I use sous vide for desserts?
Absolutely. Custards, cheesecake, and even chocolate mousse benefit from the gentle, even heat. Try the chocolate mousse recipe easy elegant cooked at 70 °C for 45 minutes, then chilled.