Picture this: it’s a crisp Saturday afternoon, the backyard smells of sweet wood and caramelizing meat, and you’re the one holding the platter of tender, pink‑smoked brisket that everyone is raving about. I still remember the first time I fired up a smoker with nothing but a cheap electric unit and a pack of hickory chips—my ribs were dry, the smoke tasted like burnt paper, and I thought I’d never get it right. Fast forward ten years, countless trial runs, and a few pricey upgrades, and I’ve turned that early disappointment into a reliable smoking meat for beginners guide that actually works. Below you’ll find the exact steps, tools, and mind‑set you need to go from novice to confident pitmaster without spending a fortune or burning your dinner.
In This Article
Smoking isn’t just about “throw meat on a fire.” It’s a science of low‑and‑slow heat, controlled smoke, and precise timing. Whether you’re aiming for a juicy pork shoulder, a melt‑in‑your‑mouth beef brisket, or even smoked chicken wings, the fundamentals stay the same. In this guide I’ll walk you through equipment choices, meat prep, wood selection, temperature management, and the common pitfalls that trip up most first‑timers. By the end, you’ll have a concrete game plan, a budget‑friendly gear list, and a handful of pro tricks that I’ve gathered from over a decade of smoking meat.
Getting Started: Equipment & Setup
Choosing the Right Smoker
There are four main smoker categories on the market today. Each has its own learning curve, flavor potential, and price point. Below is a quick comparison to help you decide which one fits your backyard and budget.
| Smoker Type | Typical Price (USD) | Temperature Control | Smoke Flavor | Best For |
|---|---|---|---|---|
| Electric (e.g., Masterbuilt MB20070117) | $200‑$350 | Digital thermostat ±5°F | Clean, consistent | Beginners, limited space |
| Charcoal (e.g., Weber Smokey Mountain 34″ | $250‑$400 | Manual, requires practice | Rich, traditional | Flavor purists, budget‑tight |
| Pellet (e.g., Traeger Pro 575, $699) | $600‑$900 | Programmed, ±2°F | Consistent, wood‑specific | Set‑and‑forget fans, versatility |
| Gas (e.g., Char-Broil 360‑Sq‑Ft) | $300‑$500 | Digital knob, quick adjustments | Light, can be boosted with chips | Fast heat, indoor‑compatible |
In my kitchen I started with the Masterbuilt electric smoker because the learning curve was gentle and the $279 price tag left room for a good thermometer and a set of wood chips. Once I mastered temperature stability, I upgraded to a Traeger pellet smoker for that authentic wood flavor without the constant ash‑sweeping.
Essential Tools You Can’t Skip
- Probe Thermometer: I swear by the ThermoWorks Smoke Pro (≈$129). Its wireless probe lets you monitor internal meat temperature from your phone, preventing the dreaded “guess‑and‑check” method.
- Instant‑Read Thermometer: A cheap Lavatools Javelin (≈$39) is perfect for quick checks before you wrap the meat.
- Heat‑Resistant Gloves: The Grill‑Mates 800 °F gloves protect your hands when you’re adding chips or adjusting vents.
- Stainless Steel Tongs: Long‑handled tongs (≈$22) keep you safe from the heat and give you better control when moving large cuts.
- Aluminum Foil & Butcher Paper: I use 12‑inch heavy‑duty foil for the Texas‑style “Texas Crutch” wrap, and pink butcher paper for a softer bark.
Setting Up Your First Fire
Regardless of smoker type, the goal is a stable 225‑250 °F cooking environment for the first two hours. Here’s a step‑by‑step for a charcoal smoker, which translates well to other models:
- Arrange a two‑zone fire: place a mound of charcoal on one side (direct heat) and leave the opposite side empty (indirect heat).
- Light the charcoal with a chimney starter—no lighter fluid needed. Expect about 15 minutes for an even ember glow.
- When the coals are covered with gray ash, dump them onto the direct‑heat side, then add a handful of soaked wood chips (apple or hickory). Soaking for 30 minutes prevents premature burning.
- Close the lid, open the vents about ¼ inch, and let the smoker stabilize. Use your digital thermometer to verify the chamber reads 225 °F ±5 °F before you slide the meat in.
Preparing the Meat
Selecting Cuts That Smoke Well
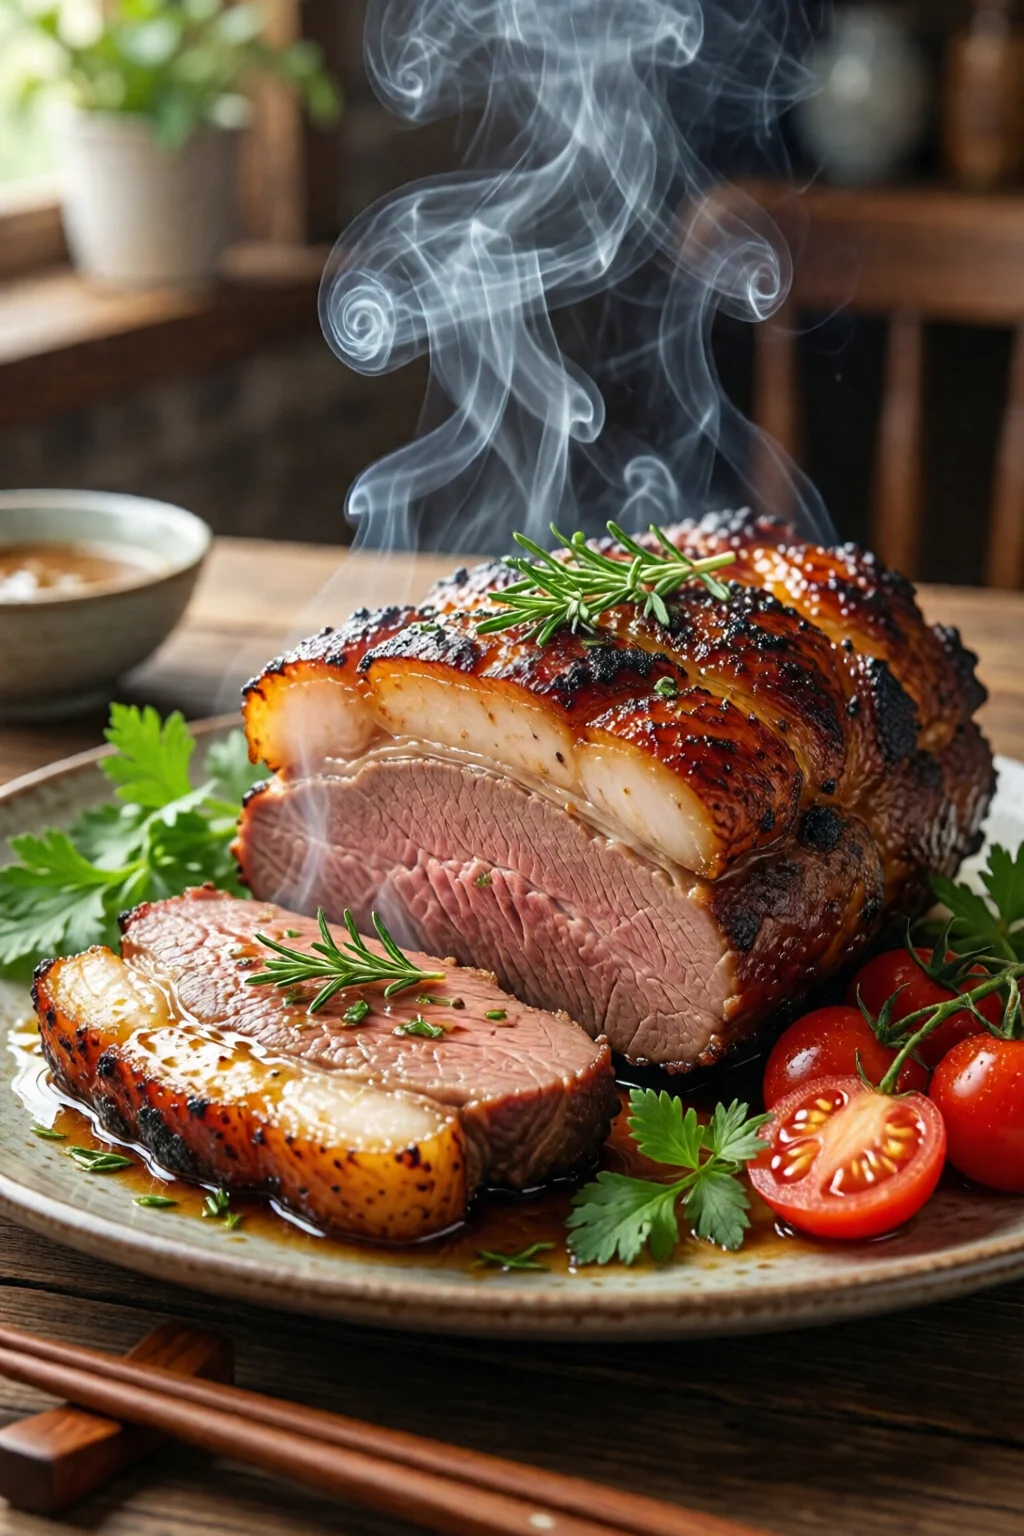
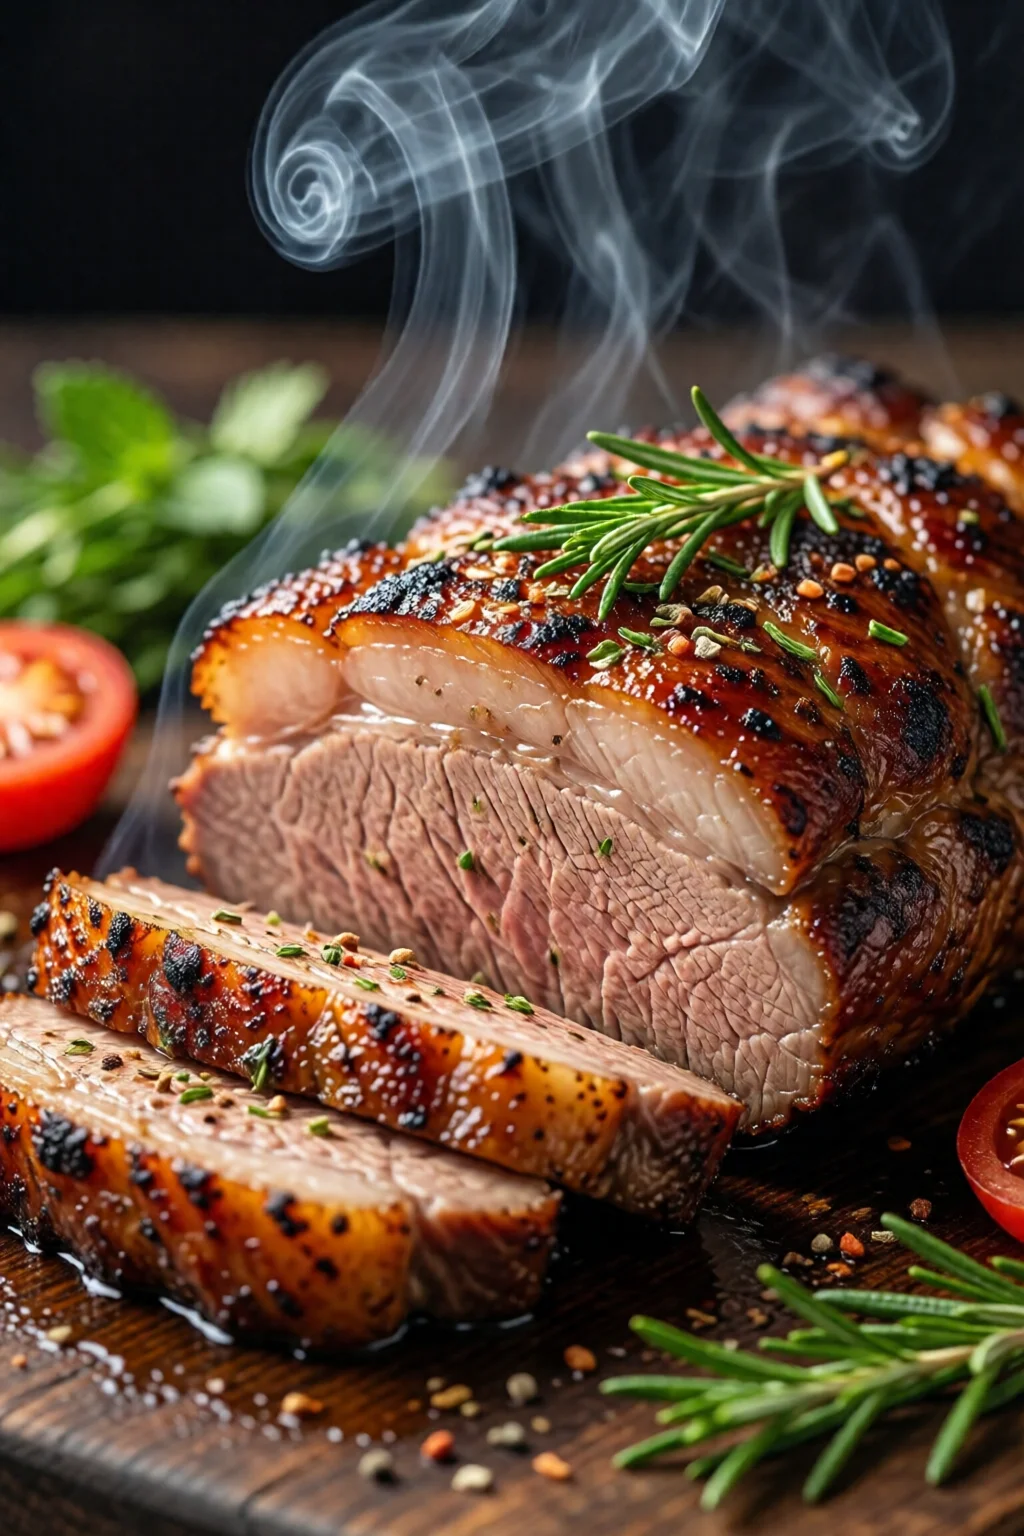
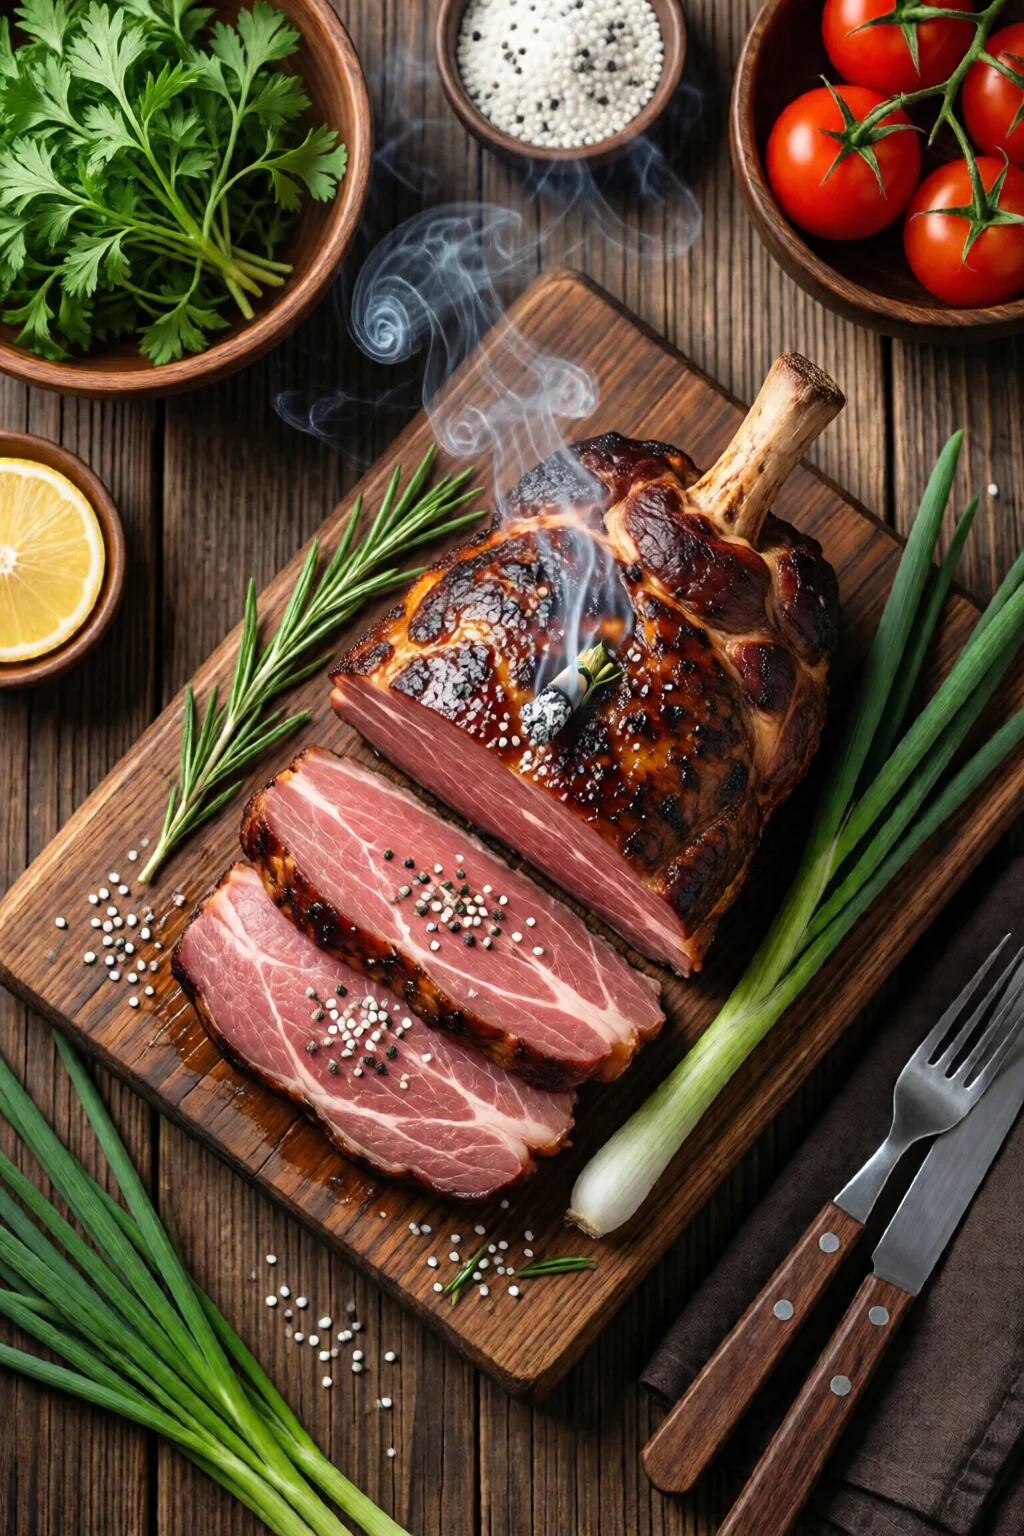
Beginners often gravitate toward ribs because they’re “iconic,” but a whole brisket (≈12‑14 lb) or a pork shoulder (≈8‑10 lb) actually teaches you more about temperature control and smoke penetration. Here’s my quick ranking:
- Beef Brisket (flat & point): Requires 1 ½ hrs per pound at 225 °F, yields a deep smoke ring and tender grain.
- Pork Shoulder (Boston Butt): 1 ¼ hrs per pound, perfect for pulled pork.
- Spare Ribs: 5‑6 hrs total, great for practicing bark formation.
- Chicken Whole (4‑5 lb): 3‑4 hrs, easier for quick wins.
Seasoning Basics: Dry Rub vs. Wet Mop
My go‑to dry rub for beef brisket is a simple blend of 2 Tbsp kosher salt, 2 Tbsp coarsely ground black pepper, 1 Tbsp garlic powder, and 1 Tbsp paprika. The ratio of salt to pepper (1:1) creates a balanced crust without overpowering the meat’s natural flavor.
If you prefer a wet mop, mix 1 cup apple cider vinegar, ½ cup melted butter, 2 Tbsp Worcestershire sauce, and a pinch of cayenne. Apply every 45 minutes after the first smoke hour to keep the surface moist.
Brining & Marinating (Optional but Powerful)
For pork shoulder, a 12‑hour brine in a solution of ¼ cup kosher salt, ¼ cup brown sugar, and 4 quarts water dramatically boosts juiciness. Check out our how to brine meat for juicy results guide for exact ratios and safety tips.
Mastering Smoke & Temperature
Wood Choices and Flavor Profiles
Each wood imparts a distinct nuance:
- Hickory: Strong, bacon‑like. Use sparingly (≈1 cup chips per hour) to avoid bitterness.
- Apple: Sweet, mild. Ideal for poultry and pork.
- Mesquite: Intense, best for quick 2‑hour cooks; not recommended for low‑and‑slow brisket.
- Oak: Versatile, medium intensity; my favorite for beef.
My rule of thumb: start with oak for the first hour to build a base, then switch to apple for the remainder of a pork shoulder. This layering creates depth without overwhelming the meat.
Low and Slow Temperature Curve
Most beginners think “steady temperature” means never adjusting the dial. In reality, a slight rise after the first 2 hours (to 250‑260 °F) accelerates the stall without sacrificing tenderness. Here’s a simple curve I use for a 12‑lb brisket:
- 225 °F for 3 hours (initial smoke phase).
- Raise to 250 °F for the next 4 hours (stall period).
- Optional wrap at internal 165 °F (Texas Crutch) using foil, then return to 250 °F until 203 °F.
- Rest 30‑45 minutes before slicing.
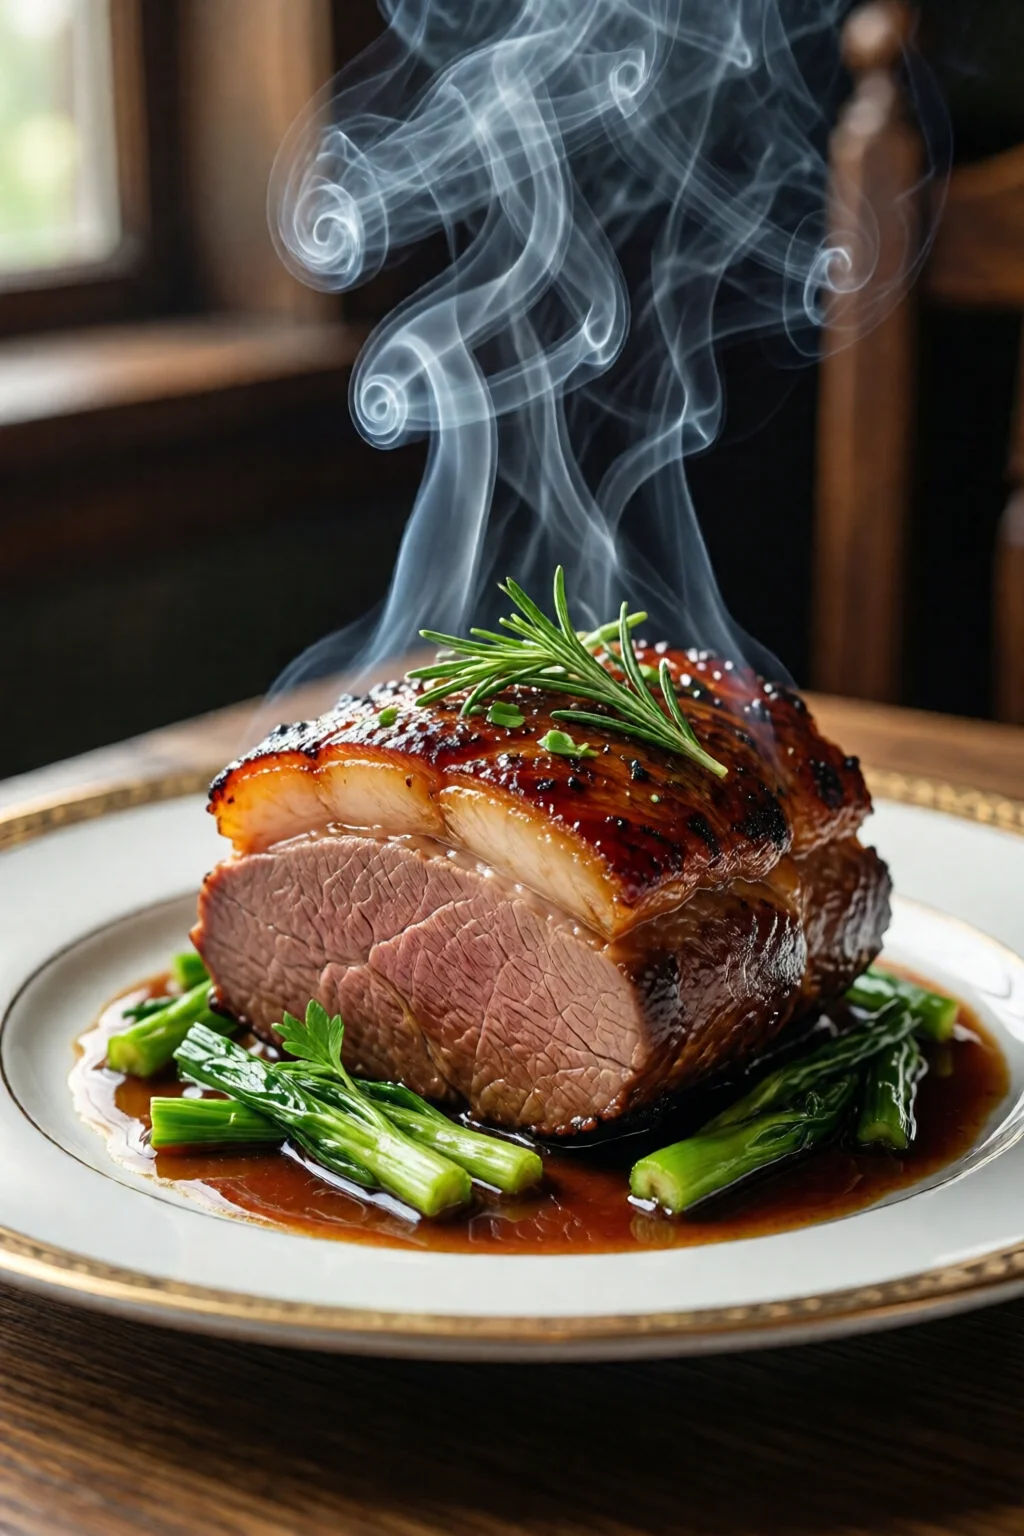
Monitoring Internal Temp & the Smoke Ring
The coveted pink “smoke ring” appears when the meat’s surface stays under 140 °F long enough for nitrogen dioxide from the smoke to react with myoglobin. If you see a thin ring (≈¼ inch) after the first hour, you’re on track. Use the Smoke Pro’s probe to watch both chamber temperature and internal meat temperature simultaneously.
The Smoking Process: Step‑by‑Step
Phase 1 – Preheat & Stabilize
Turn on your smoker and set the target chamber temperature 20 °F lower than your final cooking temp. This accounts for heat loss when you open the lid. Let the unit run empty for at least 30 minutes; you’ll notice a steady rise and the smoke turning from thin white to a richer blue‑gray.
Phase 2 – The 3‑Phase Method
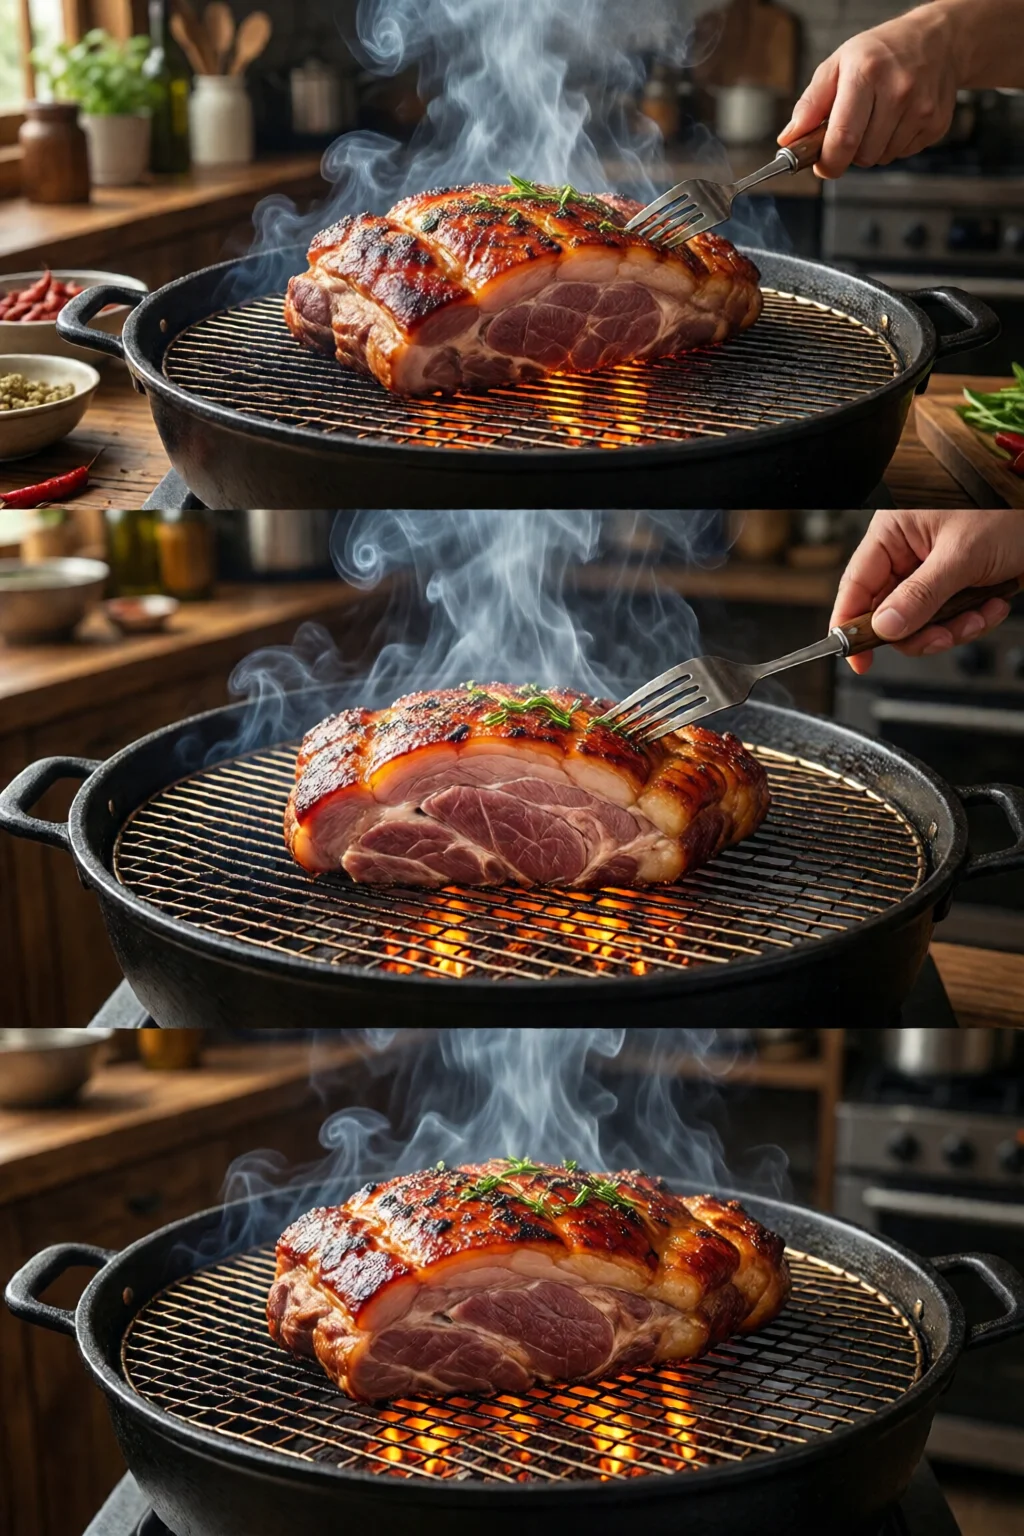
- Smoke (0‑3 hrs): Place the meat fat side up, close the lid, and maintain 225 °F. Add fresh wood chips every 45 minutes to keep a thin veil of smoke.
- Wrap (optional, 3‑7 hrs): When the internal temp hits 155‑165 °F, wrap tightly in pink butcher paper. This retains moisture and speeds up the stall.
- Rest (final 30‑45 min): Transfer the wrapped meat to a cutting board, tent with foil, and let the juices redistribute.
Phase 3 – Slicing & Serving
For brisket, slice against the grain in ¼‑inch slices. For pork shoulder, pull the meat with two forks and mix in a light mop sauce. Serve with a side of coleslaw, pickles, and a glass of cold lager.
Troubleshooting Common Issues
Too Much Smoke (Bitter Flavor)
If the meat tastes acrid, you likely used too many chips or let the fire burn too hot. Reduce chip load to ½ cup per hour and keep chamber temperature below 260 °F. A quick fix: open the vents fully for 5 minutes to purge excess smoke.
Temperature Fluctuations
Charcoal smokers are prone to spikes when you add new coals. Use a “water pan” (a 12‑inch metal pan half‑filled with water) to stabilize the environment. The water’s thermal mass absorbs heat spikes, keeping the chamber within ±10 °F.
Dry Meat
Dryness usually stems from under‑hydration or over‑cooking. Brine pork shoulders, use a mop sauce after the first smoke hour, and never exceed 205 °F internal temperature for beef brisket. Remember, the meat continues to cook during the rest period; pull it 5‑10 °F early.
No Bark Formation
If the exterior stays soft, you’re likely opening the lid too often. Each opening drops chamber temperature by 15‑20 °F, preventing the Maillard reaction. Keep lid openings to under 3 times total (pre‑heat, add chips, final check).
Pro Tips from Our Experience
- Invest in a good thermometer: A $130 ThermoWorks device saves $30‑$40 in ruined meat per year.
- Use a dual‑zone setup: Direct heat for searing, indirect for low‑and‑slow. This lets you finish a steak on the hot side while smoking a pork butt on the cool side.
- Season at the right time: Apply dry rub 24 hours before smoking and let it sit uncovered in the fridge. This dry‑ages the surface and intensifies flavor.
- Don’t forget the water pan: A half‑filled pan adds humidity, helps maintain a consistent temperature, and catches drippings for a future gravy.
- Experiment with hybrid woods: Mix 70 % oak chips with 30 % apple chips for a balanced sweet‑smoky profile that works on both beef and pork.
- Rest on a cooling rack: Elevating the meat during the rest phase prevents soggy crust and keeps the bark crisp.
For a deeper dive into flavor building, check out our how to make homemade stock and broth article—great for creating a mop sauce or finishing glaze.
Conclusion: Your First Smoke in a Nutshell
Smoking meat for beginners guide doesn’t have to be a maze of gadgets and jargon. Start with a reliable smoker (electric or charcoal), master a stable 225‑250 °F environment, choose a cut you love, and follow the three‑phase method: smoke, wrap, rest. Keep a close eye on temperature with a quality probe, use the right wood, and apply a simple salt‑pepper rub. Within a single weekend you’ll produce tender, flavorful meat that rivals any BBQ joint.
Now grab that brisket, fire up your smoker, and remember: the key is patience, a little science, and a whole lot of smoke.
How long does it take to smoke a 10‑lb brisket?
At 225 °F a 10‑lb brisket typically needs 1 ½ hrs per pound, so expect about 15‑16 hours total. Adding a foil wrap at the stall (around 165 °F internal) can shave 2‑3 hours off the finish.
Can I use a gas grill as a smoker?
Yes. Set the grill to low (≈225 °F), add a smoker box filled with soaked wood chips, and keep the lid closed. The heat is less even than a dedicated smoker, so monitor temperature closely.
Do I need to pre‑season meat before smoking?
A simple dry rub of salt and pepper applied 12‑24 hours before smoking enhances flavor and creates a better bark. For pork shoulder, a brine adds moisture and reduces shrinkage.
What wood is best for chicken?
Fruit woods like apple or cherry work well with chicken, providing a mild, sweet smoke that complements the delicate meat without overpowering it.
How do I prevent my ribs from drying out?
Wrap the ribs in pink butcher paper after the first 2 hours of smoking, keep chamber temperature steady at 225‑235 °F, and apply a light mop sauce every hour to maintain surface moisture.
1 réflexion au sujet de « Smoking Meat For Beginners Guide – Everything You Need to Know »