Ever wondered why a $5 beef chuck roast can turn into melt‑in‑your‑mouth, fork‑tender meat while a $20 ribeye stays stubbornly chewy?
In This Article
What You Will Need (Before You Start)
- Equipment: A heavy‑bottomed Dutch oven (Le Creuset Signature 5.5‑qt, $199) or a cast‑iron enameled pot; a sturdy kitchen thermometer (ThermoWorks Thermapen Mk4, $99); a sharp chef’s knife (Wüsthof Classic 8‑inch, $120); and a sturdy wooden spoon.
- Basic Ingredients (for a classic braising technique recipes tender meat batch): 2 lb (≈ 900 g) beef chuck roast, trimmed; 2 tbsp (30 ml) vegetable oil; 1 large onion, diced; 2 carrots, cut into ½‑inch rounds; 2 celery stalks, sliced; 4 cloves garlic, minced; 1 cup (240 ml) dry red wine (e.g., 2019 Château de Beaucastel Châteauneuf‑du‑Pape, $24); 2 cups (480 ml) low‑sodium beef broth; 2 tbsp (30 ml) tomato paste; 2 bay leaves; 1 tsp (5 g) dried thyme; salt and freshly cracked black pepper.
- Optional flavor boosters: 1 tbsp (15 ml) Worcestershire sauce; 1 tbsp (15 ml soy sauce; Kikkoman, $3.50); a handful of fresh parsley for garnish.
Having everything measured and ready (a.k.a. “mise en place”) saves you from scrambling once the pot is hot.
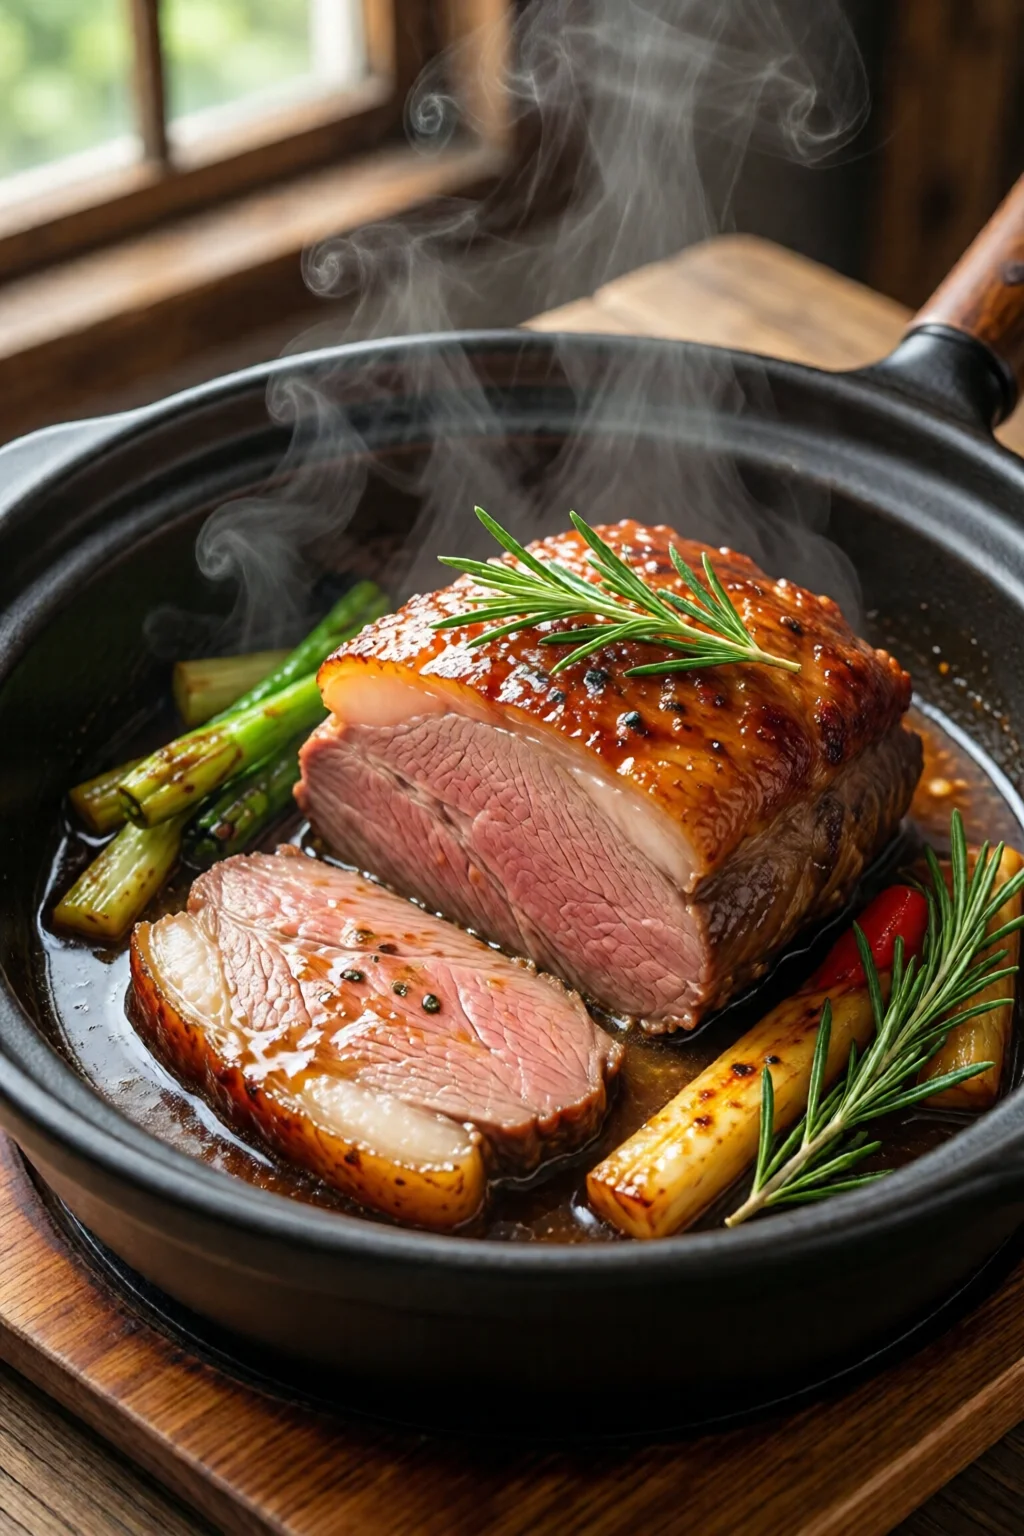
Step 1: Choose the Right Cut
The secret behind tender meat in braising technique recipes tender meat lies in the cut’s connective tissue. Look for beef chuck, short ribs, brisket, or pork shoulder—cuts that contain at least 15 % collagen. During the low‑and‑slow cook, collagen gelatinizes, turning tough fibers into silky silk. In my kitchen, a 2‑lb chuck roast costs about $5 at Costco, yet delivers the same melt‑away texture as a $30 ribeye when braised correctly.
Step 2: Season and Sear
Generously pat the meat dry with paper towels; moisture is the enemy of a good sear. Sprinkle both sides with 1 ½ tsp kosher salt and ½ tsp black pepper. Heat 2 tbsp oil in the Dutch oven over medium‑high heat until shimmering (≈ 375°F/190°C). Place the roast and let it develop a deep mahogany crust—about 3–4 minutes per side. Resist the urge to move it; the caramelized fond that forms is pure flavor gold.
One mistake I see often: crowding the pot. If you’re cooking multiple pieces, sear them in batches. Overcrowding drops the temperature, resulting in steaming rather than browning.
Step 3: Build the Braising Liquid
After searing, remove the meat and set aside. Reduce the heat to medium and add the diced onion, carrots, and celery. Sauté for 5 minutes until softened. Stir in the garlic and tomato paste; cook another 30 seconds to release the umami.
Deglaze with the red wine, scraping the browned bits from the bottom—those are flavor powerhouses. Let the wine reduce by half (≈ 8 minutes). Then pour in the beef broth, Worcestershire sauce, and soy sauce. Add the bay leaves and thyme. Taste and adjust salt; the liquid should be mildly salty, as the meat will absorb some during cooking.
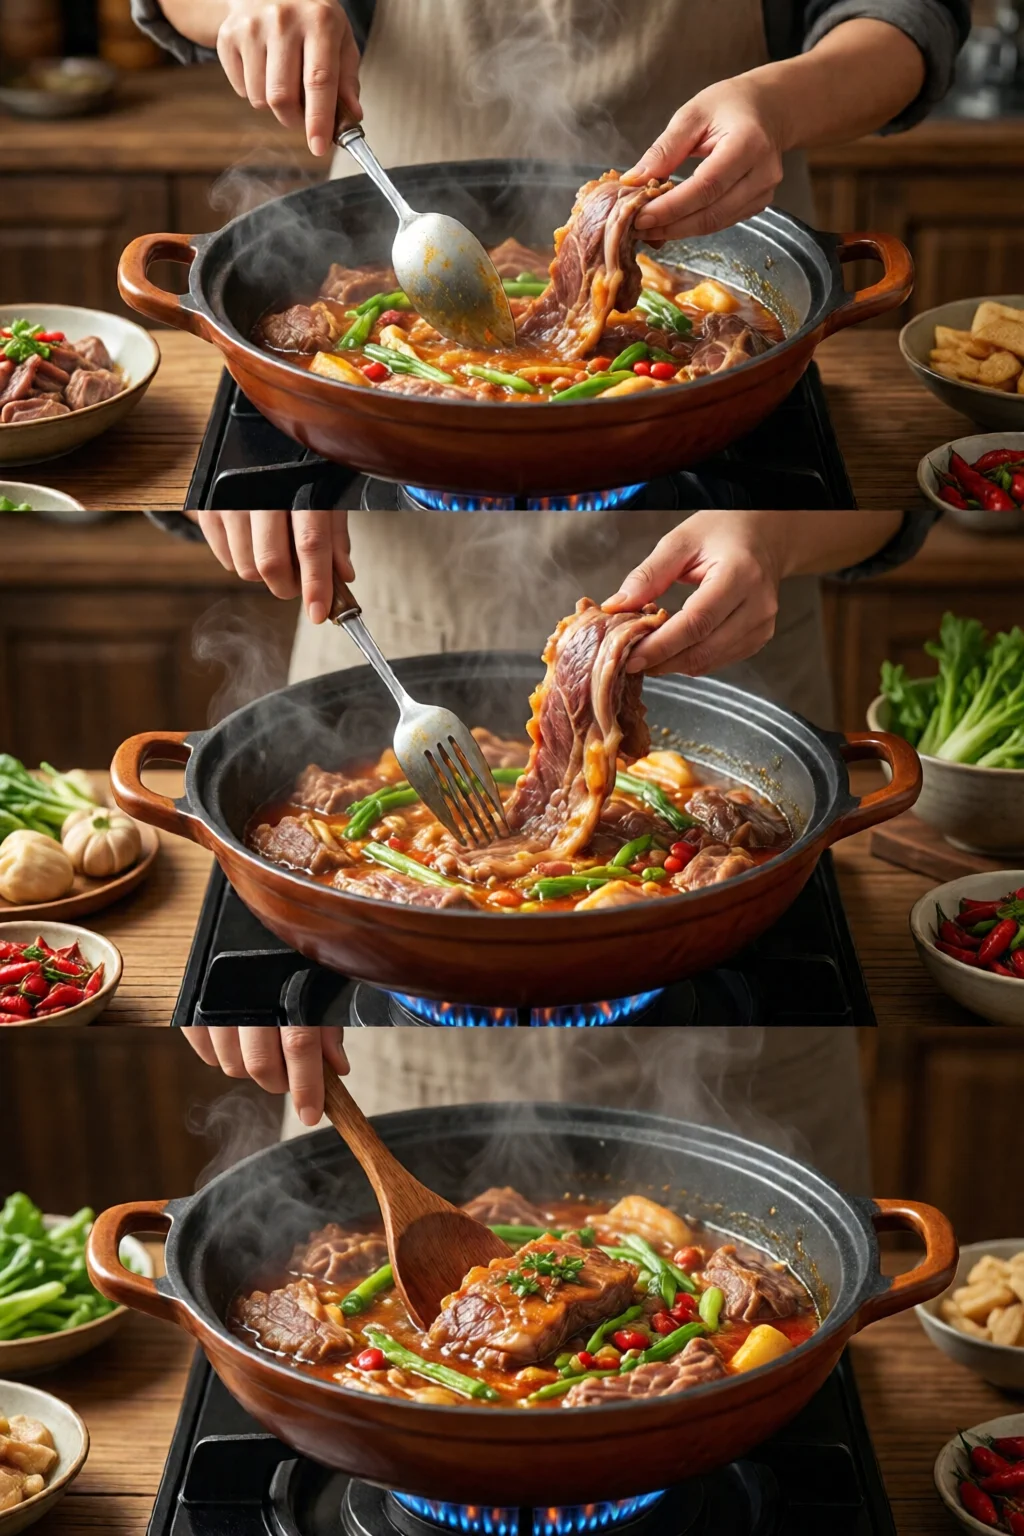
Step 4: Low‑and‑Slow Cooking
Return the roast to the pot, nestling it in the aromatic broth. The liquid should cover about two‑thirds of the meat; if not, add water or extra broth.
Cover tightly and bring to a gentle simmer (≈ 185°F/85°C). Then transfer the pot to a preheated oven set to 300°F (149°C). Cook for 2 ½ hours for a 2‑lb chuck, or until a fork slides in with little resistance. For larger cuts (3–4 lb), add 30 minutes per extra pound.
During the first hour, check the liquid level once; add hot water if it drops below the halfway mark. Avoid lifting the lid repeatedly—every opening loses heat and extends cooking time.

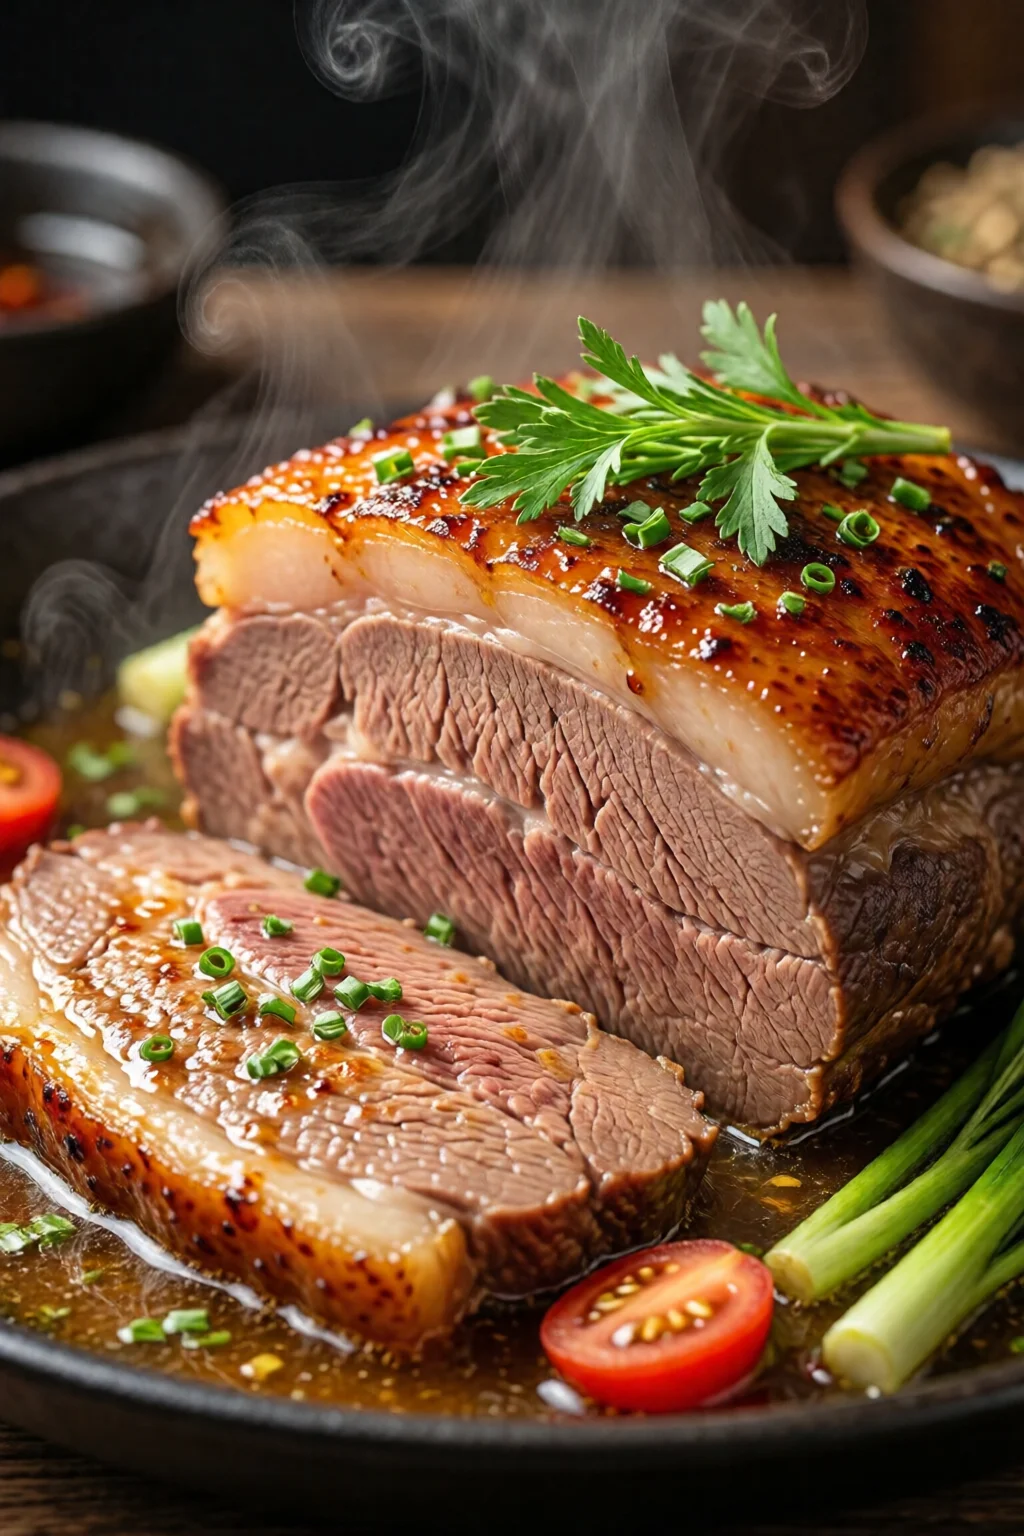
Step 5: Finish and Serve
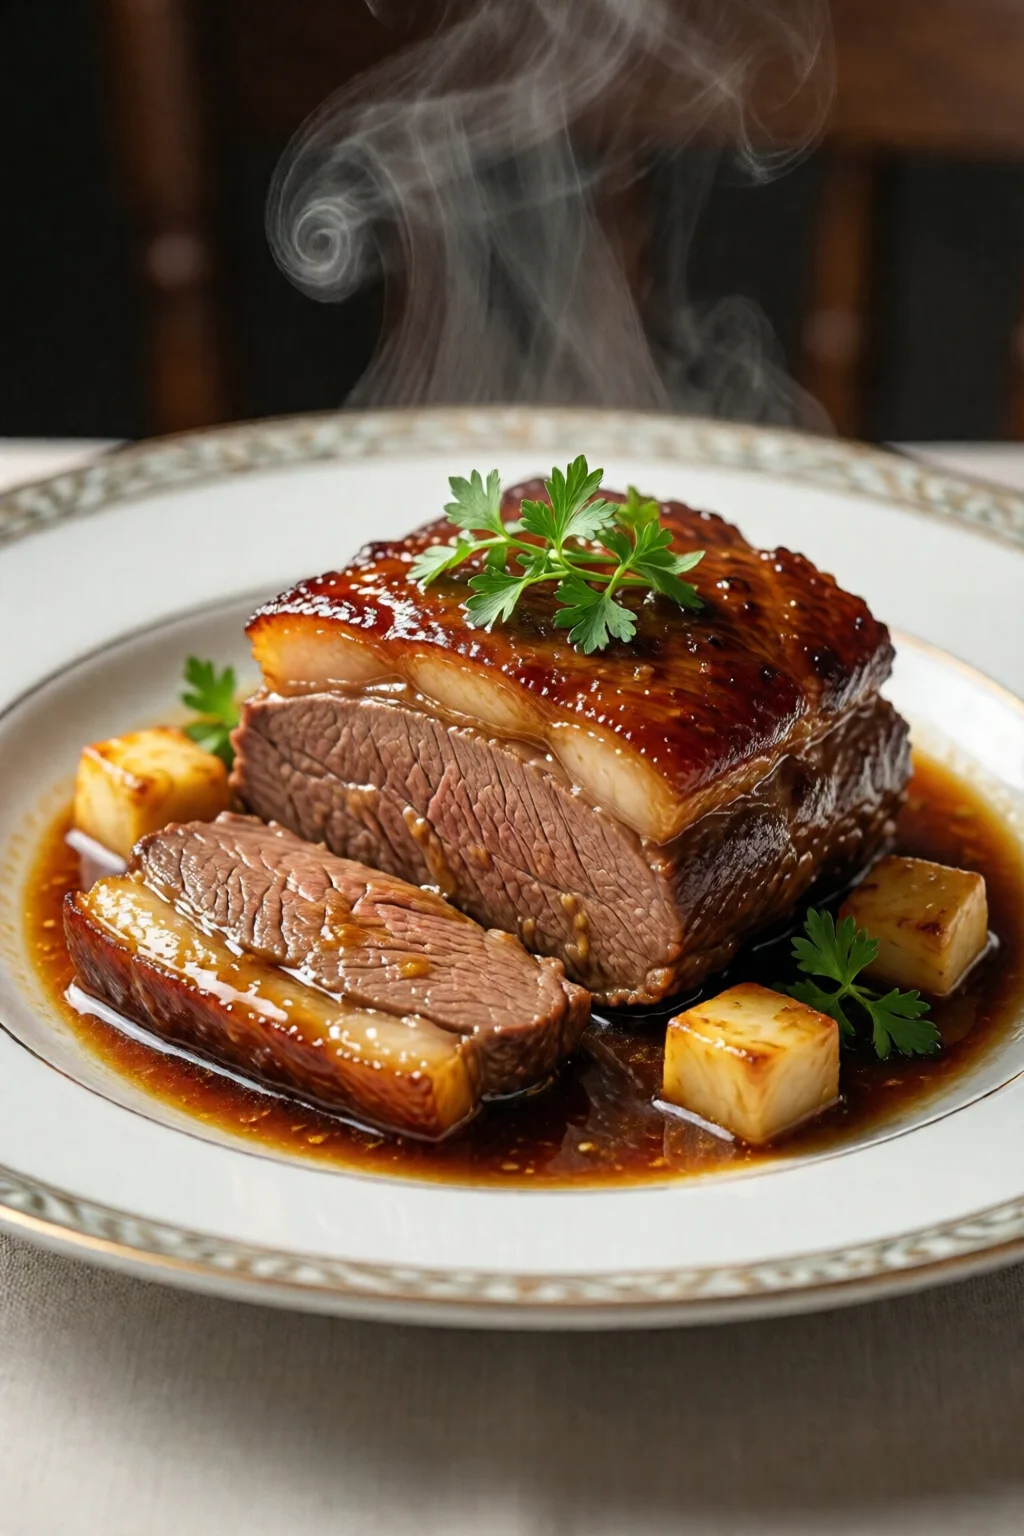
When the meat is fork‑tender, remove it and let it rest on a cutting board for 10 minutes. Meanwhile, place the pot back on the stove over medium heat. Reduce the braising liquid by half to intensify the sauce (about 10 minutes). If you prefer a glossy finish, whisk in 1 tbsp cold butter at the end.
Slice the roast against the grain, drizzle with the reduced sauce, and garnish with fresh parsley. Serve over creamy polenta, buttery mashed potatoes, or a simple couscous—each pairing absorbs the savory broth beautifully.
Common Mistakes to Avoid
- Skipping the sear: You lose the Maillard reaction, resulting in flat flavor.
- Using too much liquid: Excess broth dilutes the sauce and can make the meat soggy.
- Cooking at too high a temperature: High heat toughens the protein before collagen can break down.
- Choosing a lean cut: Without sufficient fat and connective tissue, the meat stays dry.
- Neglecting to rest: Cutting immediately releases juices, leaving the meat dry.
One mistake I see often in novice cooks is adding acidic ingredients (like a splash of vinegar) too early. Acidity can tighten muscle fibers, counteracting the tenderizing effect of braising.
Troubleshooting & Tips for Best Results
Problem: The meat is still tough after the recommended time.
Solution: Increase the cooking time by 30 minutes and keep the oven temperature at 300°F. Low, steady heat is key; a quick boil will not gelatinize collagen effectively.
Problem: The sauce is watery.
Solution: Remove the meat, increase the stove heat, and reduce the liquid until it coats the back of a spoon. Adding a slurry of 1 tsp cornstarch mixed with 2 tbsp cold water can also thicken it.
Problem: The flavor is bland.
Solution: Finish with a splash of finishing acid—1 tsp balsamic reduction or a squeeze of fresh lemon—right before serving. Salt to taste after reduction, as reduction concentrates salt.
For variations, try swapping beef broth for chicken or mushroom broth, or replace the red wine with a dark beer (e.g., Guinness Stout, $6 per 12 oz). Add a handful of dried porcini mushrooms for an earthy depth. If you’re aiming for a Mediterranean twist, stir in ½ cup (120 ml) Kalamata olive tapenade and serve over couscous.
Want to explore related low‑and‑slow methods? Check out our food dehydrator recipes and guide for preserving leftovers, or dive into smoking meat for beginners guide to add smoky layers before braising.
Summary Conclusion
Mastering the braising technique recipes tender meat is less about fancy gadgets and more about respecting time, temperature, and the science of collagen. Choose a well‑marbled, connective‑tissue‑rich cut, sear it for flavor, build a balanced braising liquid, and cook low and slow until the meat yields effortlessly. Avoid common pitfalls—over‑crowding, high heat, insufficient rest—and you’ll consistently produce restaurant‑quality, fork‑tender results at a fraction of the cost.
How long should I braise a pork shoulder?
For a 3‑lb pork shoulder, braise at 300°F (149°C) for 3 to 3½ hours, or until a fork slides in with little resistance. Add 30 minutes per extra pound if needed.
Can I use a slow cooker instead of the oven?
Yes. After searing, transfer everything to a high‑heat slow cooker and set to “low” for 6‑8 hours. Keep the liquid covering two‑thirds of the meat for optimal tenderness.
What’s the best way to thicken the braising sauce?
Reduce the liquid on the stovetop until it coats the back of a spoon, or whisk in a slurry of 1 tsp cornstarch mixed with 2 tbsp cold water. A pat of cold butter added at the end adds shine.
Should I add acidic ingredients like tomatoes early?
Add acidic components (wine, tomatoes, vinegar) after the sear and during the deglazing step. Adding them too early can tighten muscle fibers and hinder tenderness.
How do I store leftovers safely?
Cool the meat and sauce to room temperature within two hours, then transfer to airtight containers. Refrigerate for up to 4 days or freeze for 3 months. Reheat gently on the stovetop, adding a splash of broth to keep it moist.