Ever wondered why a professionally‑tempered chocolate bar snaps cleanly and shines like glass, while your homemade coating ends up dull and soft?
In This Article
- What You Will Need (or Before You Start)
- Step 1 – Choose Your Tempering Method
- Step 2 – Chop and Measure the Chocolate
- Step 3 – Melt the Main Portion
- Step 4 – Add the Seed Chocolate (Seeding)
- Step 5 – Maintain the Working Temperature
- Step 6 – Use the Tempered Chocolate
- Common Mistakes to Avoid
- Troubleshooting or Tips for Best Results
- FAQ
- Summary
What You Will Need (or Before You Start)
- High‑quality couverture chocolate or compound chocolate (I recommend Callebaut 70% dark, about $12 per 500 g bar). If you’re on a budget, Ghirardelli 72% dark works well for $8.
- Digital thermometer (instant‑read, 0‑200 °C range). The ThermoWorks ThermoPop costs $24 and reads within ±0.2 °C.
- Heat‑proof bowl (stainless steel or glass). A 2‑liter Pyrex bowl is $6.
- Rubber spatula (silicone, 12 in). OXO Good Grips, $7.
- Optional: a chocolate tempering machine (Cuisinart CTM‑150, $150) or a microwave with a turntable.
- Silicone mat or parchment paper for setting the chocolate.
- Clean kitchen towel or silicone glove for handling hot bowls.
Having these tools ready will keep you from scrambling mid‑process, which is a common cause of tempering failures.
Step 1 – Choose Your Tempering Method
There are three reliable ways to temper chocolate at home: the seeding method, the tabling method, and using a dedicated tempering machine. For most home cooks, the seeding method offers the best balance of control and simplicity.
In my experience, the seeding method reduces the risk of overheating the cocoa butter crystals, which is the main reason chocolate loses its snap.
Step 2 – Chop and Measure the Chocolate
Start by weighing your chocolate. A 500 g batch is ideal for a small batch of truffles or a coating for a cake. Chop the chocolate into uniform 5‑mm pieces; this ensures even melting.
Set aside about 15 % of the chocolate (roughly 75 g) as “seed chocolate.” The seed should be finely chopped or even shaved into thin slivers; the larger the surface area, the faster it will melt back into the base.
Step 3 – Melt the Main Portion
Microwave method: Place the 425 g of chocolate in the bowl and microwave on 50 % power for 30‑second bursts, stirring after each burst. After about 2 minutes total, the chocolate should be around 45‑48 °C (113‑118 °F). Stop microwaving once the chocolate reaches 48 °C to avoid scorching.
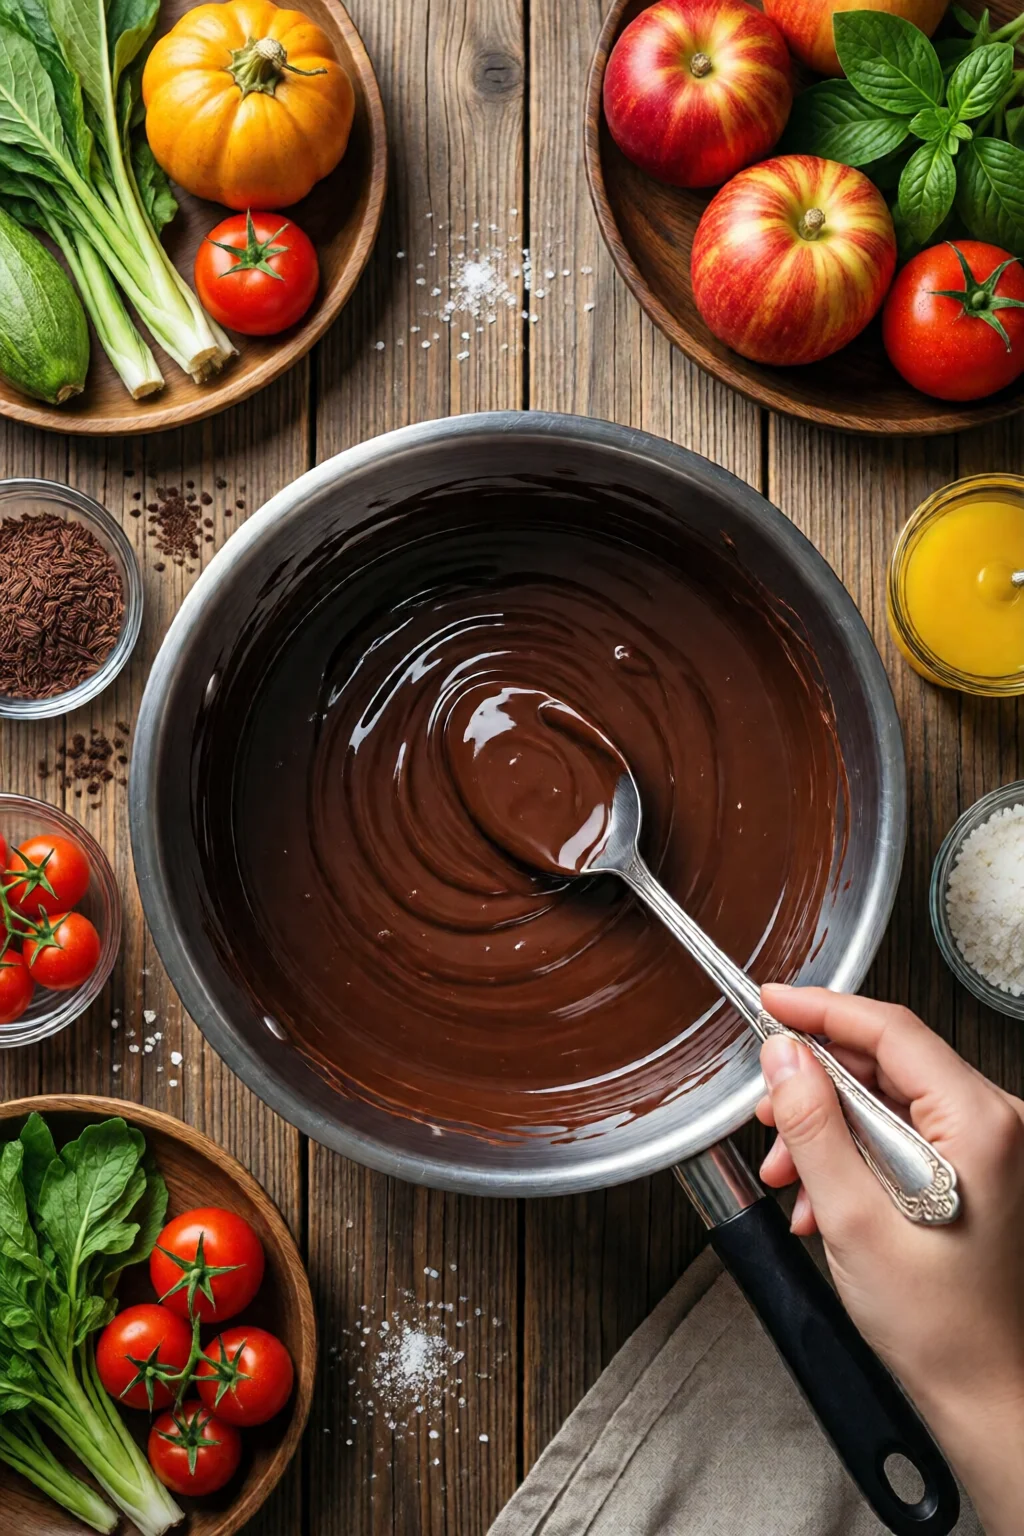
Stovetop method (double boiler): Fill a saucepan with 2‑3 cm of water, bring to a gentle simmer, and set the bowl over the pot, ensuring the bottom of the bowl doesn’t touch the water. Stir constantly; the chocolate should melt to 45‑48 °C. Using a stainless‑steel bowl helps distribute heat evenly.
Important: Do not exceed 50 °C, because the delicate Form V cocoa butter crystals will melt irreversibly, leading to a dull finish.
Step 4 – Add the Seed Chocolate (Seeding)
Remove the bowl from heat and immediately sprinkle the reserved seed chocolate over the melted base. Stir continuously for 2‑3 minutes. You’ll notice the temperature dropping toward 31‑32 °C (88‑90 °F) for dark chocolate, 29‑30 °C (84‑86 °F) for milk, and 27‑28 °C (81‑82 °F) for white.
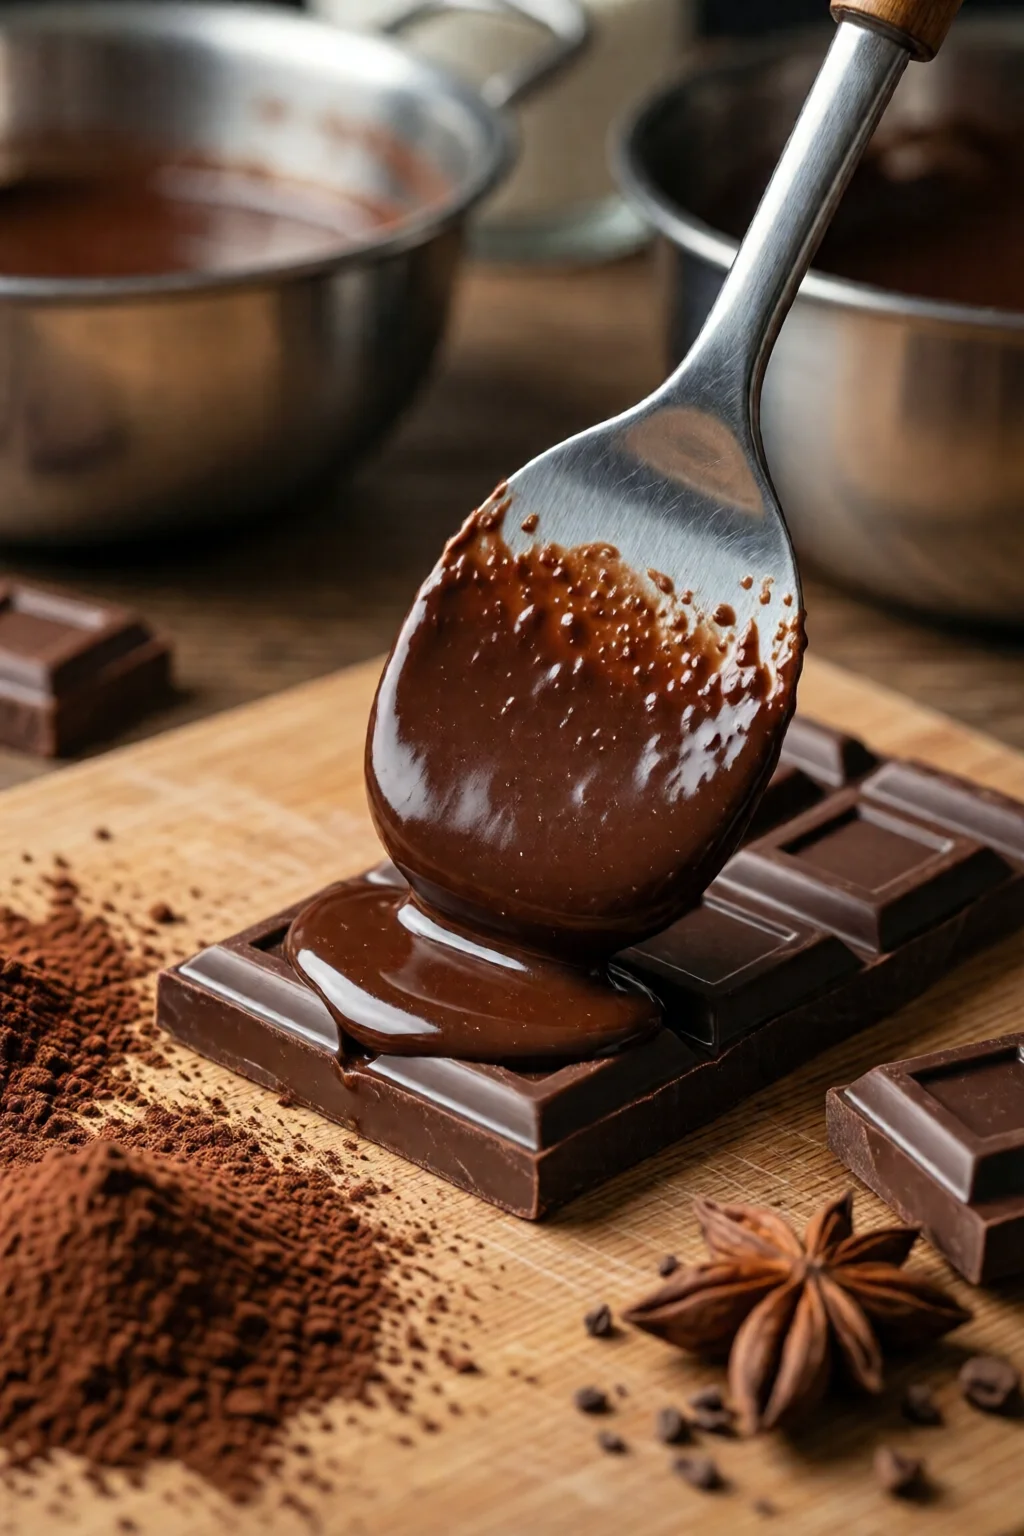
When the seed has fully melted and the chocolate feels smooth, test the temper by dipping a small spoonful onto a parchment square. If it hardens within 2‑3 minutes with a glossy finish and a clean snap, you’re ready to use it.
Step 5 – Maintain the Working Temperature
If you need to keep the chocolate fluid for an extended period (e.g., coating a cake), maintain it at the “working temperature” – about 31‑32 °C for dark, 29‑30 °C for milk, 27‑28 °C for white. A simple trick: place the bowl on a warm (but off) burner or a heating pad set to low. Use the thermometer to keep the temperature within ±0.5 °C.
For a very smooth finish, you can use a hand‑held immersion circulator set to 32 °C and place the bowl inside a zip‑top bag – a low‑tech sous‑vide approach that costs about $40 for a basic Anova Nano.
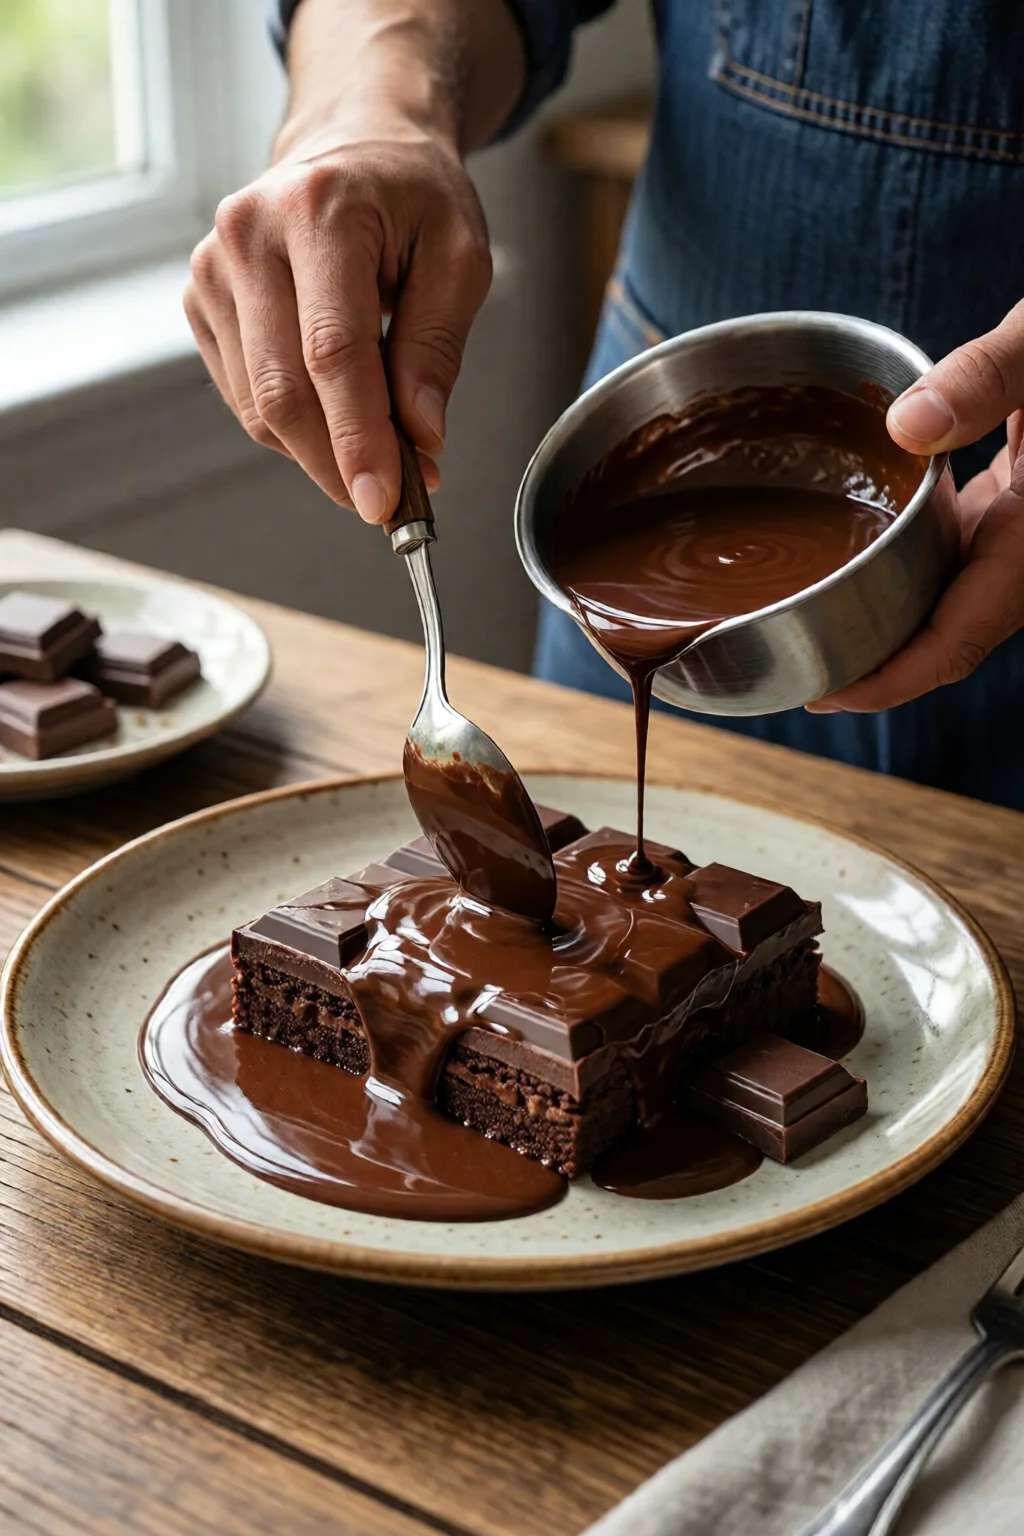
Step 6 – Use the Tempered Chocolate
Now you can dip strawberries, pipe chocolate ribbons, or drizzle over brownies. Pour the chocolate onto a silicone mat, spread thinly with a spatula, and let it set at room temperature (around 20‑22 °C) for 15‑20 minutes. If your kitchen is warm, place the sheet in the refrigerator for 5‑7 minutes, but avoid prolonged chilling as it can cause bloom.
Once set, break the chocolate into shards; you’ll hear that satisfying snap that tells you the temper was successful.
Common Mistakes to Avoid
- Overheating: Raising the temperature above 50 °C destroys the crystal structure. One mistake I see often is using a high microwave power; always use 50 % power and stir.
- Water contamination: Even a single drop of water will cause chocolate to seize. Keep bowls completely dry; wipe the rim of the bowl before adding the seed.
- Insufficient stirring: Stirring helps distribute the seed crystals evenly. Skipping this step leads to uneven temper and a grainy texture.
- Wrong seed ratio: Using too little seed (under 10 %) can make the tempering process drag on; too much seed (over 20 %) can cause the chocolate to thicken prematurely.
- Temperature swings: Removing the bowl from heat too early or leaving it on the stove too long creates fluctuations that prevent stable crystals from forming.
Troubleshooting or Tips for Best Results
Chocolate looks dull or has a white film? That’s fat bloom – a sign the temper was lost. Re‑temper by gently reheating to 45 °C and repeating the seeding process.
Chocolate sets too hard, making it difficult to cut? You may have tempered at a temperature that’s too low. Warm the bowl slightly (1‑2 °C) and stir until the desired consistency returns.
Need a larger batch? Scale the recipe proportionally. For every extra 500 g of chocolate, add 75 g of seed. The thermometer remains your most reliable guide, regardless of quantity.
Using a tempering machine? Load the chocolate according to the manufacturer’s instructions (Cuisinart CTM‑150 recommends 45 °C melt, then the machine automatically seeds and holds the working temperature). Even with a machine, monitor the temperature with a separate probe to ensure accuracy.
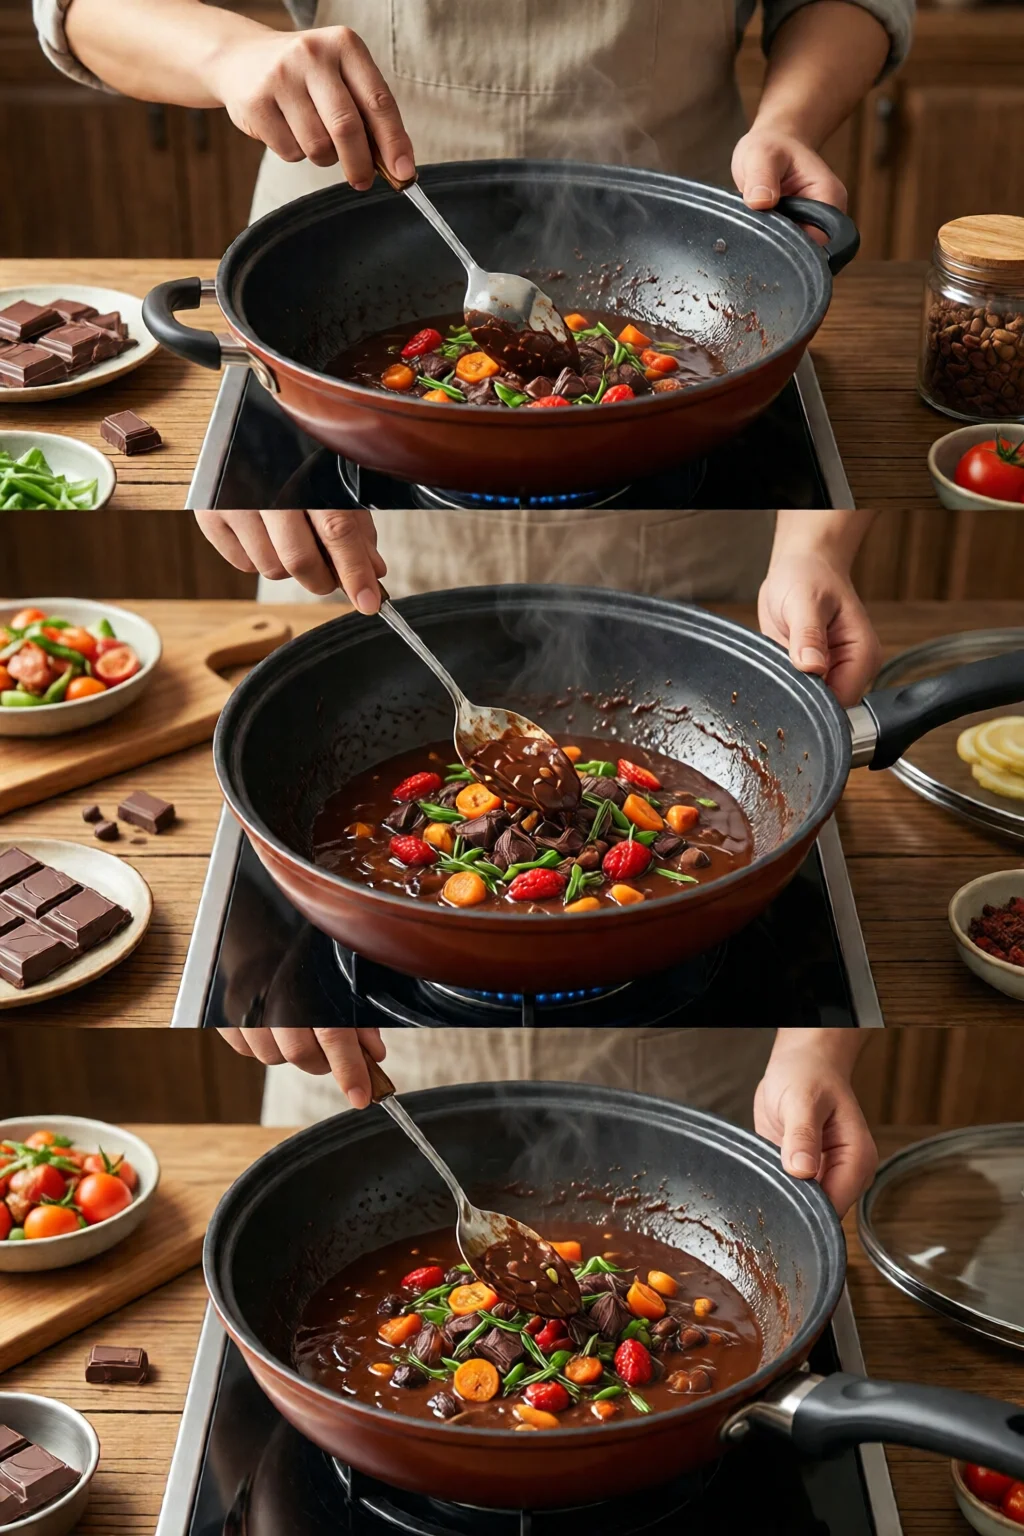
Flavor tweaks: Add a pinch of sea salt, a splash of vanilla extract, or a teaspoon of espresso powder after the chocolate reaches working temperature. The added ingredients won’t affect the temper if introduced after the crystals have formed.
For complementary skills, check out our guide on how to sear steak perfectly at home or explore food dehydrator recipes and guide for making fruit leather that pairs beautifully with tempered chocolate.
FAQ
Can I temper chocolate without a thermometer?
It’s possible, but you’ll be guessing. The safest method is to use a digital thermometer; it costs under $30 and saves you from wasted chocolate.
Is there a difference between dark, milk, and white chocolate tempering temperatures?
Yes. Dark chocolate works at 31‑32 °C, milk at 29‑30 °C, and white at 27‑28 °C. Adjusting the final temperature is crucial for a proper snap.
How long does tempered chocolate keep its snap?
If stored in an airtight container at 18‑20 °C, it stays glossy for up to 2 weeks. Higher humidity or temperature fluctuations cause bloom.
Can I use a microwave to temper chocolate?
Yes, using short 30‑second bursts at 50 % power and stirring between bursts. The key is to monitor the temperature closely.
What are the best uses for tempered chocolate?
Coating truffles, making chocolate bark, piping decorations, or dipping fruit. Its glossy finish and snap elevate any dessert.
Summary
Tempering chocolate at home isn’t a magic trick; it’s a science of temperature and crystal control. By gathering the right tools, following the seeding method step‑by‑step, and watching your thermometer, you’ll achieve that professional snap and shine every time. Remember to avoid overheating, keep water out, and stir patiently. With a little practice, you’ll be able to create glossy chocolate shards, elegant truffle shells, and glossy drizzles that rival any pâtisserie. Happy tempering!