Did you know that in 2023, Google searches for “Polish recipes pierogi and comfort food” surged by 42% during the colder months, proving that these hearty dumplings are the ultimate winter comfort?
In This Article
- What You Will Need (Before You Start)
- Step 1 – Prepare the Pierogi Dough
- Step 2 – Make the Classic Potato‑and‑Cheese Filling
- Step 3 – Roll and Cut the Dough
- Step 4 – Fill and Seal the Pierogi
- Step 5 – Cook the Pierogi
- Step 6 – Serve and Enjoy
- Common Mistakes to Avoid
- Troubleshooting and Tips for Best Results
- Summary Conclusion
What You Will Need (Before You Start)
Gathering the right tools and ingredients makes the difference between a soggy mishap and a perfectly fluffy pierogi that feels like a warm hug. Here’s my go‑to checklist, seasoned with a few brand recommendations that won’t break the bank:
- Dough ingredients: 2 cups (250 g) all‑purpose flour (King Arthur, $1.99 per lb), ½ tsp salt, 1 large egg (Eggland’s Best, $3.49 for a dozen), ½ cup (120 ml) warm water, 2 Tbsp melted butter (Kerrygold, $4.99 for 8 oz).
- Classic potato‑and‑cheese filling: 1 ½ lb (680 g) Yukon Gold potatoes (about $1.20 / lb), 1 cup (115 g) farm‑fresh cottage cheese (Mora, $2.79 for 8 oz), 1 small onion, 2 Tbsp sour cream (Horizon Organic, $2.49 for 16 oz), salt and pepper to taste.
- Alternative sweet filling (optional): 1 cup (150 g) fresh blueberries, ¼ cup (50 g) granulated sugar, 1 tsp lemon zest.
- Equipment: Large mixing bowl, wooden spoon, rolling pin (OXO Good Grips, $14.99), 8‑inch pastry cutter or a simple glass bottle, a slotted spoon, a large pot (6‑qt stainless steel, $29.99), a colander, a baking sheet, parchment paper.
- Finishing touches: 2 Tbsp butter for pan‑frying (Land O’Lakes, $3.79 for 1 lb), fresh chives for garnish, and a dollop of sour cream.
All together, you’re looking at roughly $30–$35 for a full weekend batch, which feeds 8‑10 people comfortably.
Step 1 – Prepare the Pierogi Dough
Start by whisking the flour and salt together in a large bowl. Create a well in the center and crack the egg into it. Add the melted butter and gradually pour in the warm water while stirring with a wooden spoon. You’ll notice the mixture beginning to come together into a shaggy ball.
Turn the dough onto a lightly floured surface and knead for 6‑8 minutes until it’s smooth and elastic. If the dough feels too sticky, sprinkle a little extra flour—no more than a tablespoon at a time. Cover the dough with a clean kitchen towel and let it rest for 30 minutes; this relaxes the gluten and makes rolling out easier.
In my experience, letting the dough rest is a step many skip, leading to tears when you try to shape the pierogi.
Step 2 – Make the Classic Potato‑and‑Cheese Filling
Peel the potatoes, cut them into even chunks, and boil in salted water for 12‑15 minutes, or until fork‑tender. Drain and mash while still hot, adding 2 Tbsp butter and a pinch of salt. Let the mash cool slightly, then fold in the cottage cheese, sour cream, and a pinch of freshly ground black pepper.
If you like a richer flavor, stir in ¼ cup grated cheddar (Kraft, $2.99 for 8 oz). Taste and adjust seasoning—this is where the comfort factor really shines. The filling should be creamy but firm enough to hold its shape when spooned onto the dough.
One mistake I see often: over‑mixing the filling, which makes it watery and causes the pierogi to burst during boiling.

Step 3 – Roll and Cut the Dough
Divide the rested dough into four equal portions. Roll one portion at a time on a lightly floured surface to about 1/8‑inch (3 mm) thickness. If you prefer a thinner skin, aim for 1/16‑inch, but be careful—too thin and the pierogi will tear.
Use a 3‑inch (7.5 cm) round cutter or the rim of a glass to cut circles. Press the edges lightly with your thumb to prevent sticking while you work on the filling.
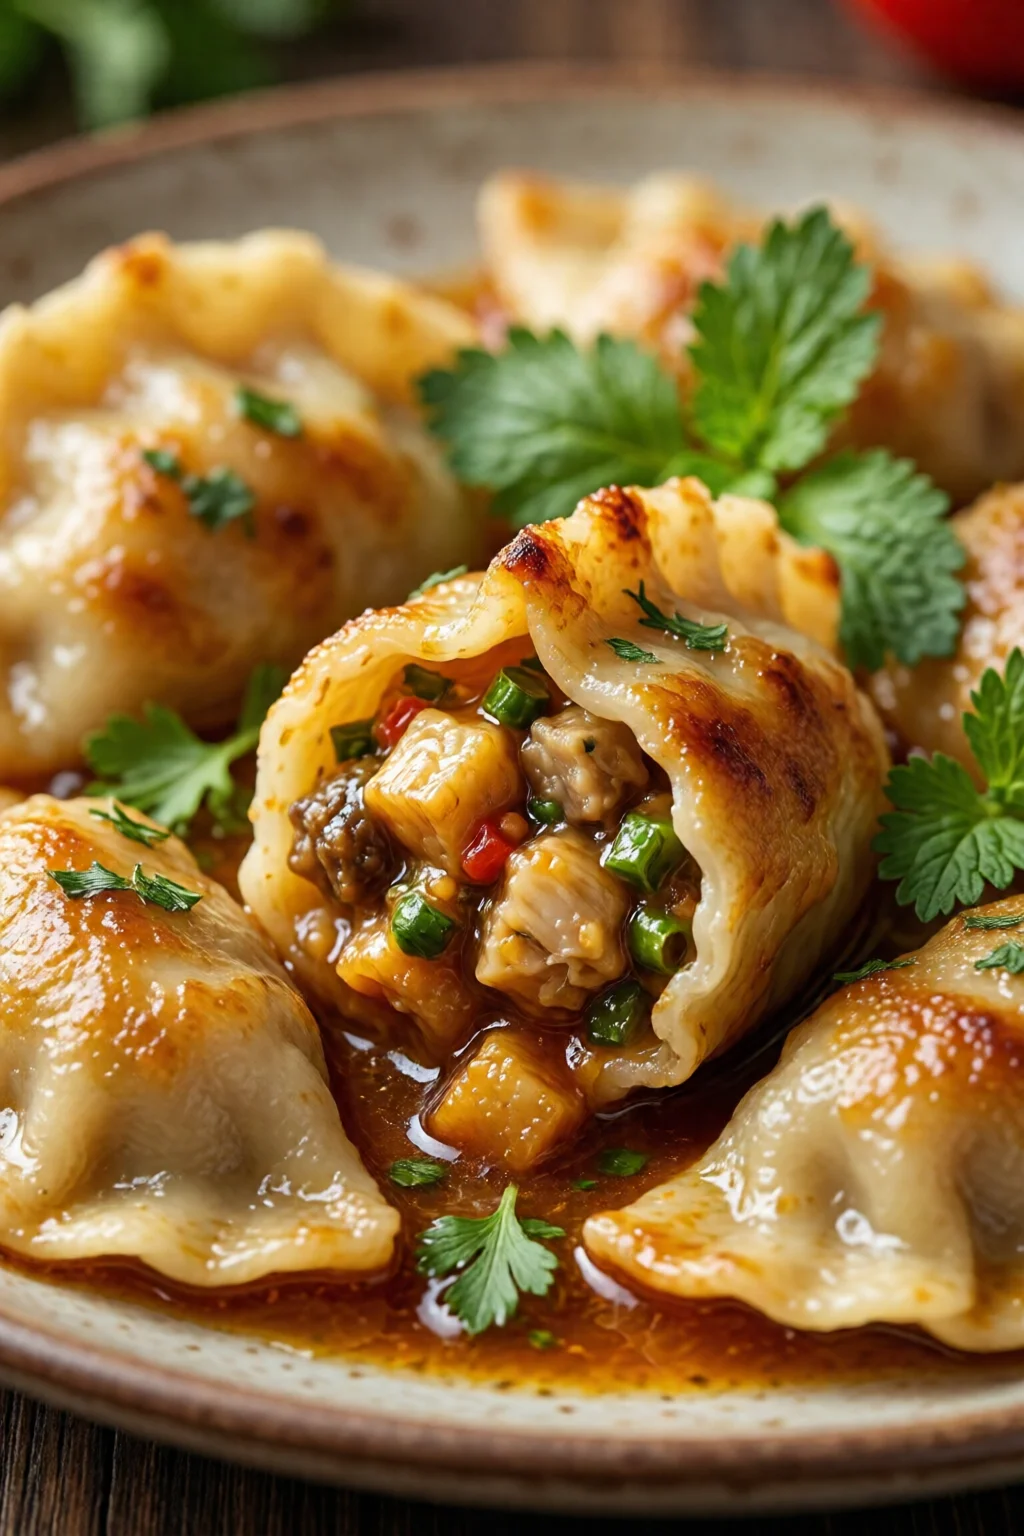
Step 4 – Fill and Seal the Pierogi
Place a heaping teaspoon (≈15 g) of filling in the center of each dough circle. Fold the dough over to form a half‑moon shape and press the edges together. To ensure a tight seal, crimp the edges with a fork or pinch them with your fingers.
Arrange the sealed pierogi on a parchment‑lined baking sheet, keeping them spaced apart to avoid sticking. Cover with a clean towel while you finish the batch.
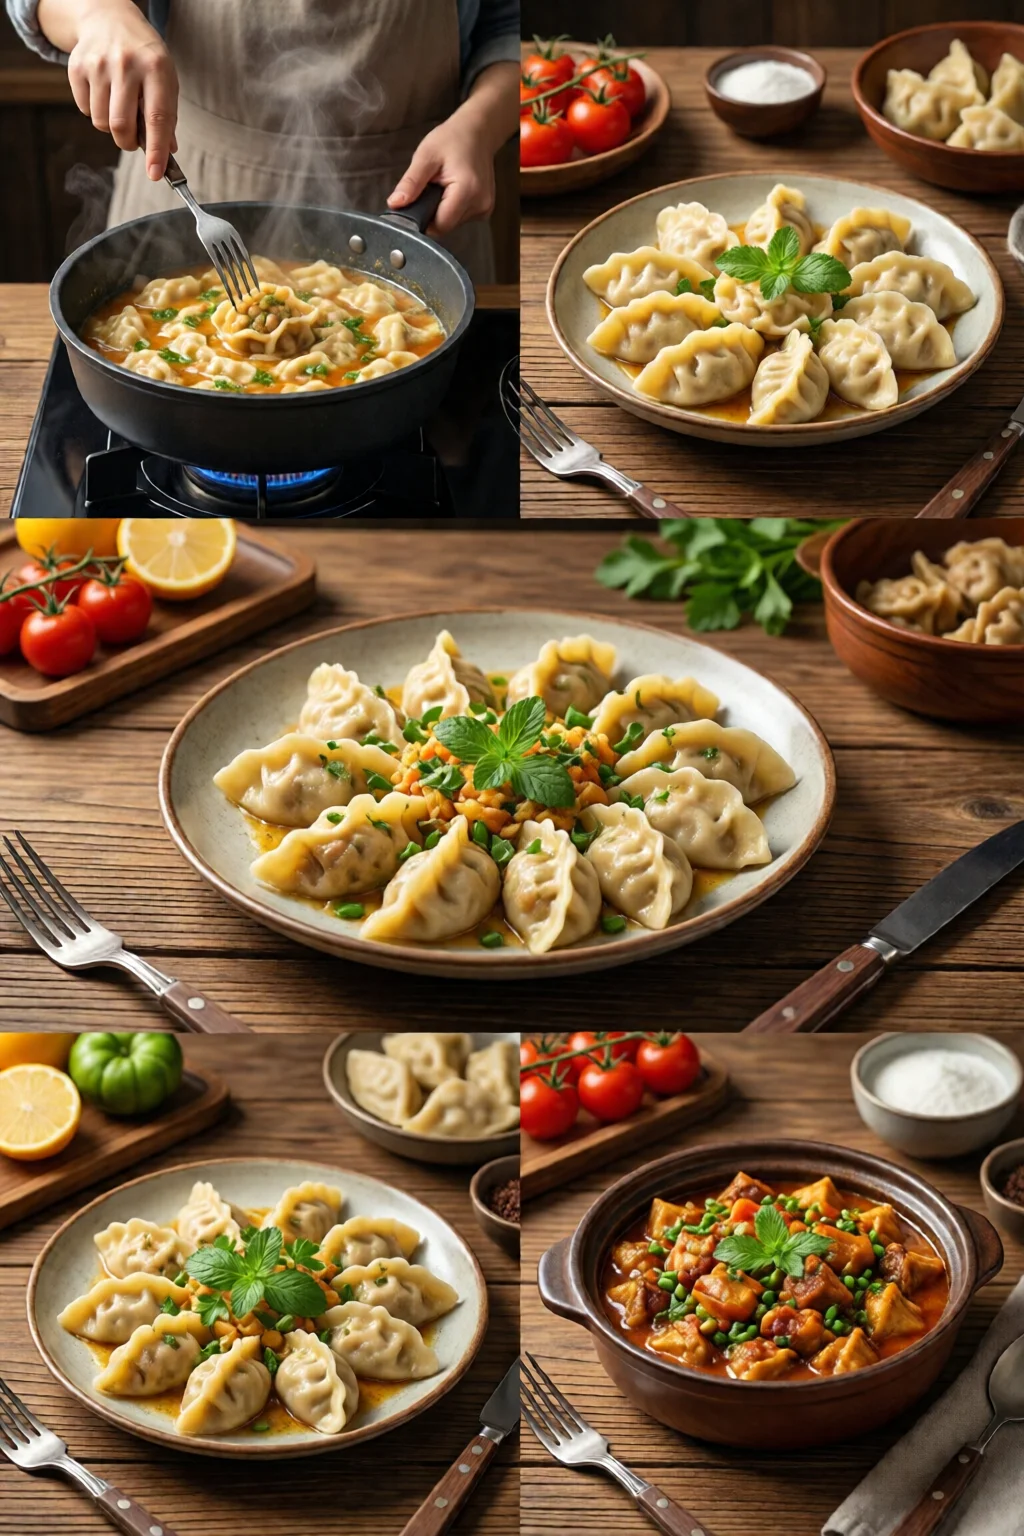
Step 5 – Cook the Pierogi
Bring a large pot of salted water (about 1 Tbsp salt per 4 L) to a rolling boil. Gently drop the pierogi in batches, being careful not to overcrowd the pot. When they rise to the surface, let them cook for an additional 2‑3 minutes.
Using a slotted spoon, lift the pierogi and set them on a clean towel to drain. For an extra layer of comfort, pan‑fry the boiled pierogi in 2 Tbsp butter over medium heat until golden brown on each side (about 2 minutes per side). The buttery crust adds a delightful crunch that pairs perfectly with the soft interior.
Step 6 – Serve and Enjoy
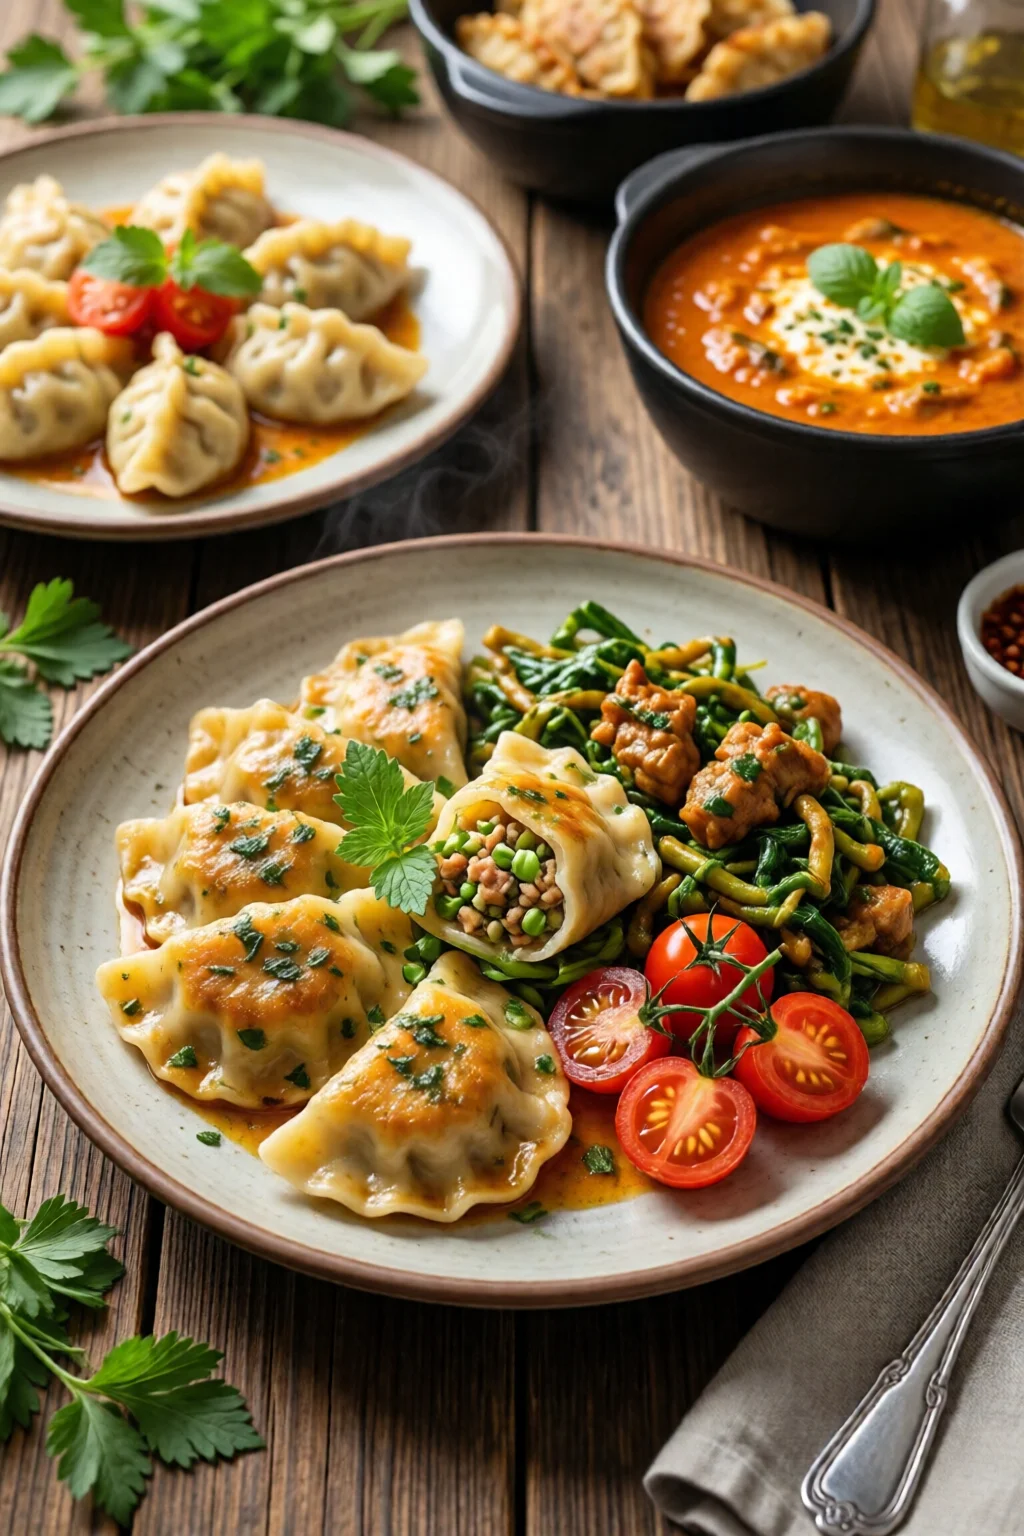
Plate the pierogi hot, drizzle with melted butter, sprinkle chopped chives, and add a dollop of sour cream. For a sweet twist, serve the blueberry‑filled version with a dusting of powdered sugar and a drizzle of honey (Manuka Health, $12.99 for 8 oz).
These pierogi make a stellar main course or a comforting side dish alongside a bowl of borscht or a simple salad.
Common Mistakes to Avoid
- Skipping the dough rest: Leads to tough, hard‑to‑seal pierogi.
- Over‑filling: The excess pushes out during boiling, causing leaks.
- Using cold water for the dough: It hampers gluten development, resulting in a crumbly texture.
- Boiling for too long: Over‑cooked pierogi become mushy and lose their comforting bite.
- Pan‑frying in high heat: Burns the butter before the pierogi gets a golden crust.
One mistake I see often is using low‑fat cottage cheese, which makes the filling dry. Opt for full‑fat varieties for that luscious mouthfeel.
Troubleshooting and Tips for Best Results
Tip 1 – Keep the dough and filling at similar temperatures. Warm filling works best with slightly cool dough; if both are hot, the dough can become sticky.
Tip 2 – Freeze uncooked pierogi for later. Lay them on a parchment sheet, freeze solid (about 2 hours), then transfer to a zip‑top bag. Cook straight from frozen; just add an extra minute to the boiling time.
Tip 3 – Experiment with fillings. Try sautéed mushrooms with thyme, caramelized onions with sauerkraut, or even a sweet ricotta‑apple mix. The possibilities are endless, and each variation still qualifies as comfort food.
Tip 4 – Use a silicone mat for rolling. It prevents dough from sticking and makes cleanup a breeze.
Tip 5 – Pair with complementary sides. A simple cucumber‑dill salad (authentic Mexican recipes at home for inspiration) or a spoonful of beet‑root soup adds color and balances the richness.
In my kitchen, the most reliable shortcut is to buy pre‑measured “Pierogi Kit” from Trader Joe’s (≈$6.99 per pack). It includes flour, a small amount of butter, and a recipe card—great for beginners, but I still recommend making the dough from scratch for that authentic texture.

Summary Conclusion
Mastering Polish recipes pierogi and comfort food is about respecting the basics—proper dough, balanced filling, and gentle cooking—while allowing room for creativity. With the ingredients, tools, and step‑by‑step guidance above, you can whip up a batch of buttery, pillowy pierogi that will warm any heart on a chilly evening. Remember to rest the dough, seal each dumpling tightly, and finish with a quick pan‑fry for that signature crisp. Serve them with sour cream, chives, or a sweet glaze, and you’ve got a timeless comfort dish ready to impress family and friends.
Can I make pierogi ahead of time?
Yes, shape the pierogi, place them on a parchment sheet, freeze for 2 hours, then transfer to a freezer bag. Cook directly from frozen, adding an extra minute to the boiling time.
What’s the difference between boiled and pan‑fried pierogi?
Boiled pierogi are soft and tender, while pan‑fried pierogi gain a golden, buttery crust that adds texture and flavor, making them ideal for comfort food presentations.
Can I use gluten‑free flour for the dough?
Absolutely. A 1‑to‑1 substitution with a gluten‑free all‑purpose blend works, but you may need a bit more water to achieve the right consistency.
How long can cooked pierogi be stored in the fridge?
Refrigerated cooked pierogi keep well for 3‑4 days. Reheat in a skillet with a little butter to restore crispness.
What side dishes complement pierogi best?
Traditional sides include sautéed cabbage, beet salad, or a simple cucumber‑dill salad. For a global twist, pair with Indian butter chicken recipe authentic or Brazilian recipes traditional dishes for a fusion feast.