Ever wondered why a slice of red velvet cake can feel like a celebration in every bite, even when you make it completely from scratch?
In This Article
- What You Will Need (Before You Start)
- Step 1: Preheat and Prepare Your Pans
- Step 2: Combine the Dry Ingredients
- Step 3: Whisk the Wet Base
- Step 4: Incorporate Buttermilk and Oil
- Step 5: Bring It All Together
- Step 6: Divide and Bake
- Step 7: Cool Completely
- Step 8: Prepare the Classic Cream Cheese Frosting
- Step 9: Assemble the Cake
- Common Mistakes to Avoid
- Troubleshooting & Tips for Best Results
- Summary
What You Will Need (Before You Start)
- Flour: 2 ⅔ cups (330 g) cake flour – the low‑protein content keeps the crumb tender.
- Cocoa powder: 2 Tbsp (10 g) unsweetened Dutch‑process cocoa for that subtle chocolate undertone.
- Sugar: 1 ½ cups (300 g) granulated.
- Buttermilk: 1 cup (240 ml) – I prefer the store‑bought “Organic Valley” buttermilk at $3.29 per quart.
- Eggs: 3 large, room temperature.
- Butter: ½ cup (115 g) unsalted, melted and cooled.
- Vegetable oil: ¼ cup (60 ml) – a neutral oil like Crisco keeps the texture light.
- Red food coloring: 2 Tbsp (30 ml) gel (e.g., Wilton’s Super Gel Red, $5.99 for 1 oz).
- White vinegar: 1 tsp (5 ml) – the acidity reacts with the baking soda for a finer crumb.
- Baking soda: 1 tsp (5 g).
- Baking powder: 1 tsp (4 g).
- Salt: ½ tsp (3 g).
- Vanilla extract: 1 tsp (5 ml).
- Red velvet frosting: 8 oz (225 g) cream cheese, ¼ cup (55 g) butter, 2 cups (240 g) powdered sugar, ½ tsp vanilla, pinch of salt.
Equipment you’ll need:
- Two 9‑inch (23 cm) round cake pans – I use the “Wilton Perfect Results” set, $12.99 for a 3‑piece.
- Electric mixer (stand or hand).
- Sifter, rubber spatula, cooling rack.
- Instant‑read thermometer (optional, but useful for checking oven temperature).
Step 1: Preheat and Prepare Your Pans
Set your oven to 350 °F (177 °C). I always place an oven thermometer on the middle rack; ovens can be off by up to 15 °F, which affects rise. Grease the pans with a thin coat of butter, then line the bottoms with parchment circles (cut to the pan’s diameter). Lightly dust the parchment with flour, tapping out any excess. This double‑layer method gives a clean release and keeps the edges from sticking.
Step 2: Combine the Dry Ingredients
In a medium bowl, sift together cake flour, cocoa powder, baking powder, baking soda, and salt. Sifting does two things: it aerates the mixture and eliminates lumps, which is crucial for that silky crumb. Whisk briefly to distribute the leavening agents evenly.
Step 3: Whisk the Wet Base
In a large mixing bowl, beat the sugar and melted butter together until the mixture looks slightly glossy, about 1 minute on medium speed. Add the eggs one at a time, beating well after each addition. Then pour in the vanilla, vinegar, and the red gel food coloring. I recommend using a whisk for the coloring to ensure it spreads uniformly; you’ll notice the batter turning a deep, velvety hue within 30 seconds.
Step 4: Incorporate Buttermilk and Oil
Slowly drizzle the buttermilk and vegetable oil into the wet mixture while the mixer runs on low. The liquid should stream in a thin ribbon, not a sudden splash. This gradual integration prevents the batter from curdling and helps maintain an even texture.
Step 5: Bring It All Together
Turn the mixer to medium and add the sifted dry ingredients in two batches, mixing just until you see no streaks of flour. Over‑mixing can develop gluten, turning the cake dense. Stop as soon as the batter is smooth and glossy – you should be able to run a spatula through and see it fall back in a thick ribbon.
Step 6: Divide and Bake
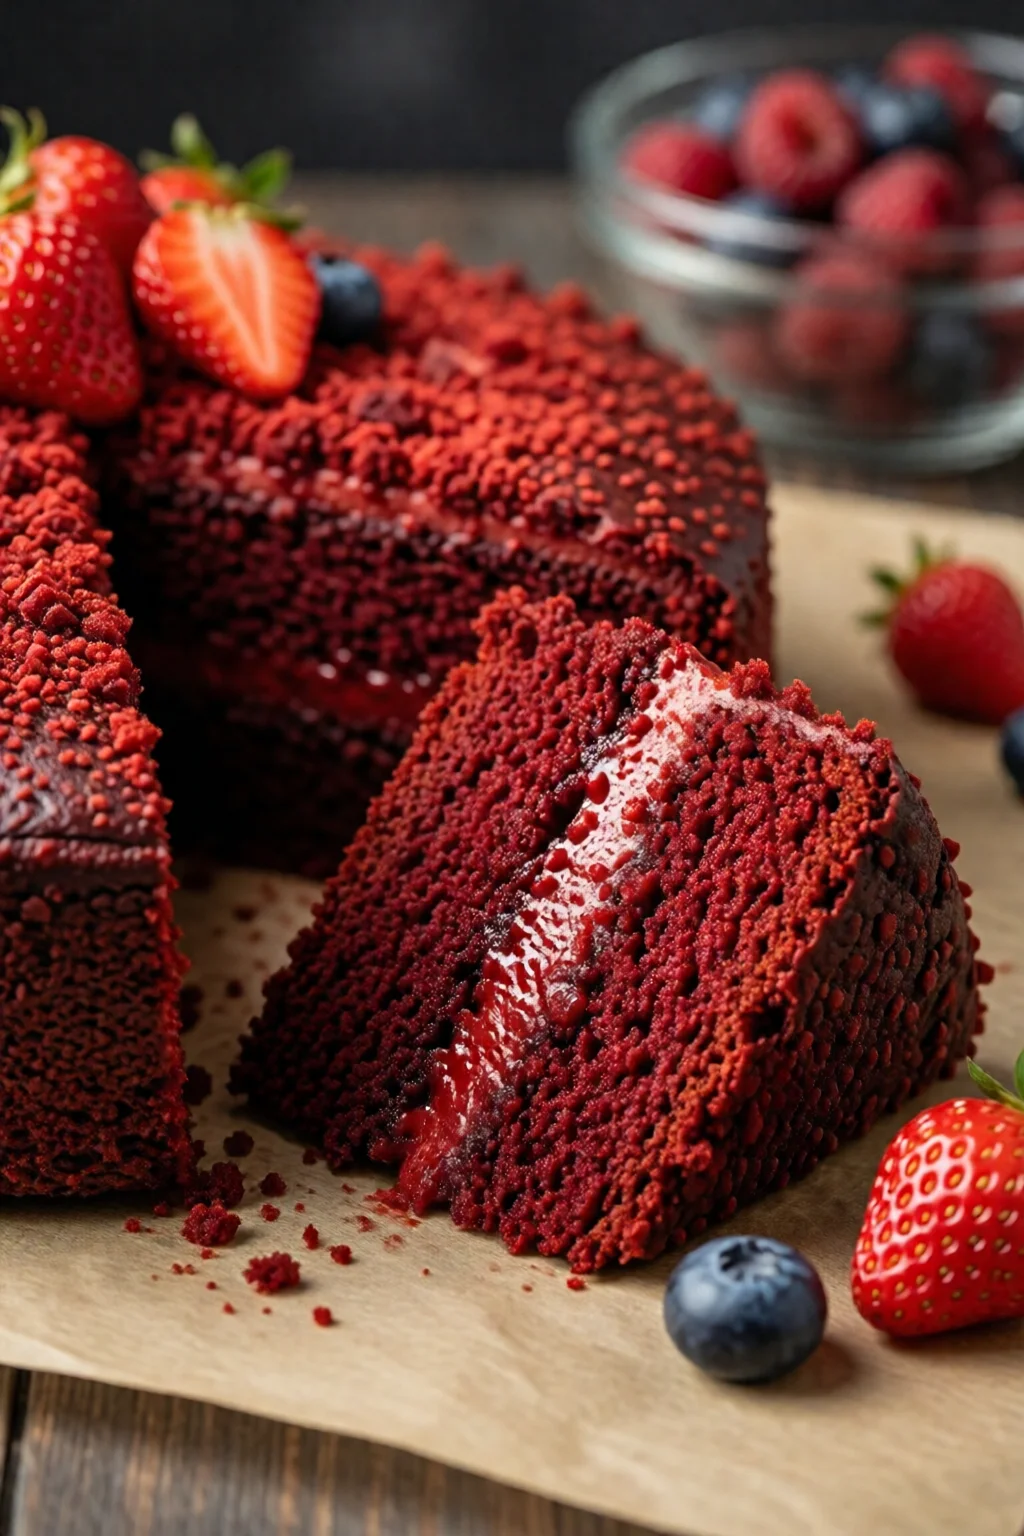
Using a kitchen scale, divide the batter evenly between the prepared pans (about 2 ½ cups each). Tap the pans lightly on the counter to release any trapped air bubbles. Slide the pans onto the middle rack and bake for 25‑30 minutes. The cake is done when a toothpick inserted into the center comes out with a few moist crumbs but no wet batter. If you have an instant‑read thermometer, the internal temperature should read 190 °F (88 °C).
Step 7: Cool Completely
Allow the cakes to cool in the pans for 10 minutes, then run a thin knife around the edges and invert onto a cooling rack. Let them sit until completely cool – at least 1 hour – before frosting. Trying to frost a warm cake creates cracks in the frosting and a gummy crumb.
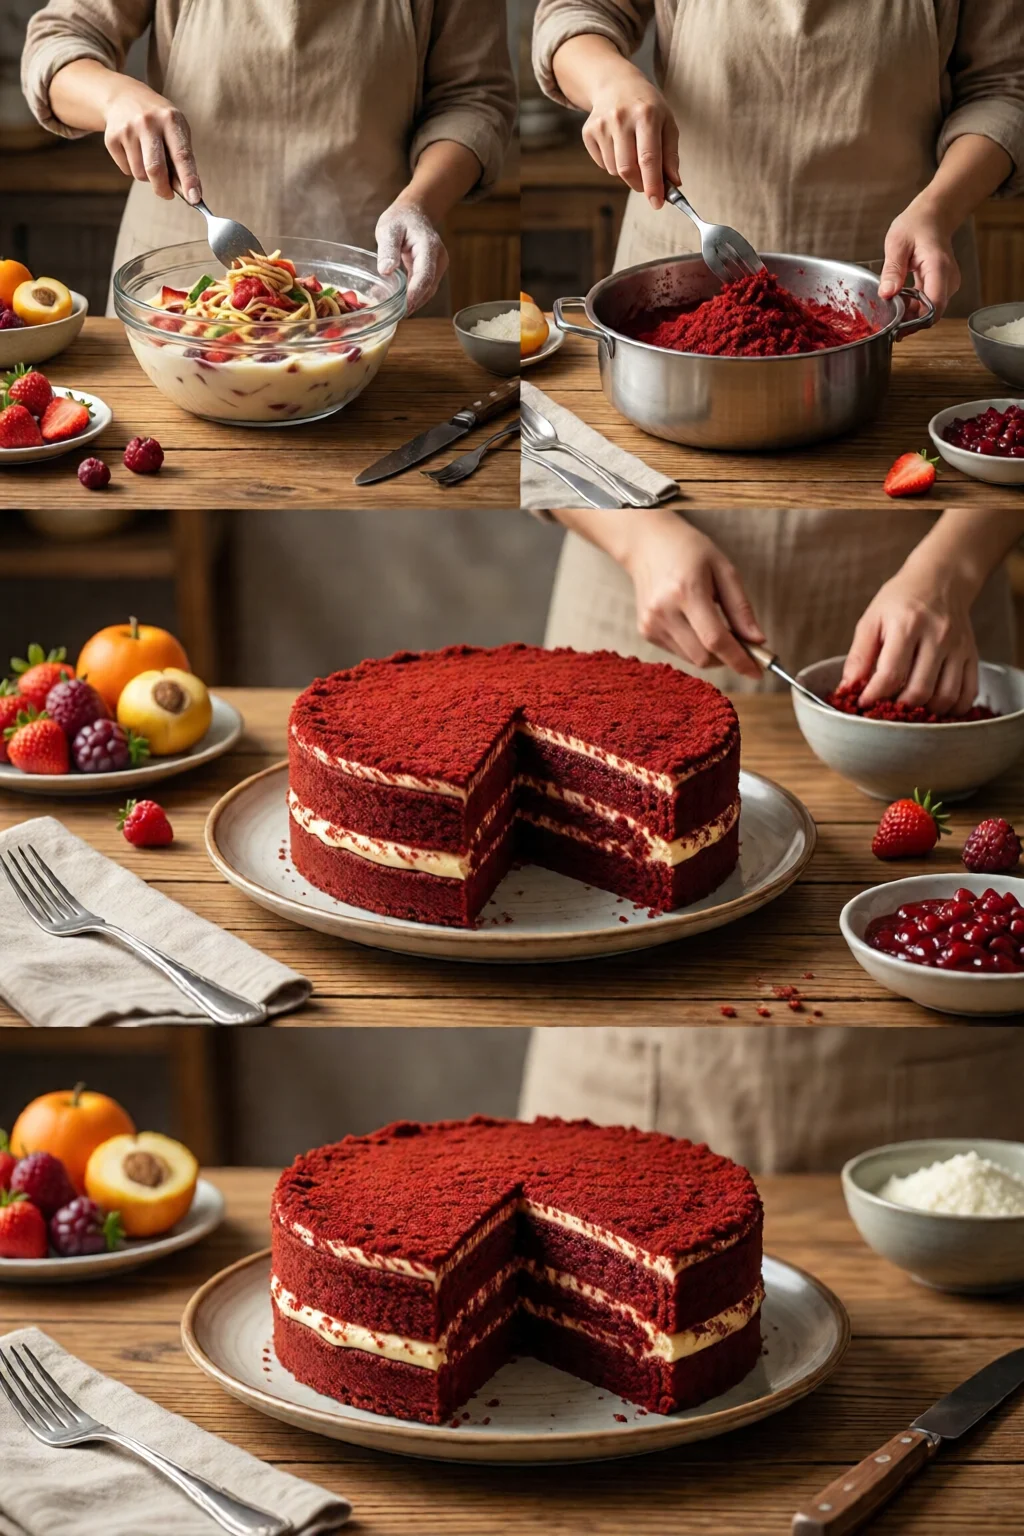
Step 8: Prepare the Classic Cream Cheese Frosting
In a bowl, beat the softened butter and cream cheese together until light and fluffy, about 2 minutes. Gradually add the powdered sugar, one cup at a time, mixing on low to avoid a sugar cloud explosion. Finish with vanilla and a pinch of salt, then increase speed to high for 1 minute until the frosting is silky.
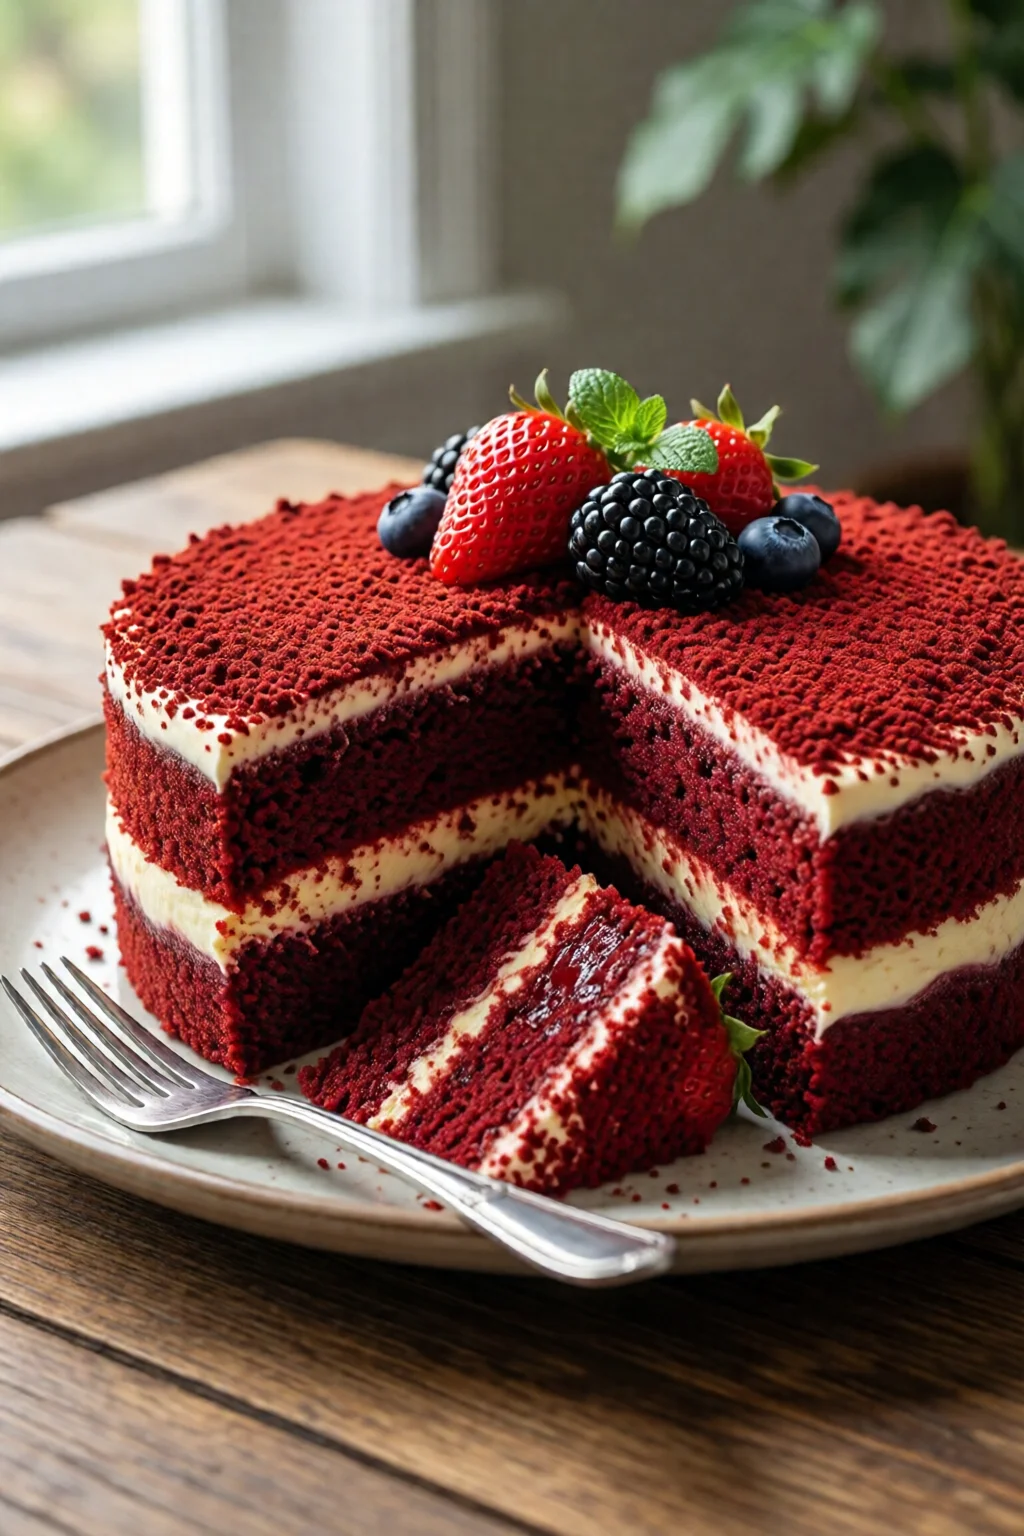
Step 9: Assemble the Cake
Place one cake layer on a serving plate. Spread a generous layer of frosting (about 1 cup) over the top, using an offset spatula for even coverage. Position the second layer on top, then apply a thin “crumb coat” around the entire cake. Chill for 15 minutes to set this layer, then finish with a final thick coat of frosting, smoothing the sides and top. For a professional finish, dip a hot, wet knife into the frosting and gently glide it around the sides – the heat melts the frosting slightly, giving a smooth sheen.
Common Mistakes to Avoid
- Using all‑purpose flour: It creates a heavier crumb. Cake flour is worth the extra $1‑$2 per bag.
- Skipping the vinegar: The acid reacts with baking soda, giving the cake its signature airy texture.
- Undercooling before frosting: Warm cake melts the frosting, leading to a sloppy finish.
- Using liquid food coloring: It adds extra water, diluting the batter. Gel or paste colors keep the moisture balance.
Over‑mixing after adding flour: This develops gluten and makes the cake tough.
Troubleshooting & Tips for Best Results
Flat cake: Check your oven temperature with a thermometer. If it’s low, the leavening won’t activate fully.
Crumbly frosting: Make sure the butter and cream cheese are truly softened, not melted. Cold butter will cause the frosting to seize.
Uneven red color: Mix the batter for at least a full minute after adding the gel color; this ensures pigment distribution without over‑mixing.
Moisture issues: If you live in a humid climate, add an extra tablespoon of flour to the dry mix; it helps absorb excess moisture.
For a fun twist, try swapping half the butter for melted coconut oil – it adds a faint tropical note without compromising the classic flavor.
If you enjoy other baked treats, you might also like our easy crepe recipe sweet and savory or the best chocolate chip cookie recipe ever for a weekend bake‑off.
Summary
With this red velvet cake recipe from scratch, you have every detail you need to create a bakery‑quality dessert at home. From precise measurements to the chemistry behind the vinegar–baking soda reaction, each step is designed to give you a moist, tender crumb and a frosting that’s both tangy and sweet. By avoiding common pitfalls and applying the troubleshooting tips, you’ll consistently nail that iconic scarlet hue and melt‑in‑your‑mouth texture. Serve it at birthdays, holidays, or just because – it’s guaranteed to impress.
Can I make this cake gluten‑free?
Yes. Substitute the cake flour with a 1:1 gluten‑free blend (like King Arthur Gluten‑Free Measure‑for‑Measure). Add 1 tsp xanthan gum if your blend doesn’t already contain it. The texture will stay tender.
How long does the cake keep?
Stored in an airtight container in the refrigerator, the frosted cake stays fresh for up to 5 days. Let it sit at room temperature for 30 minutes before serving for optimal flavor.
Can I use natural beet juice instead of food coloring?
You can, but you’ll need about ¼ cup of beet juice, which adds extra liquid. Reduce the buttermilk by the same amount and expect a slightly earthier flavor.
What’s the best way to level the layers?
After cooling, place each cake on a cutting board and use a long serrated knife or a cake leveler. Trim the tops to a uniform thickness before frosting.
Do I need to sift the cocoa powder?
Yes. Sifting cocoa prevents clumps and ensures an even distribution, giving the cake its characteristic deep color.
1 réflexion au sujet de « Red Velvet Cake Recipe From Scratch: Complete Guide for 2026 »